Introduction
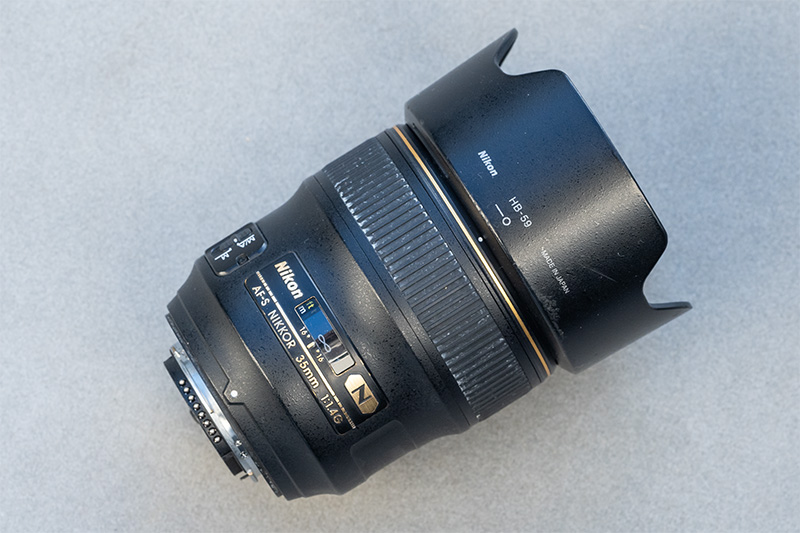
This is another article where the idea came from one of our Discord member, that asked what I do to keep my cameras and lenses clean. I don’t do a lot, but what I do is described in this article.
Contents
Disclaimer
Obviously when doing anything with your cameras and lenses as described here, you do that at your own risk. We cannot be held accountable for any damage that may be caused. Always use some common sense and follow the cleaning products’ instructions to minimize the potential of anything going sideways.
Camera
Sensor
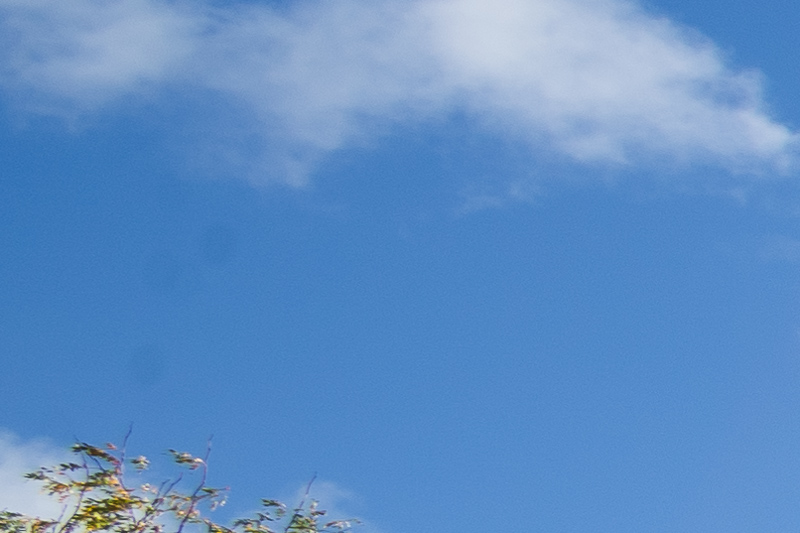
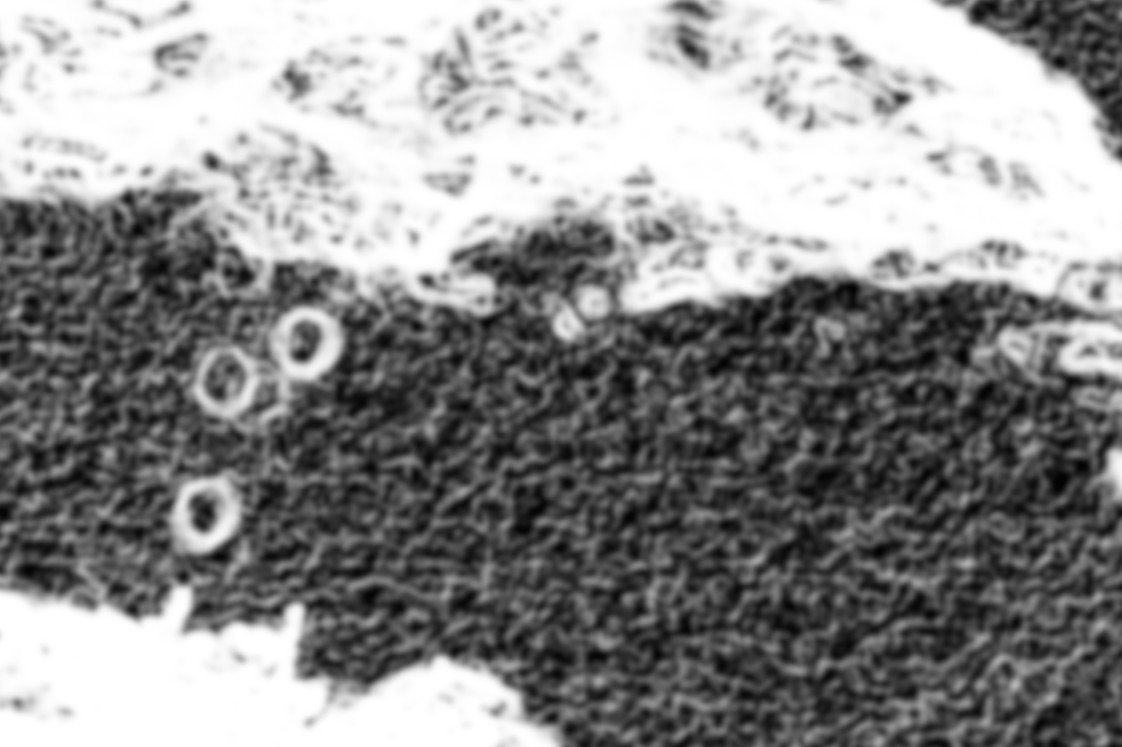
Sensor dust shows up as small dark circles (sometimes also lines, if a hair is on your sensor) in your pictures. In Lightroom there is also a function to highlight it, which helps to remove these specs with local cloning:
Obviously this is still a tedious task, so a small Blower (affiliate link) is an accessory that can always be found in my camera bag. It helps to get rid of bigger dust particles and other junk.
If the Blower is not strong enough – meaning after using it you still encounter those dust artefacts – you may need to use a wet Swab. These Swabs come in sizes according the the sensor format and I definitely recommend to buy the right ones,as it will make your life easier. Personally I am using these Swabs from VSCO (affiliate link). I also recommend to follow the instructions, especially how much of the cleaning fluid to use.
Exterior
For the exterior I am using car cleaner that can be applied with a micro fibre cloth and Q-Tips for the harder to reach corners.
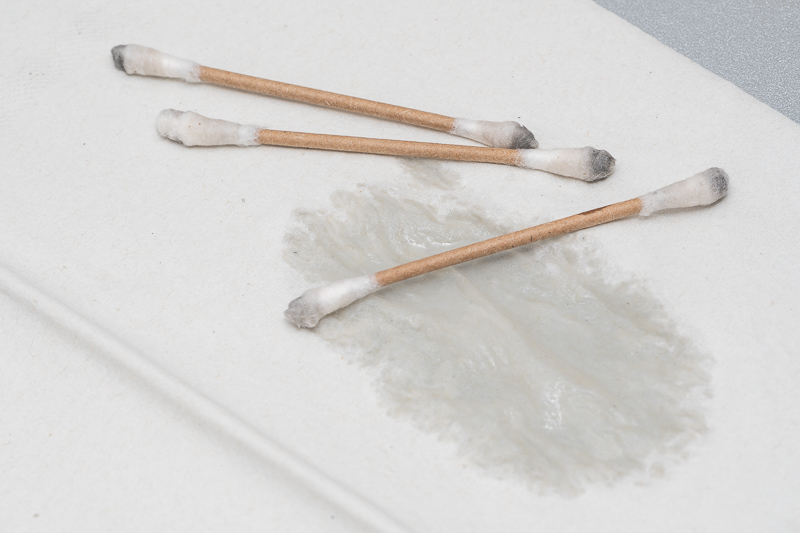
My car cleaner of choice is Armor All which you can get on amazon.de (affiliate link). I am sure in any country you can find something similar.
Lens
Glass Surfaces
For glass surfaces what I am using are Lenspens (affiliate link). You can find one of those in every one of my camera bags. Sadly they vary in quality and it is not always easy to tell from the product description if you will end up with a good or bad one. They also deteriorate over time, so after some heavy use it may make sense to replace them.
Rubber Rings
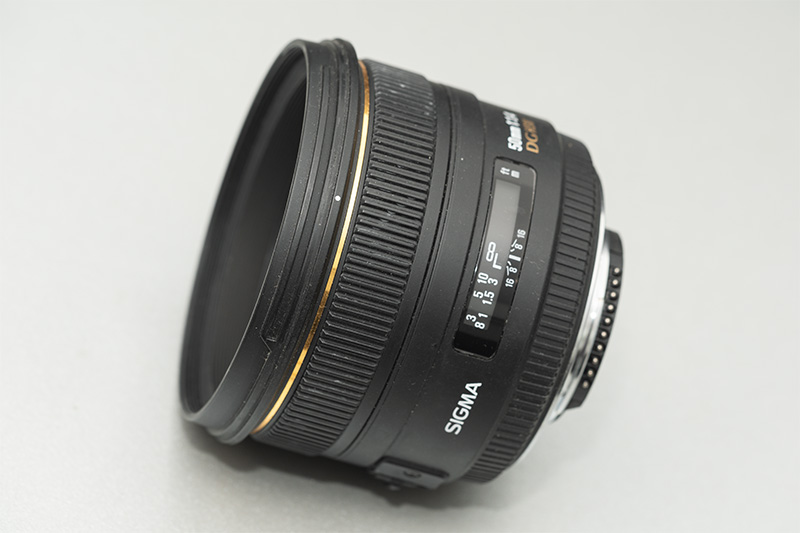
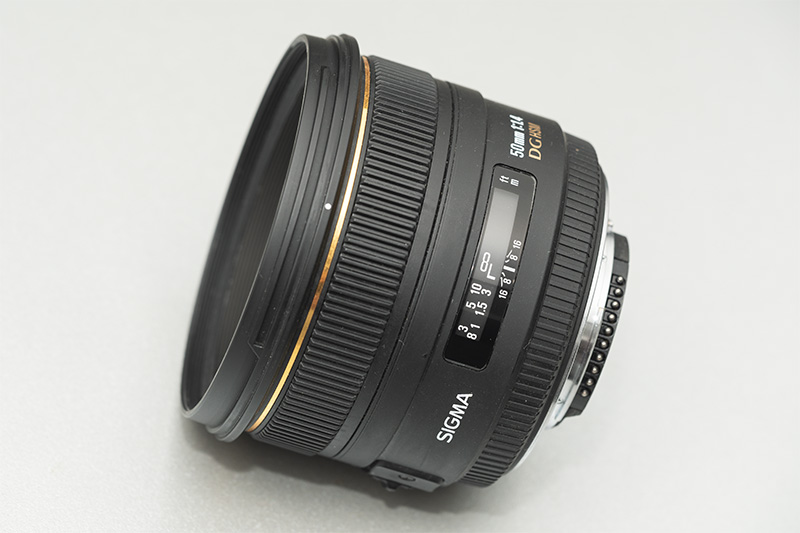
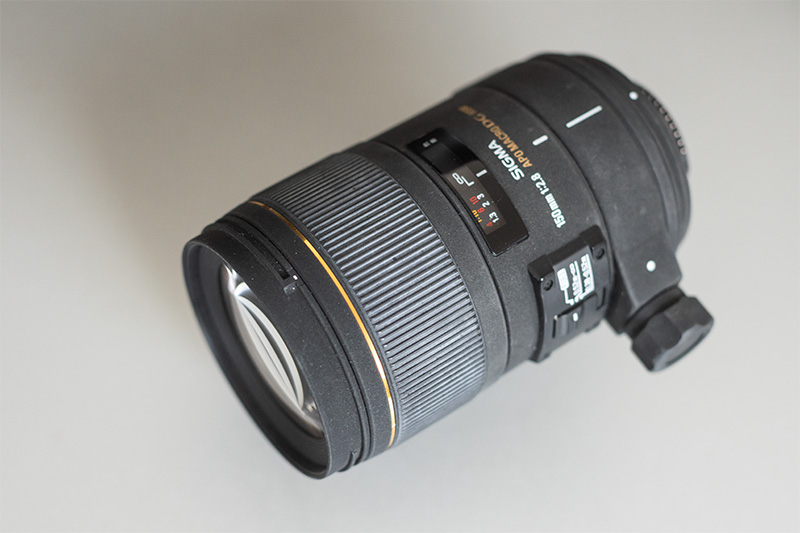
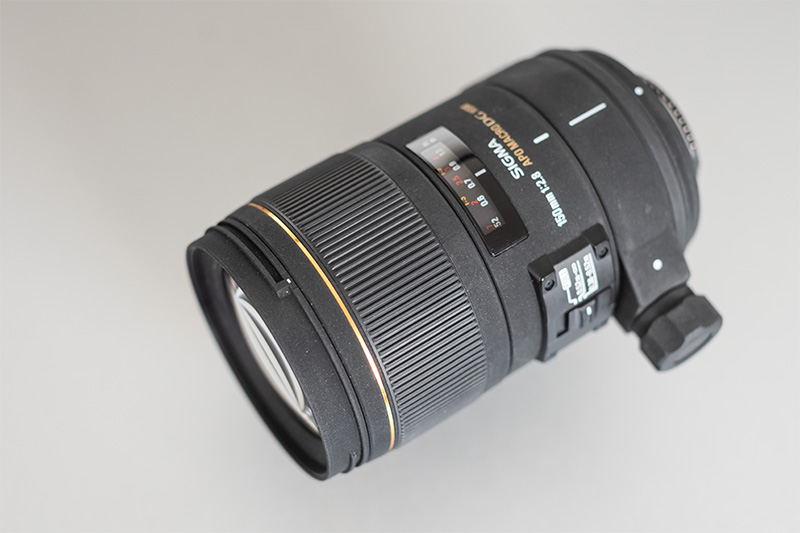
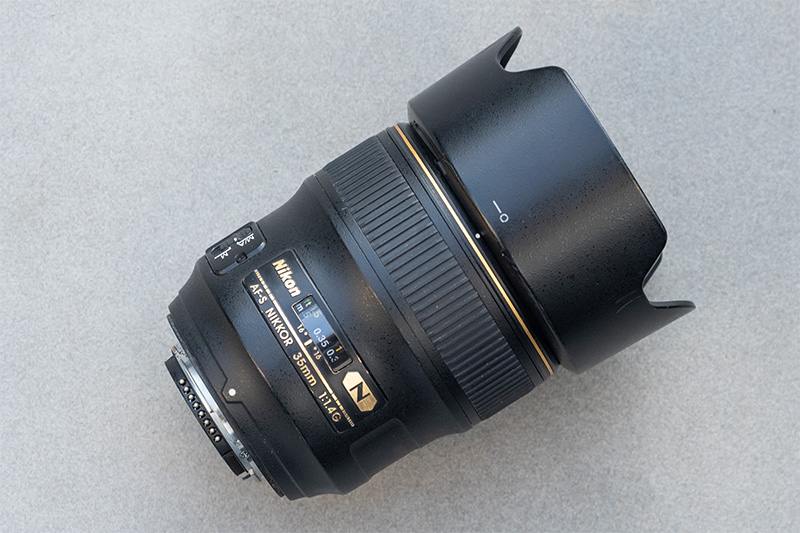
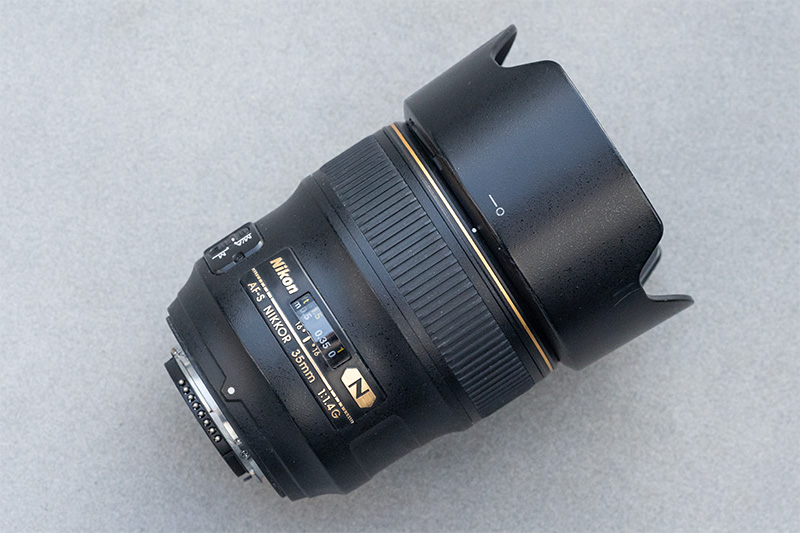
Over time the rubber rings on lenses may show whitening or even small debris in the small gaps. Also here I am using car cleaner that can be applied with a micro fiber cloth and Q-Tips for those small gaps. After doing that a lens will look like new, as can be seen from this before/after comparison:
Conclusion
I hope some of these tips described here will be helpful to keep your gear in a good condition and maybe even to avoid spending money on expensive third party sensor cleaning.
Further Reading
- All Lens Reviews
- Lens aberrations explained
- Best fullframe lenses from China
- Review: Nikon 200mm 2.0 IF ED
- Reviewing Lenses isn’t really worth it
Support Us
Did you find this article useful or just liked reading it? Treat us to a coffee!
![]()
![]()
![]() via Paypal
via Paypal
This site contains affiliate links. If you make a purchase using any of the links marked as affiliate links, I may receive a small commission at no additional cost to you. This helps support the creation of future content.
Latest posts by BastianK (see all)
- Review: Thypoch 21mm 3.5 Ksana Epoch - January 13, 2026
- Review: Canon EF 50mm 1.0 L USM – Still the world’s fastest AF lens - December 30, 2025
- Review: Nikon Nikkor 105mm 1.8 Ai-s - December 28, 2025

Thanks for sharing! Also happy New Year!
Thank you, to you too!
Thank you very much for the tips, they come at just the right time, as the focus ring on my 150mm Sonnar unfortunately gets a bit bright after not being used for a while. Happy New Year, by the way!
Hi, can I please ask, what you are using for lens repainting, that you show on 35mm 1.4? Thank you very much!
I used this one: Tamiya XF-1 Flat Acrylic Paint (10ml, Black) https://amzn.eu/d/eQfcSKi
Have you ever successfully dismantled all of the elements, removed fungus, and then reassembled the lens without any issues?
I have done this several times with lenses such as the CZJ 80/2.8, 120/2.8, 300/4 and a few others. I’ve used these lenses for many years and the fungus has never returned, nor have I noticed any optical problems. Only once was I unsuccessful. I think it was a Canon nFD 24/2.8 and it seemed that the fungus had eaten into the coating of a single element.
Here is what I do: I simply take the lens apart, soak the glass elements in hot soapy water and then wipe them with a cotton cloth. The mechanical elements are cleaned with alcohol, brake cleaner or Acteon, depending on how dirty they are. Before re-inserting the glass elements, I give them a final “polish” with cigarette paper, which I also use for general cleaning of filters, sensors and front/rear glass elements.
For the helicoid, I use a grease intended for brakes (not at home, so I can’t look up the name). I mix it with a drop of sewing oil to get the right “smoothness” in all temperature conditions.
For lenses with a complex AF system or built-in stabilisation, I would avoid total disassembly and just go for the glass elements. But I have to admit that I’ve only disassembled two modern lenses so far, as opposed to the 50 or so vintage lenses I’ve restored.
If you have never disassembled a lens before, the reassembly part can be tricky, especially with the Canon FD lenses, as the aperture mechanism is a bit tricky to work with. But with a little care, taking notes and marking, it is not a big problem.
Thanks Chris,
I tried it once with a very old wide angle zeiss lens I got on eBay for cheap and when I reassembled it, it had some optical issues. It had a pretty complex housing for the elements which made it a bit difficult. It looks like it would be a lot easier with a longer focal length because of the spacing and size of the elements