Introduction
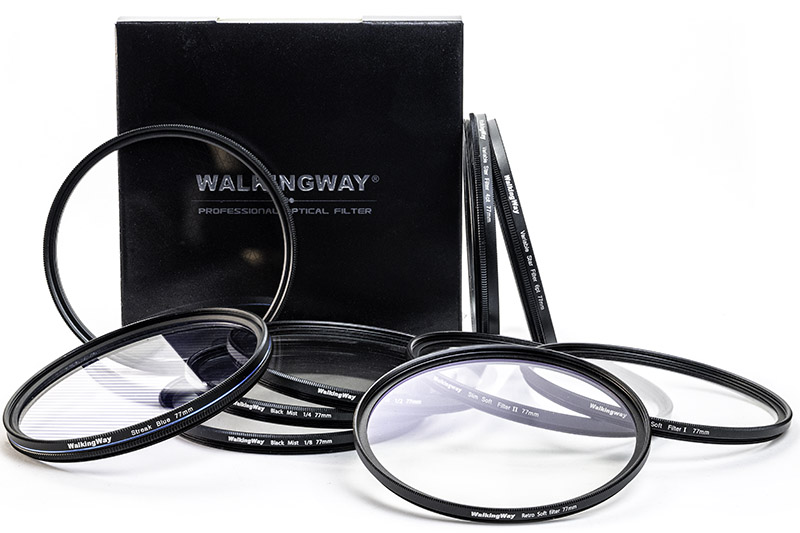
Today, you can create almost any effect in post-processing. However, there are hurdles: 1) you need a good editing program, 2) you have to master the program to get good results, 3) you have to spend some time in front of your computer to get the desired effect. Alternatively, you can invest in expensive specialty lenses to achieve a specific result. This is especially challenging, if not impossible, for achieving the effect in videos. Given these challenges, especially in video, a simpler solution emerges – using filters. Let’s have a look!
Sample Images
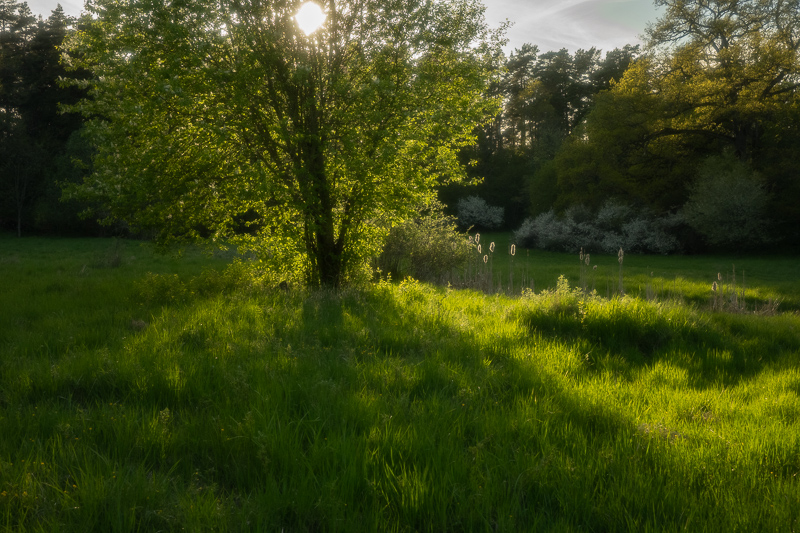
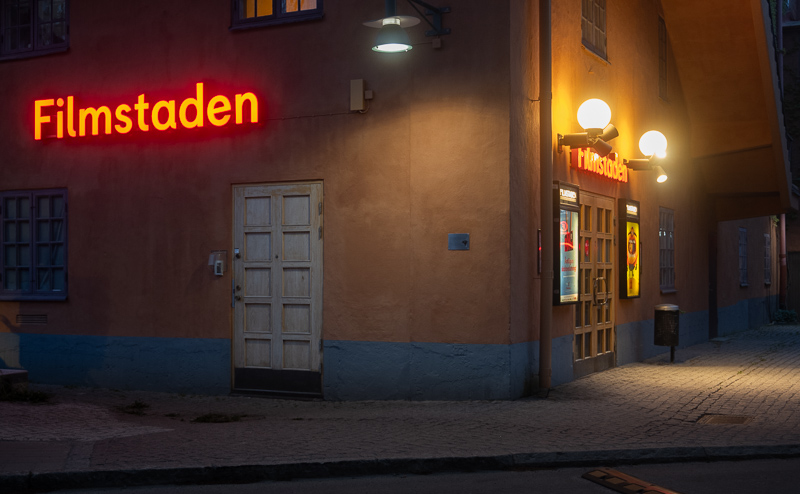
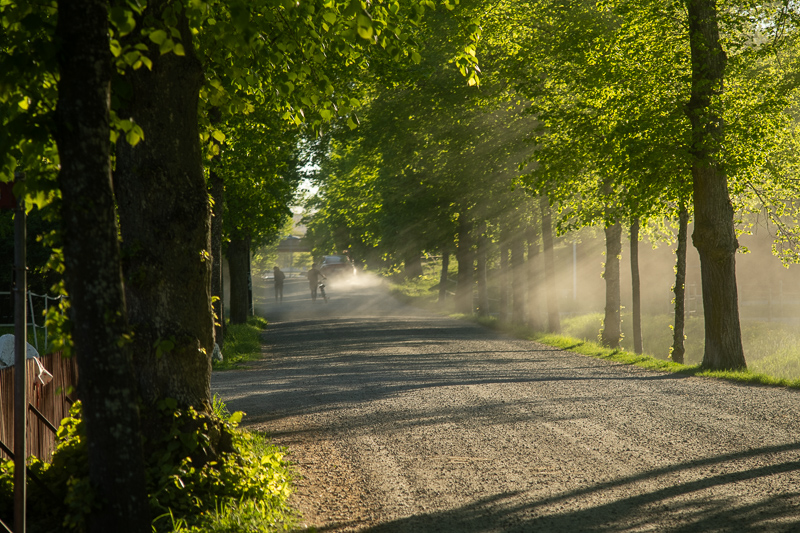
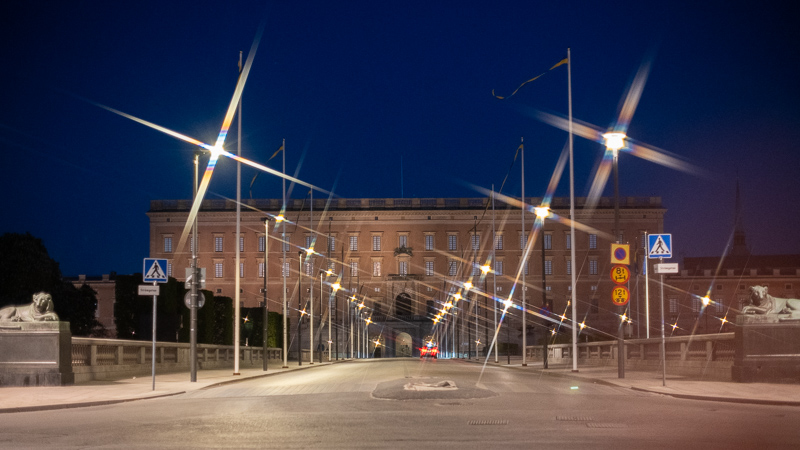
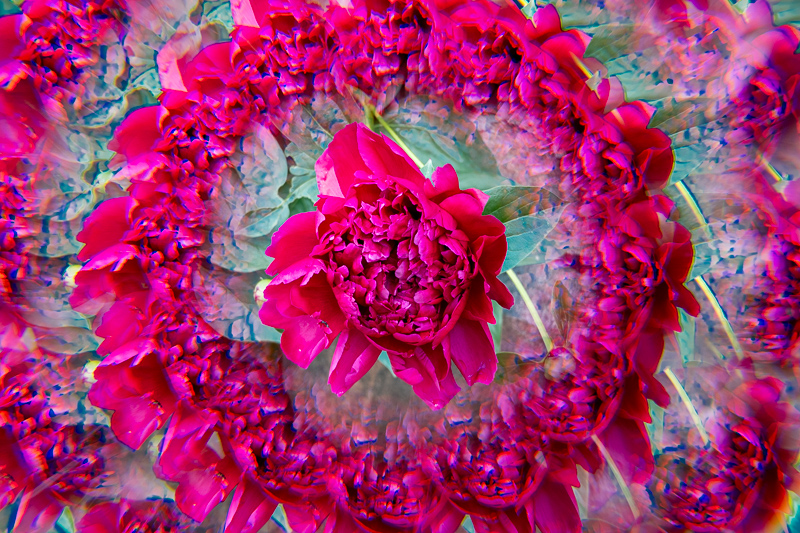
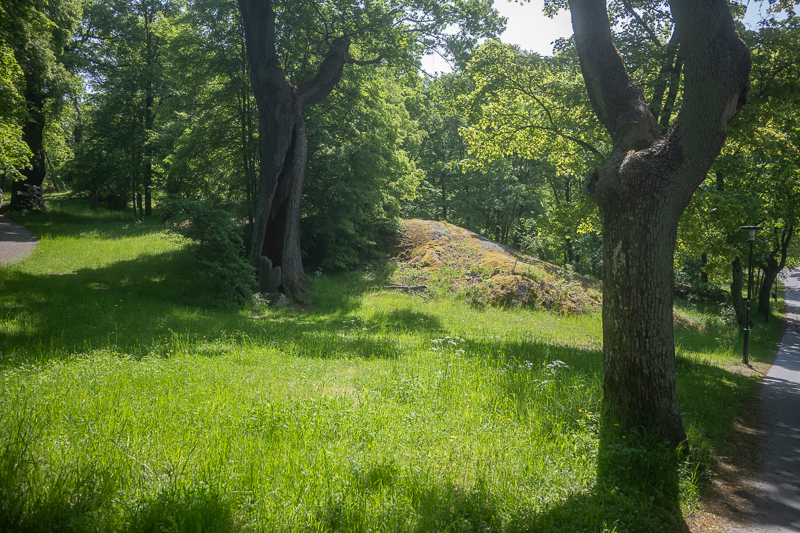
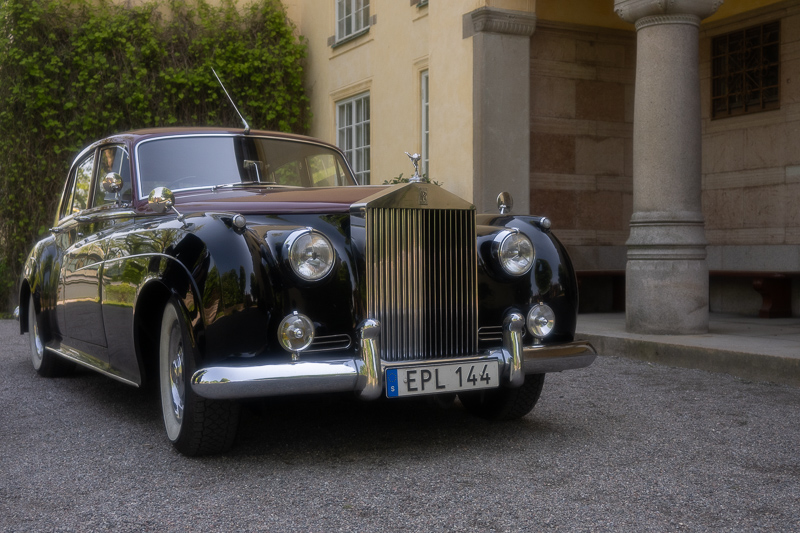



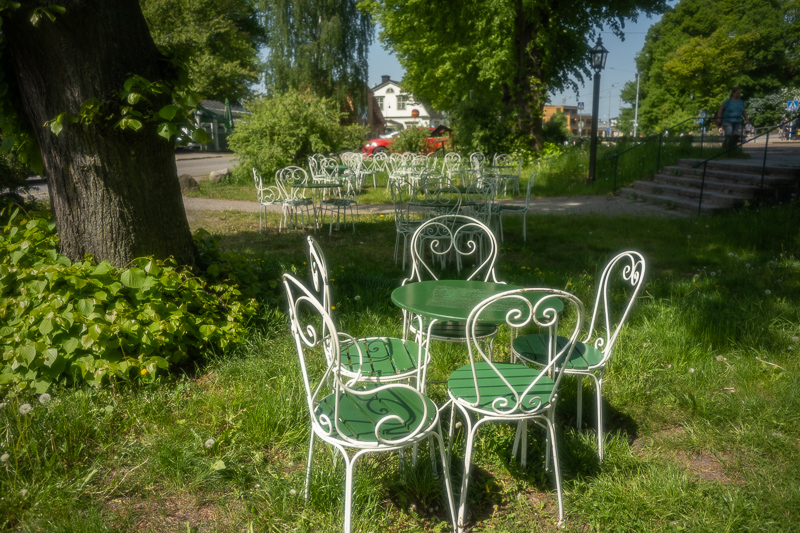
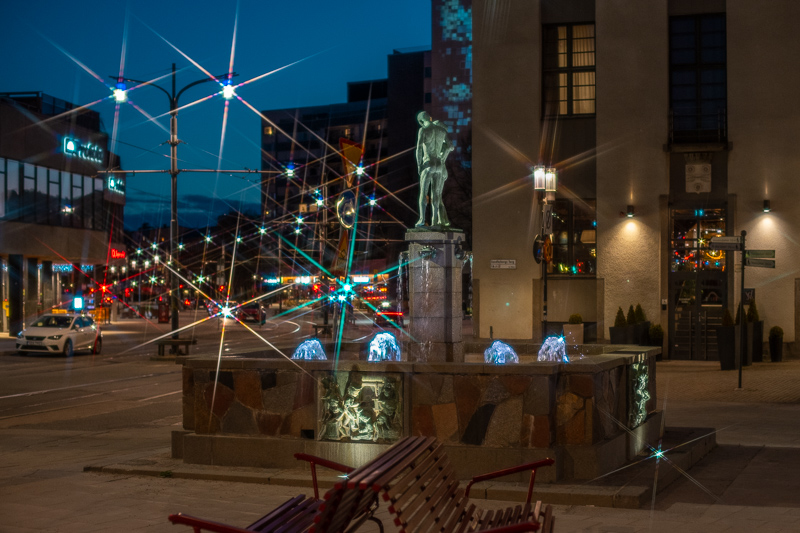
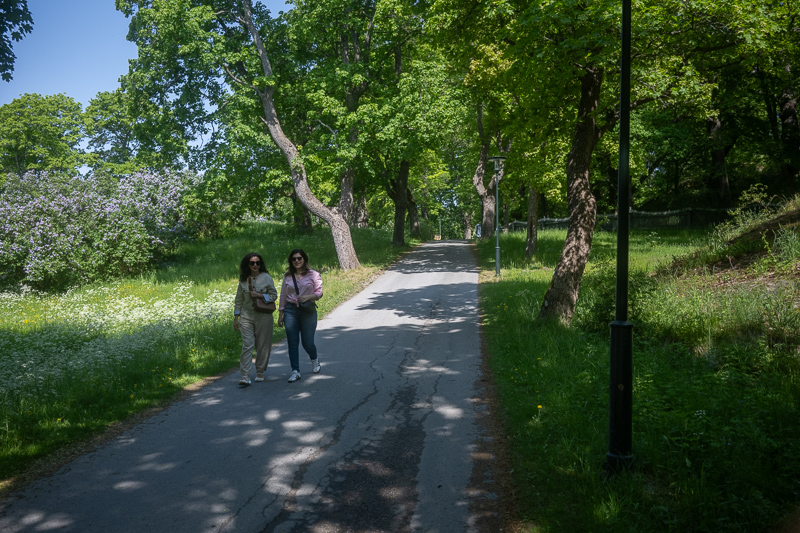
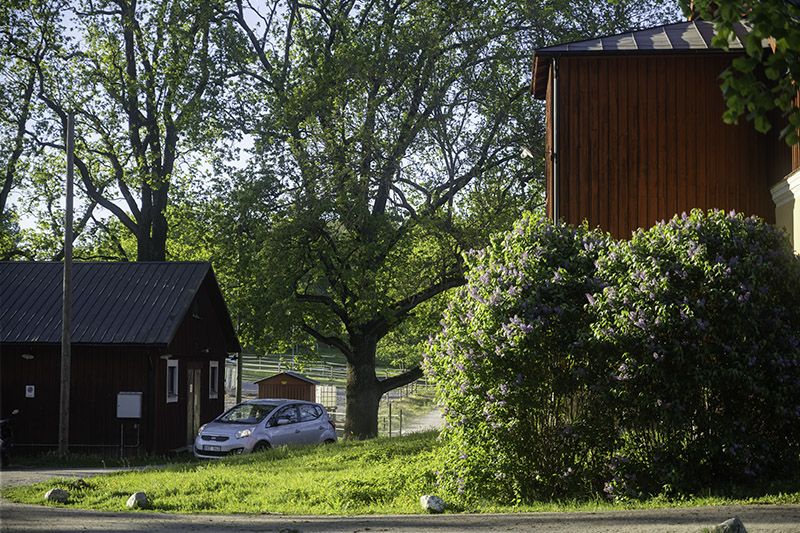
Nikon Z 7II | Nikon Z 24-70/4 @45mm | f/10
Most of the sample images in this review and many more can be found in higher resolution here.
| You can buy Walking Way’s filters directly from the manufacturer or one of the following stores.
Buy new: WalkingWay, Amazon.com , B&H for $ (Affiliate links) On Walkingway’s store you can use coupon code MARTINMH to get a time limited 10% discount. |
Disclosure
Walkingway kindly provided all of the filters used in this article for test and review purposes.
Variations
The Streak Blue filter, tested here, is also available in other variations, namely Streak Rainbow and Gold Streak. The difference is that the Streak Blue filter produces blue rays, Gold Streak golden rays, and Streak rainbow multi-colored rays.
Handling
The handling of the round filters is pretty standard; you screw them in front of your lens and you are set to go. The filters screw easily onto the lenses. The star filters have two ring construction with one ring that fits on the lens and the glass ring that rotates, allowing you to adjust the angle of the star rays when the filter is tightly screwed. However, I do not recommend screwing any of the filters very tightly into the step-up rings if you are using them, as they can get stuck. This happened to me once, and I could not unscrew the filter from the step-up ring until I was back home and had to use a lot of WD-40 lubricant and pliers to unscrew the filter. As a result, I had to wash off the oil from the filter.
The Filters
WalkingWay offers a variety of filters, including round, square, and 100×150 filter systems, as well as step-up rings and other accessories. In this review, I focus solely on some of their round filters. The filters I tested fall into three main categories: diffusion filters, star effect filters, and prism filters.
Diffusion Filters
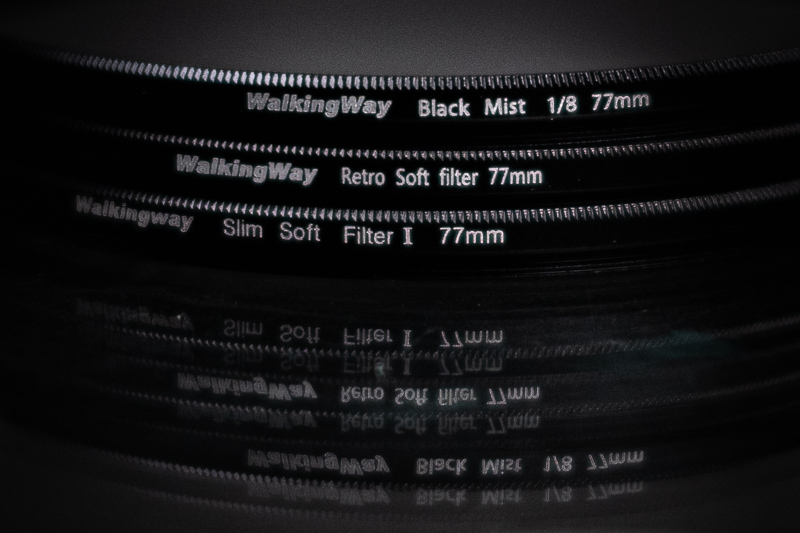
Diffusion filters are used to achieve a somewhat dreamy and soft effect in pictures. This effect could often be obtained with many old, vintage lenses, especially at their widest apertures. However, today’s lenses are so sharp, even when wide open, that the images can sometimes look a bit harsh and overly sharp. In fact, the cheapest lenses of today are often much sharper than the most expensive lenses from the film era or even the beginning of the digital era. While this sharpness is beneficial for detailed studies and lab work, it may not be appreciated by those who aim to convey a pleasant feeling with their images.
This has led many to seek the look of old or vintage lenses, especially for filming, portraits or wherever a cinematic or dreamy look is desired. One way of achieving this is by using Black Mist or Soft filters.
How do Diffusion Filters Work?
Normally, the effect is achieved by very fine irregularities on the glass, normally by sprinkling some sort of speckle on the glass, which softens the incoming light. These irregularities act like a very thin white or light pastel-colored curtain in a window. They create a softer light where highlights bloom and transition more gently to the darker parts of the image. This results in lower contrast in the image and masks distracting highlights, while preserving most of the details in a shot. This also helps to soften the skin and make it appear smoother and also to get that lost analogue and cinematic look directly in camera.
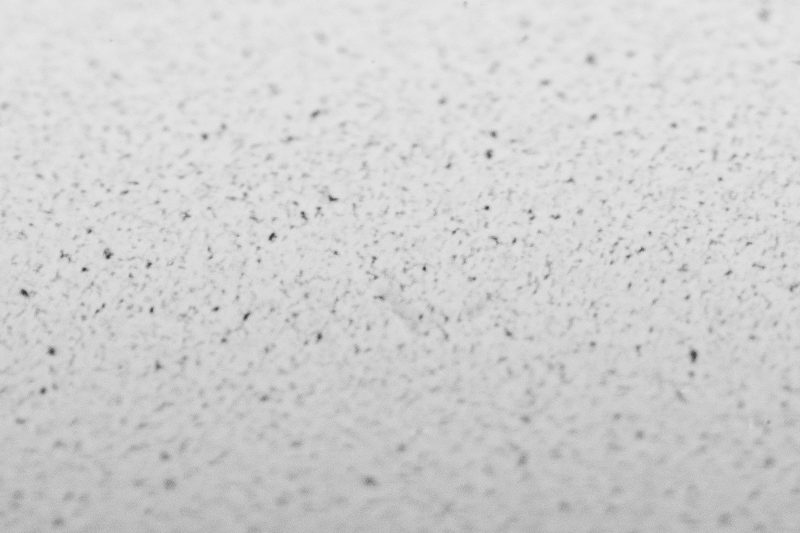
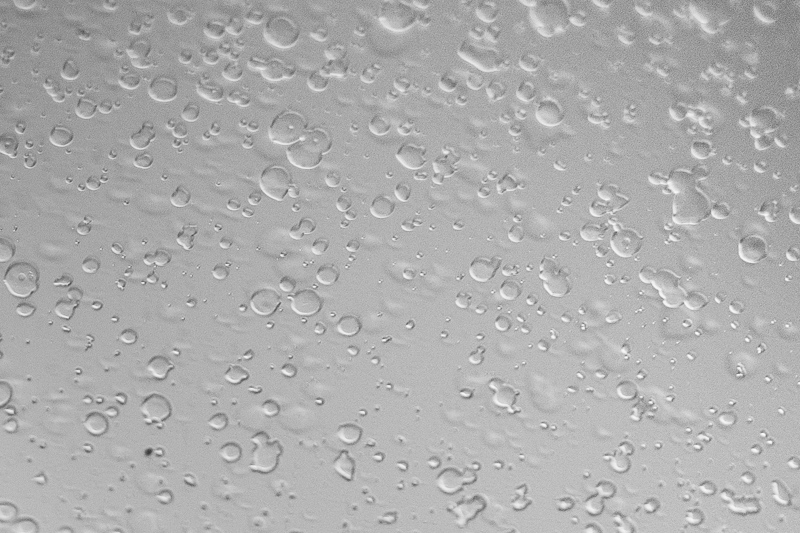
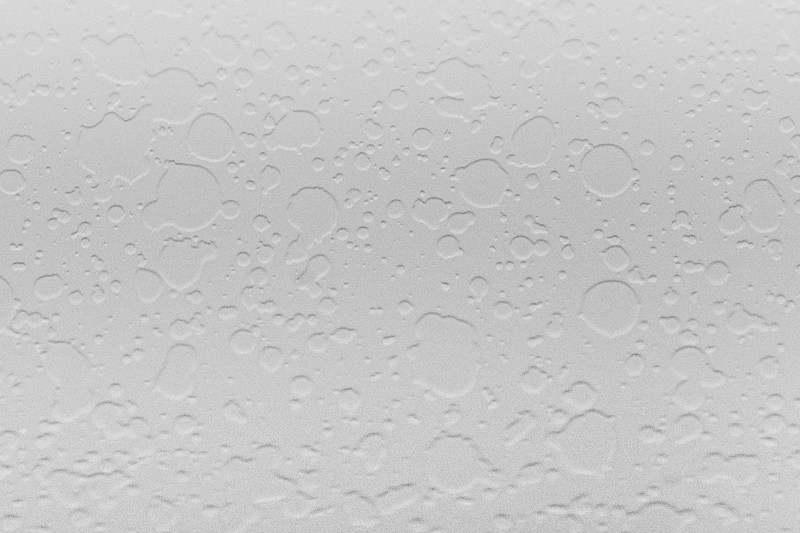
The irregularities on the Black Mist filter are created by sprinkling black particles on the glass. On the White Mist filter, the particles are white, while on Soft filters, they resemble micro water drops och bubbles. Depending on the type, intensity, or color of the irregularities created on the filter, the resulting effect can vary.
Here you can see how the surface of the different filters can look like if we go extremely close (an area of about 24×18 mm).
In this section we look at the following filters from Walkingway:
- Black Mist 1/8
- Black Mist 1/4
- Black Mist 1/2
- Retro Soft
- Soft I
- Soft II
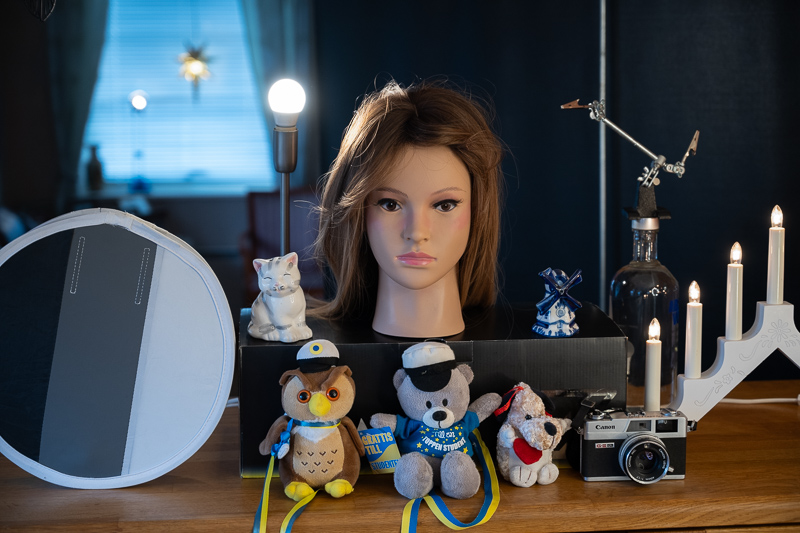
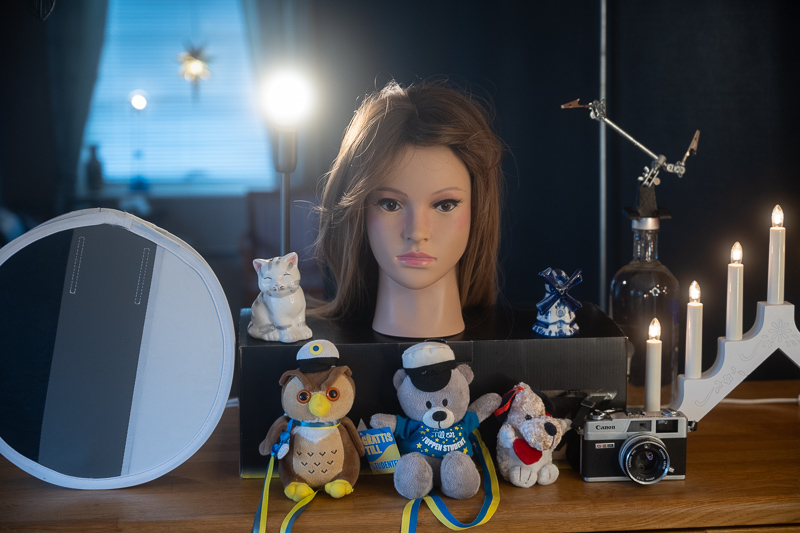
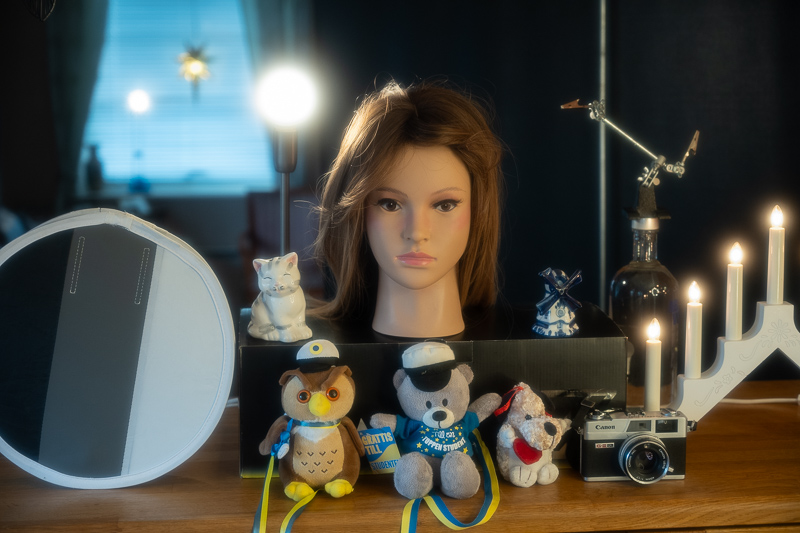
Test Scene
The following test shots were taken with Nikon Z 7II, Nikkor 24-70mm @63mm @f/4.
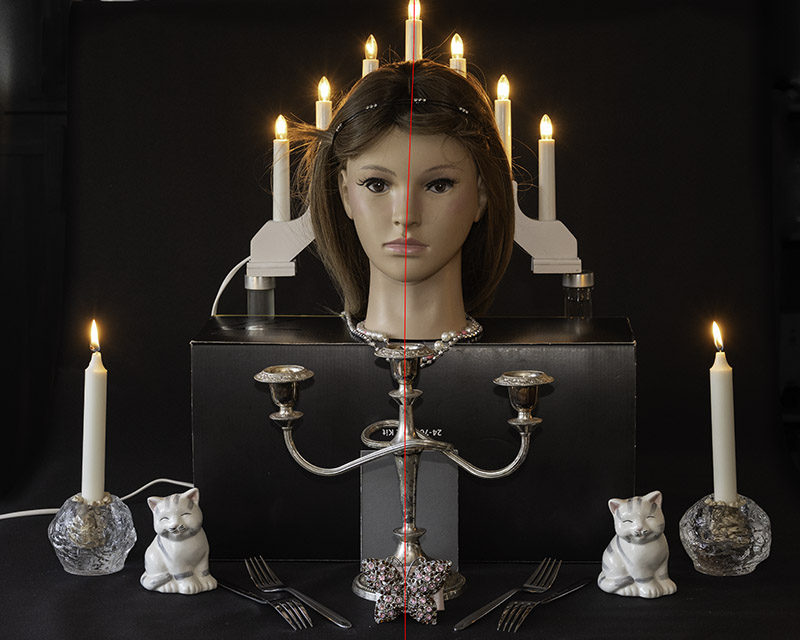
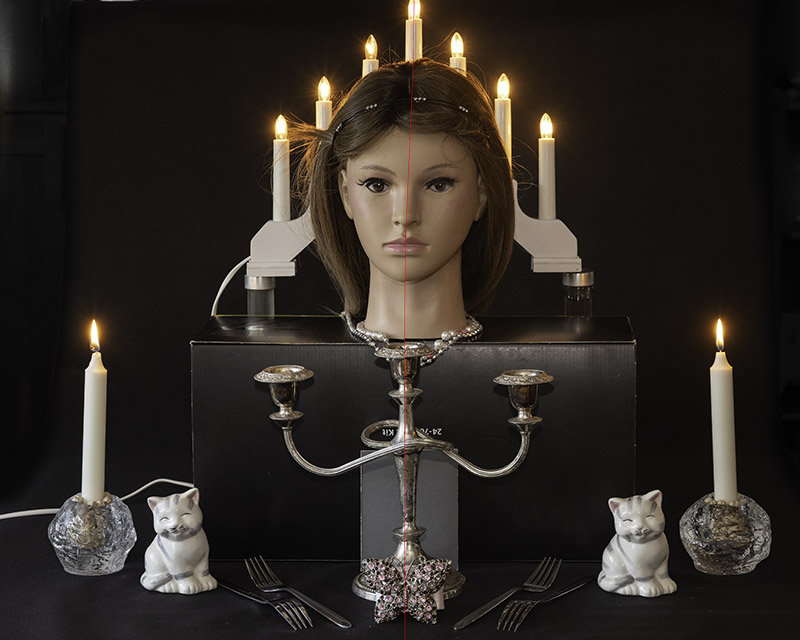
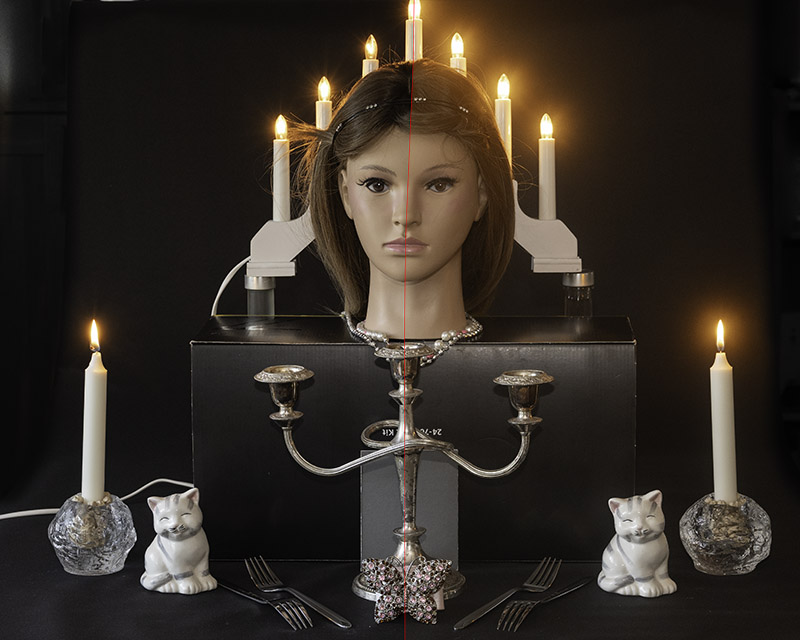
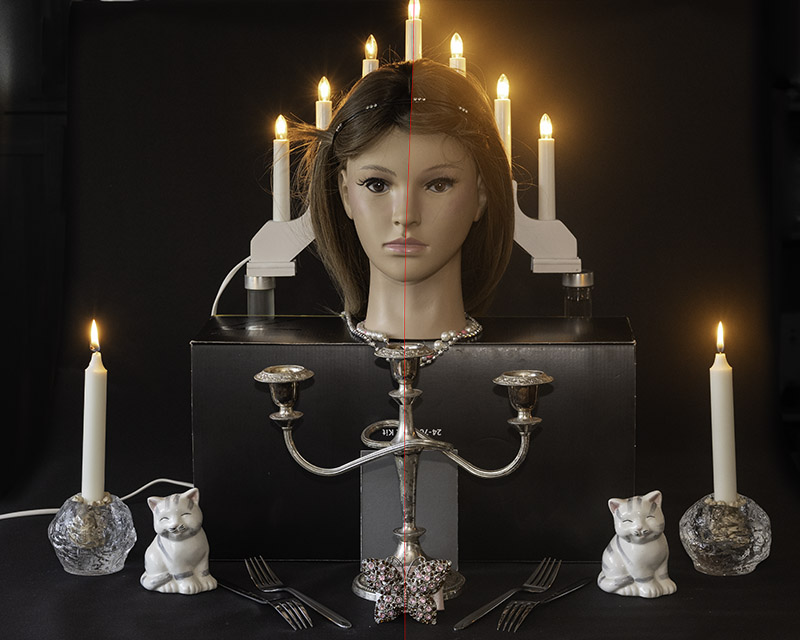
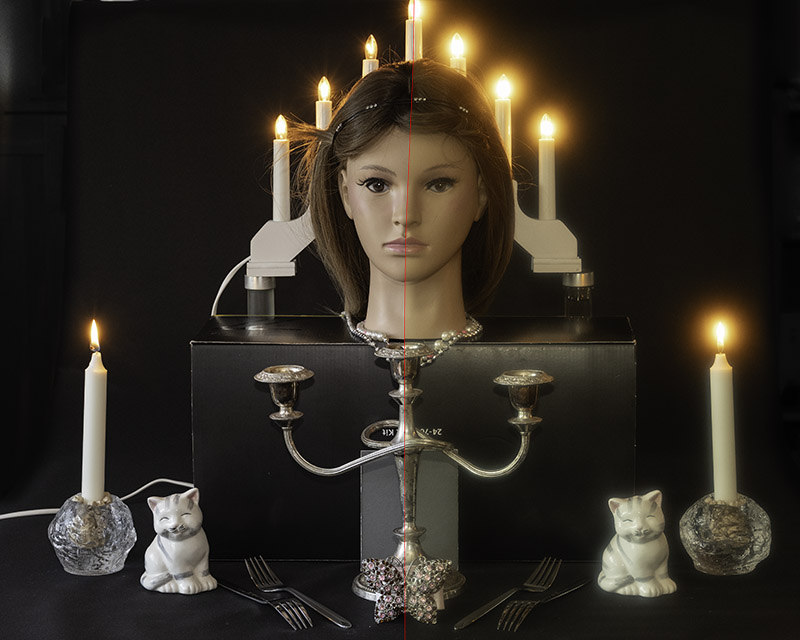
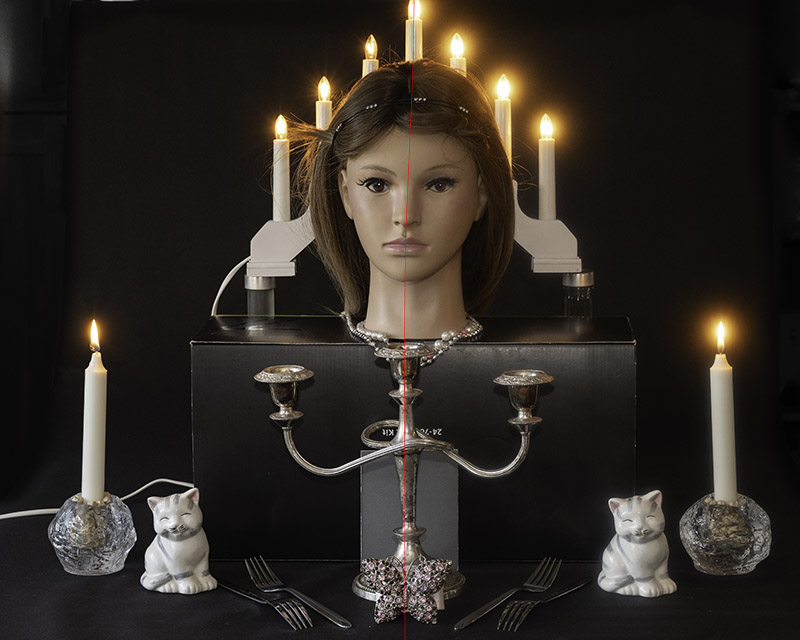
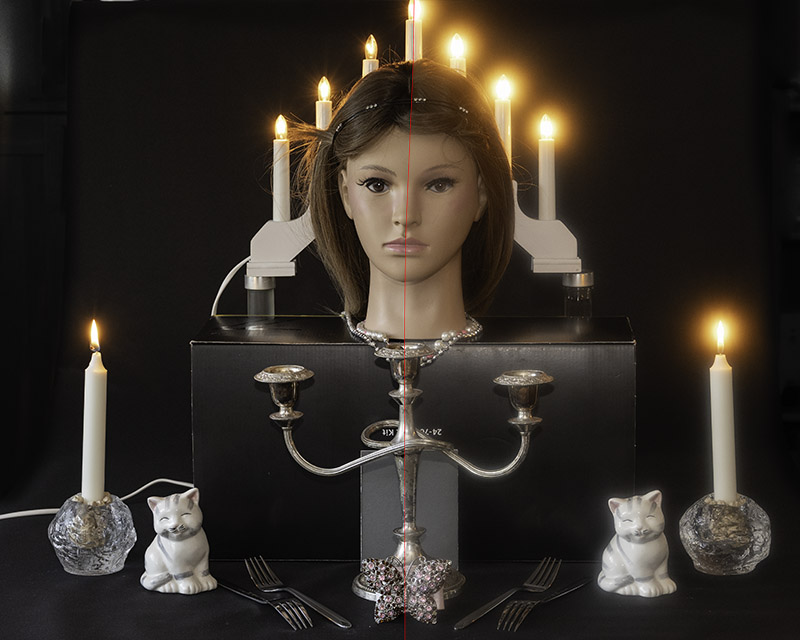
Here is another test setup but with side-by-side comparison. The left half is always image taken without filter. Tab names are for the right half of the images. This serie was taken with Nikon Z fc, Nikkor 24-70mm @f/6.3 @45mm (equivalent 67mm focal length on fullframe).
It appears that the difference between Black Mist 1/4 and 1/2 is less pronounced than the difference between 1/8 and 1/4. In other words, the transition from 1/8 to 1/4 yields a more noticeable change than from 1/4 to 1/2. The blooming effect of the Retro Soft, Soft I, and Soft II filters is stronger yet more localised, while the blooming from the Black Mist is more dispersed and subtle. This also leads to an overall fog, smokescreen, or mist effect in the whole image created by the Black Mist filters, hence the name.
Moreover, the Retro Soft and Soft filters have an stronger effect than the Black Mist filters. The Retro Soft filter produces an effect as strong as the Soft II, but it imparts a warm tone across the entire image. Additionally, these filters primarily reduce contrast by allowing highlights to “bleed” into darker areas, thereby lightening them, rather than the other way around.
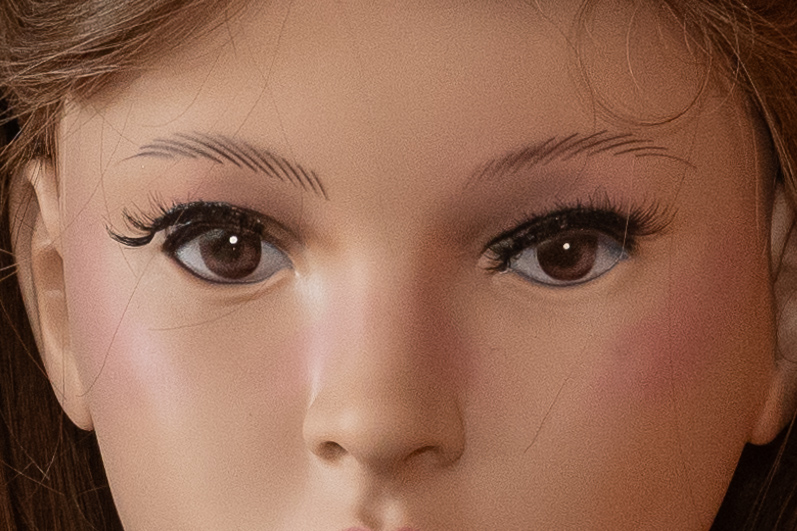
Another interesting point to know about is how much these filters affect the details in the images, in other words, how much they degrade the resolution and sharpness. Here, I put the 100% crop of the latest test series, where the focus was set.
While the loss of detail is less than expected—a positive outcome—the comparison of sharpness between diffusion filters might seem negative at first glance. However, it’s important to remember that the purpose of using these filters is to soften the extreme sharpness produced by modern lenses. It’s a bonus that the details are largely preserved.
Real Life Scenes
This portrait series was taken with Nikon Z7 II, Nikkor 24-70mm @f/4 @ 55mm focal length.
The following night scene was taken with Nikon Z 7II, Nikkor 50/1.4 Ai-s @f/2.8.
The following series were shot with Nikon Z 7II, Nikkor 50/1.4 Ai-s, at f/5.6.
Another observation worth to mention is that the effect of the filters seem to be less pronounced with wider focal lengths, here is a comparison between images taken with a 24mm and a 135mm lens, with and without mist filter.
Star Filters
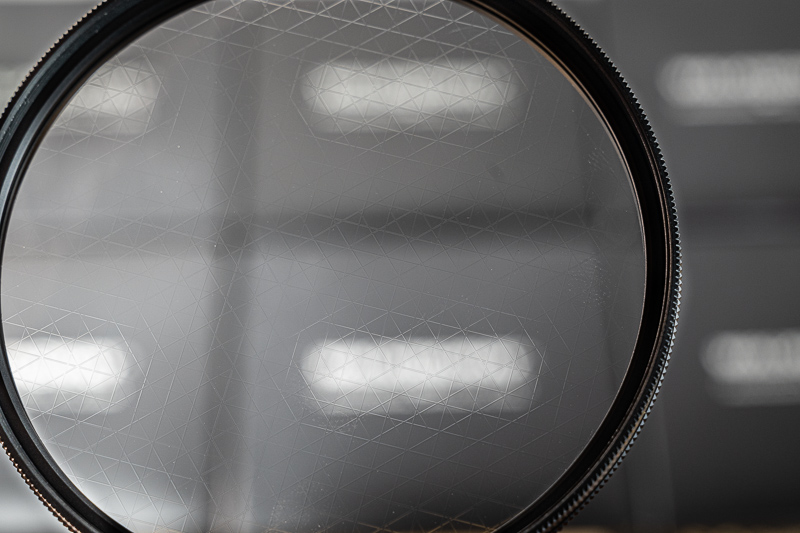
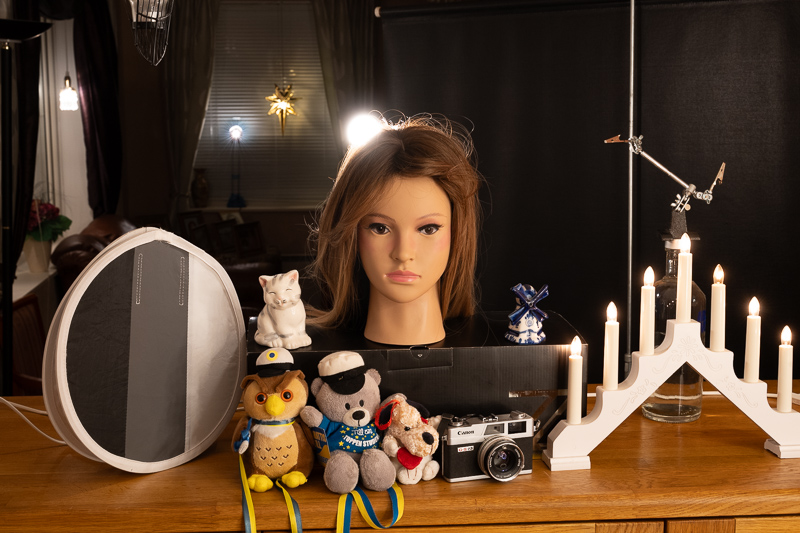
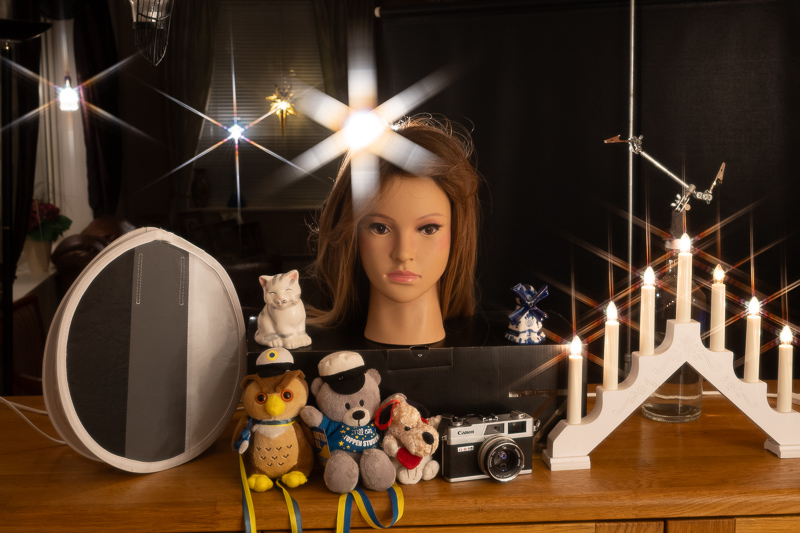
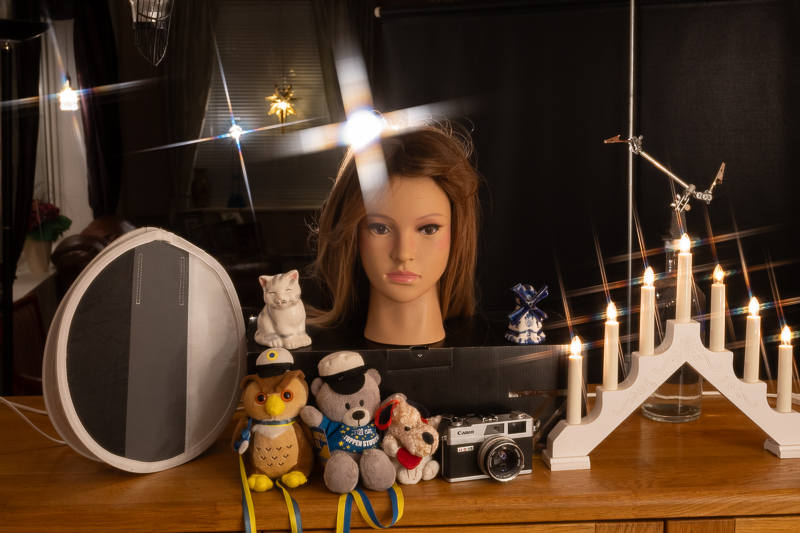
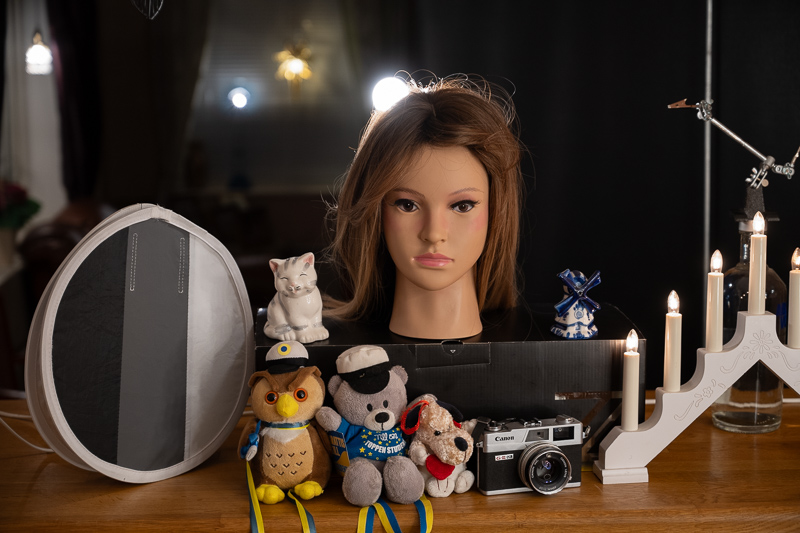
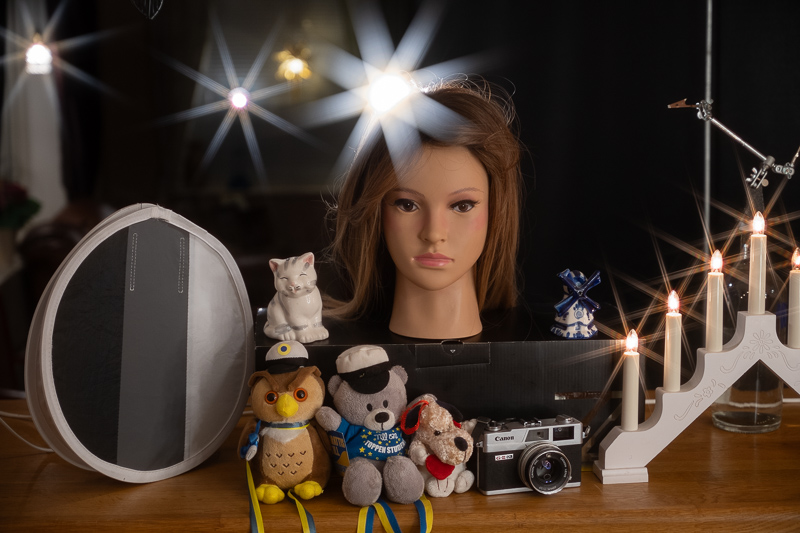
Here the aim is to get “sunstars” wherever we have a strong light source in the scene. Some lenses can produce sunstars, but most of them can do it when the aperture is relatively closed (from f/8 – f/11 and smaller). Also, with those lenses you normally get well defined sunstars with rather many rays (10 or more) and also the light sources should be rather small with high light intensity. Let’s have a look at the same scene as before, using Walkingway’s following filters:
- Star 8
- Star 6
- Star 4
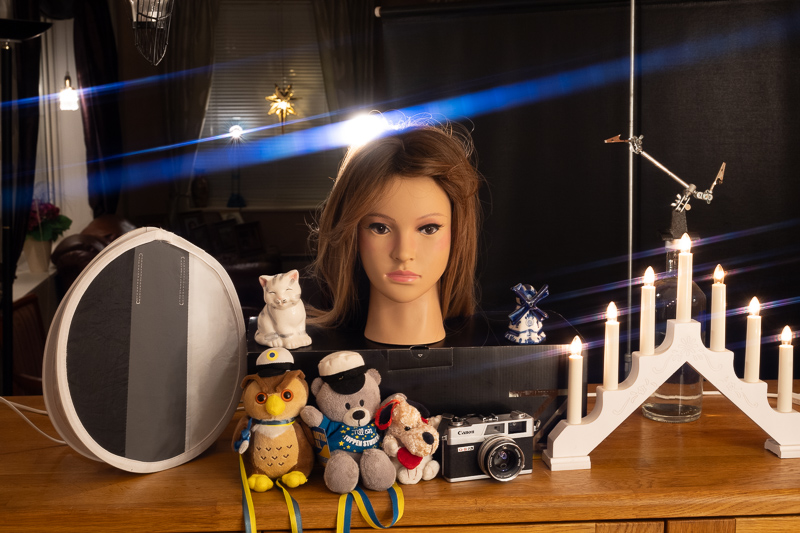
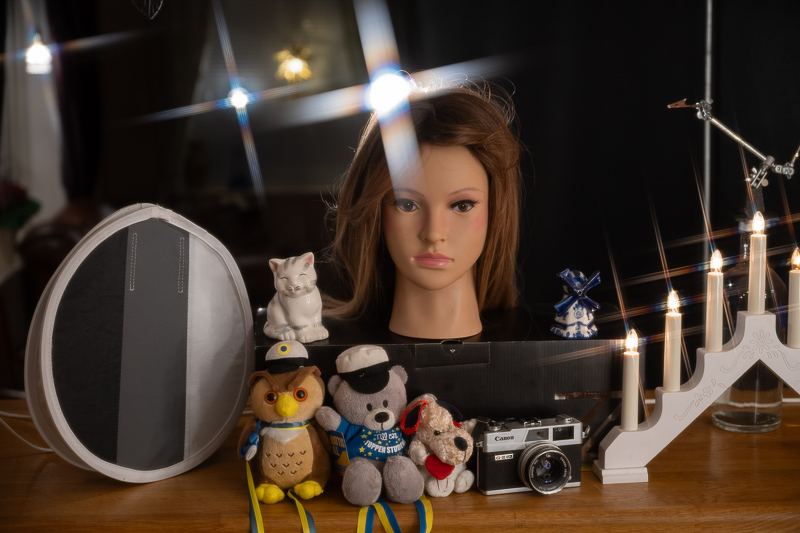
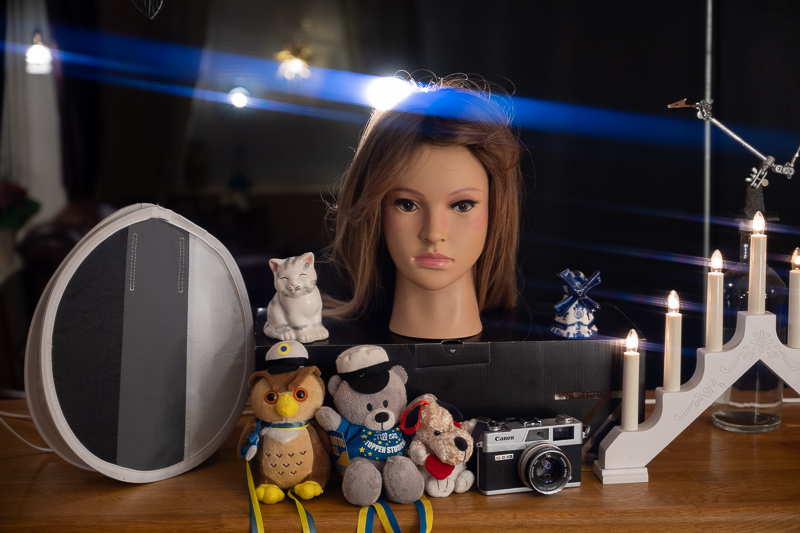
- Streak Blue
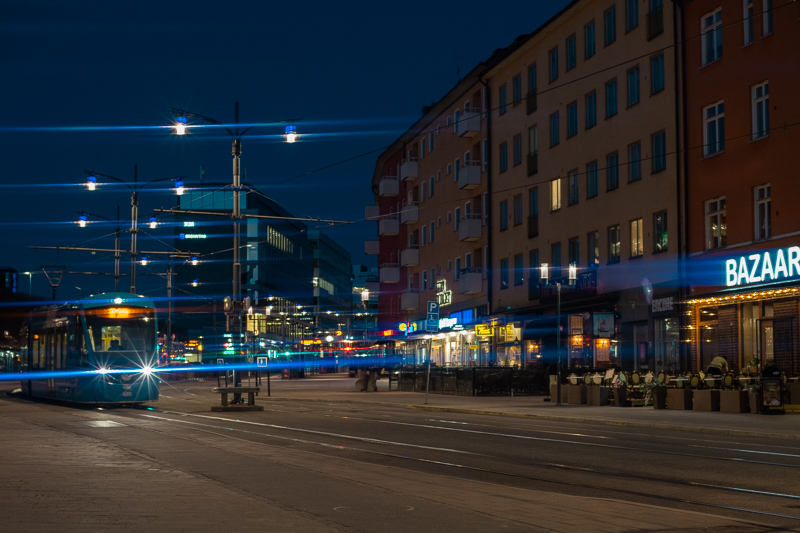
The Streak Blue filter is not a star filter and does not produce sunstars. It is more like something between a flare filter and a sunstar filter with only two rays, but the rays are prolonged and always tinged blue. This is a filter to mimic the lens flare of Anamorphic lenses, used in cinema filming. They always produce horizontal streaks though, while with this filter you can decide the angle of the streak as the glass part is rotatable.
How do the Star Filters Work?
Well, there are thin scores on the filter glass created by cuts in certain angles. When the light from the source hits the scores it travels along them, almost as water that flows along aqueducts. If the light is strong enough it will be seen as rays that are emitted from the source in the scores’ directions.
Test Scenes
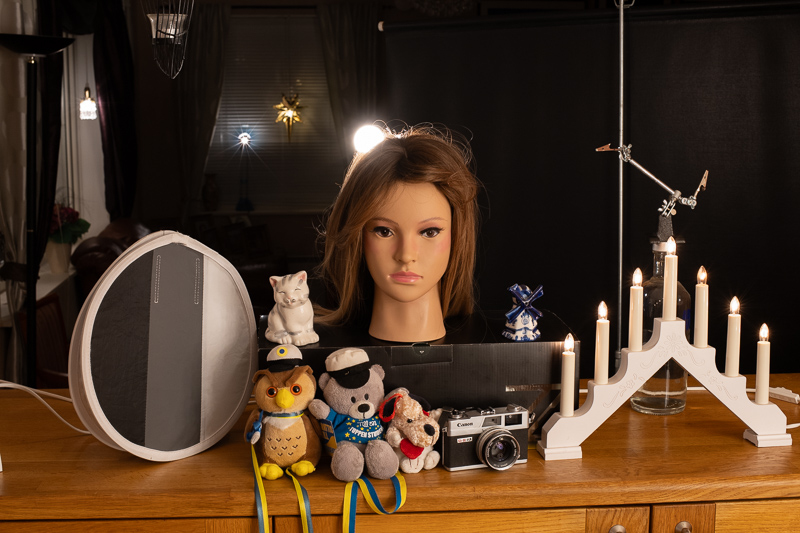
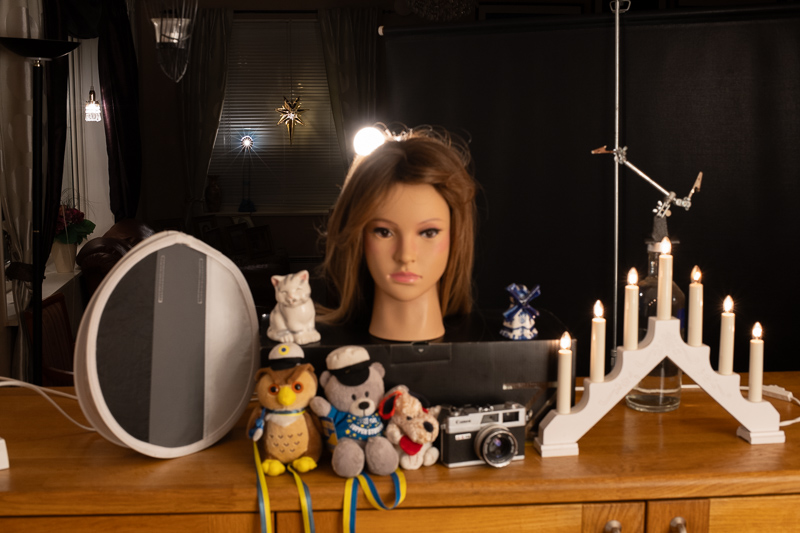
For this test, I used a Nikkor Z 24-70/4 S, a lens that cannot produce well-defined sunstars at any aperture and definitely no sunstars at f/4. For comparison, we also took a shot with a Nikkor 50/1.4 Ai-S, a lens that can produce distinct sunstars with long rays at f/11. No filter was used on this Nikkor 50/1.4.
First, focus at the foreground figures, f/11 for both lenses:
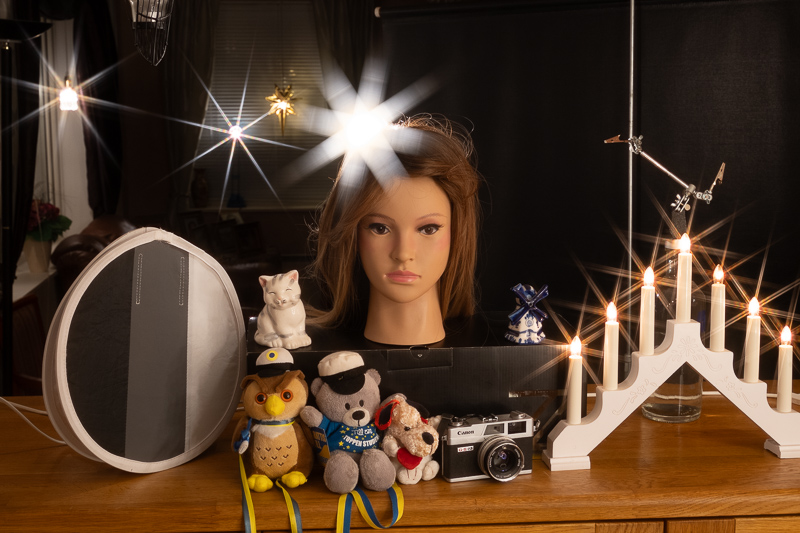
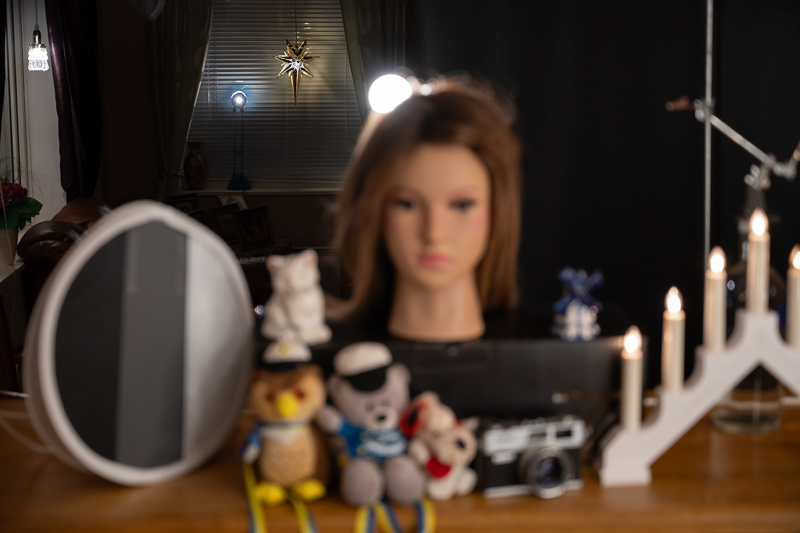
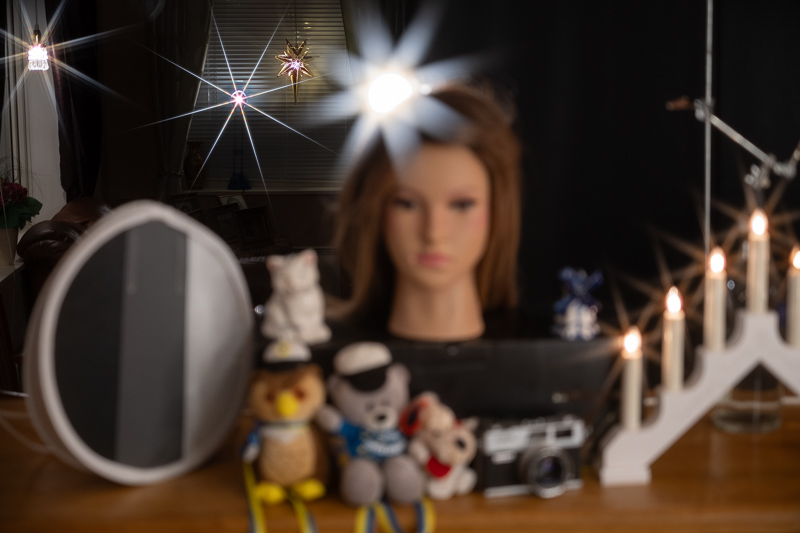
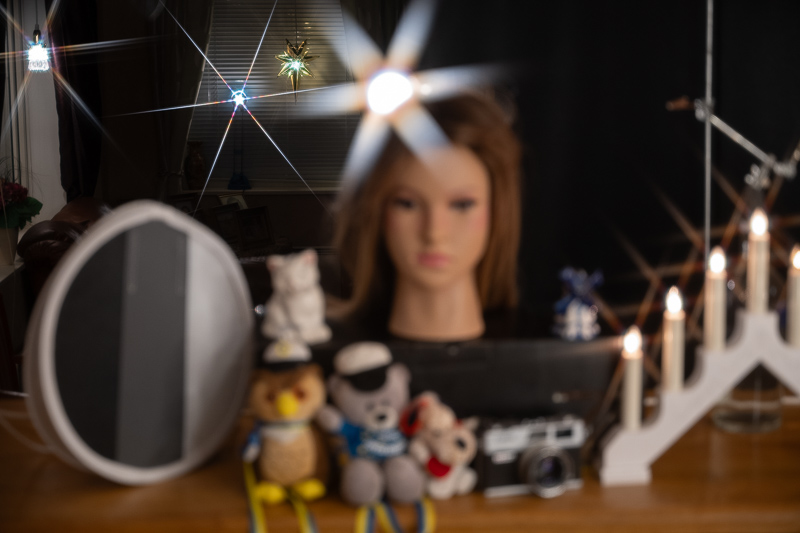
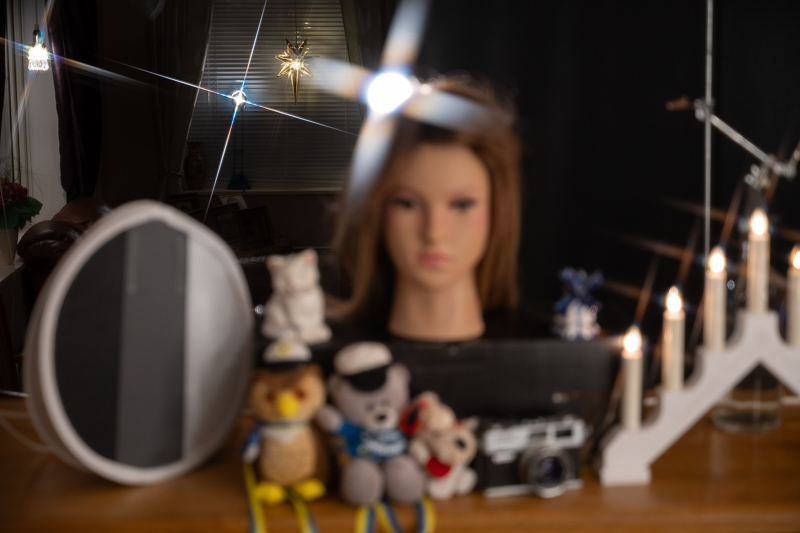
Second, focus at the lamp far away, we use Nikkor Z 24-70/4 @f4 to make sure no sunstars by the lens itself and f/11 on the Nikkor 50/1.4 Ai-s to make sure we get sunstars from that lens:
Stars from the background lamps are very well-defined with long rays. These rays display multiple colors due to the cuts in the glass surface, which create micro prisms. These prisms refract the incoming light into various colors that, combined, recreate the color of the source light. Whether one finds this appealing is a matter of personal taste. The star from the Nikkor Ai-s is also well-defined, albeit relatively small. Note though that the color of its rays matches that of the light source.
Third, focus at foreground figures at f/4, in this case the Nikkor 50/1.4 Ai-s does not produce any sunstars at all.
The rays from the lamps in the foreground are sharp and well-defined, the stars from the lamps in the background are also well-defined but they are unsharp or soft as they are out of focus.
Real Life Scenes
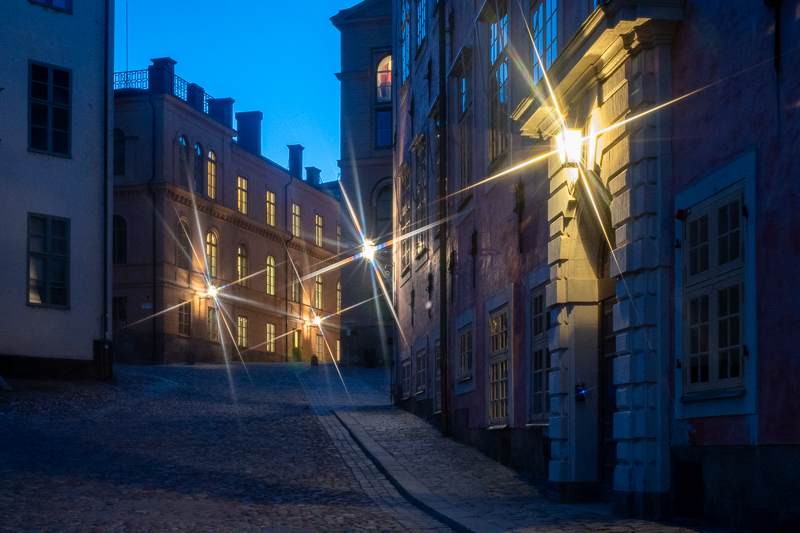
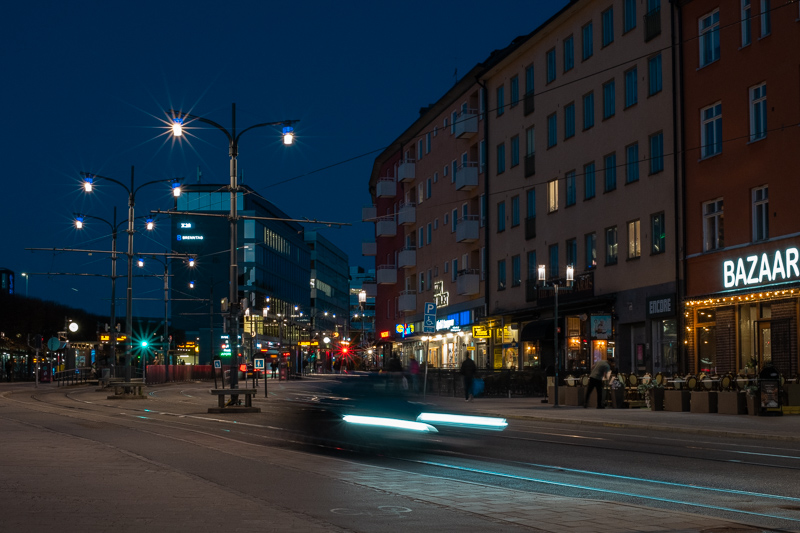
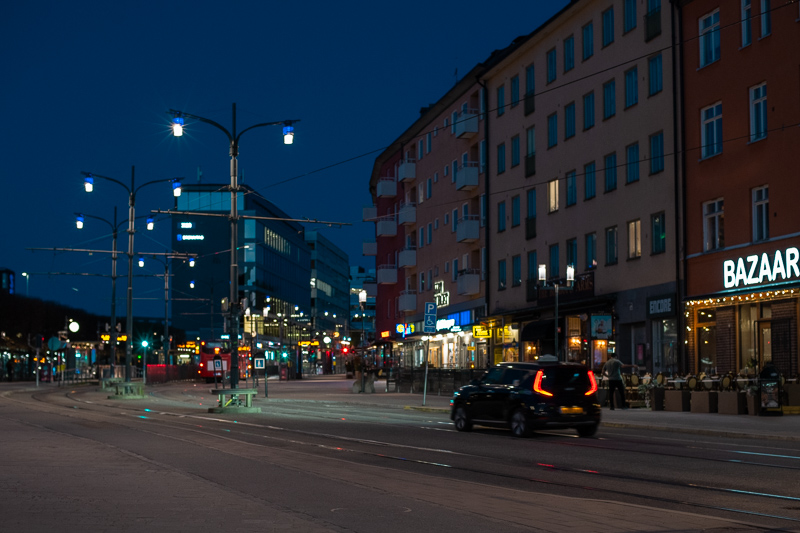
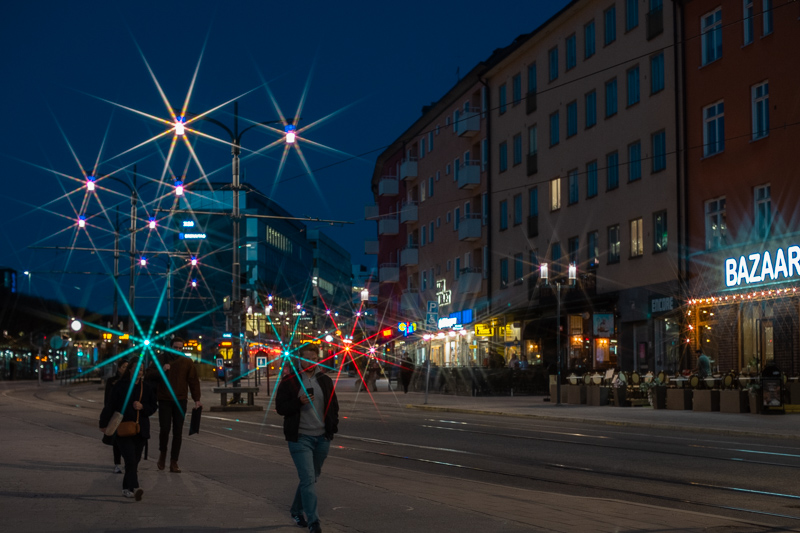
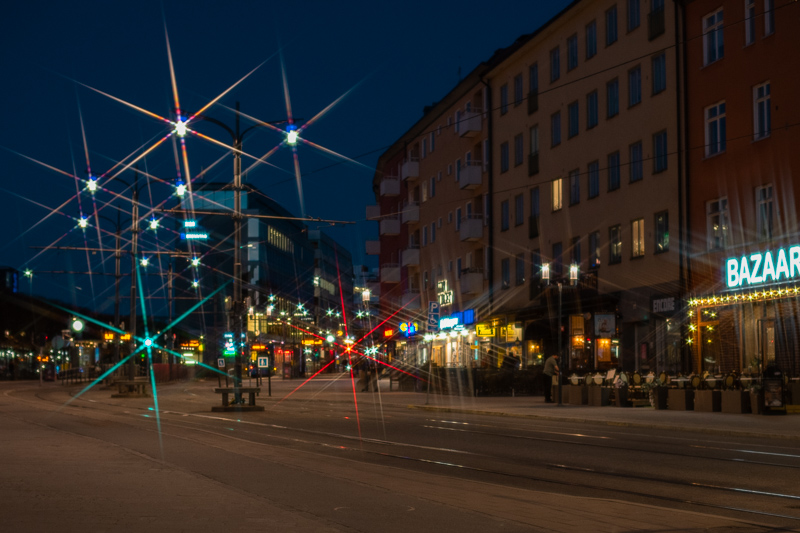
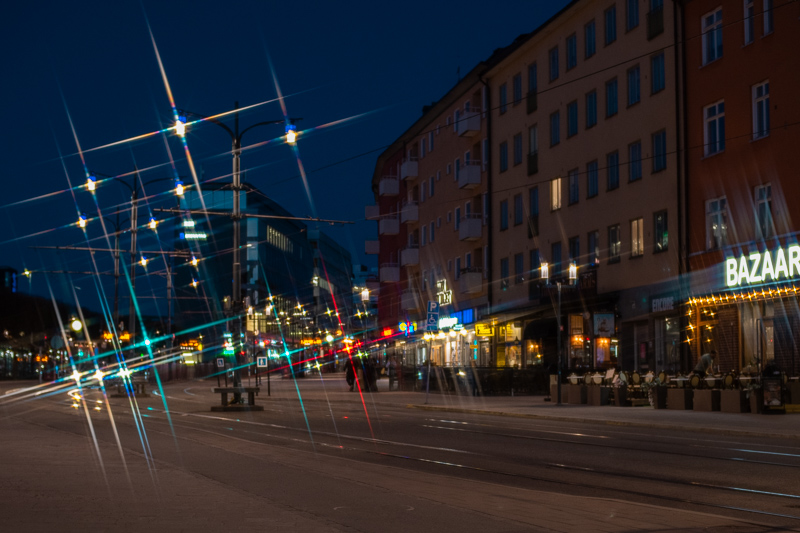
Now, let’s look at a real life scene in the night! (All images with Nikkor 50/1.4 Ai-s). The first two images without filter, the rest with different filters. The first image at f/16, the rest at f/2.8.
This can definitely be cool in certain scenes. Beware of one thing thoug, If the lens can produce sunstars without any filters, by using the filter the stars of the filter and lens will interfer. As an example of that see the image under “Streak Blue” tab. If you don’t like it you should use the lens at its widest apertures or not using that lens and star filter combo. Here is another example.
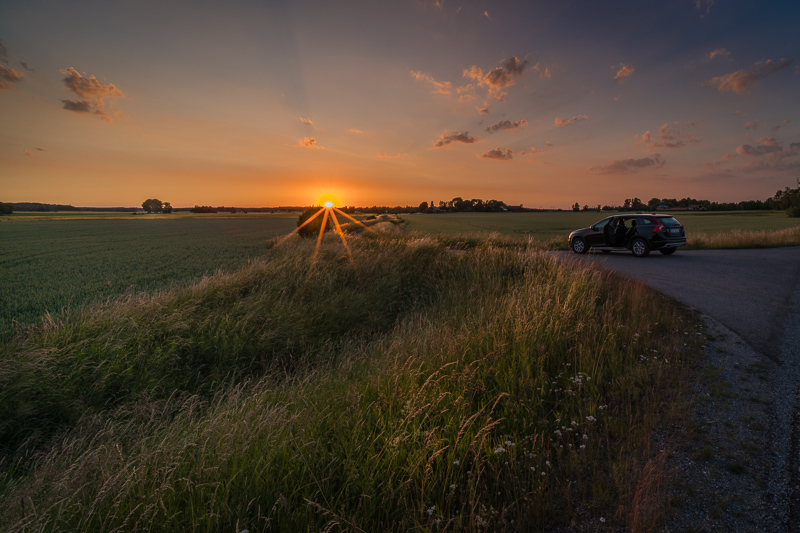
And now a scene with the sun in the frame!
As you can see, the sunstars are not very well-defined when the light source is the sun. There are also some flare artefacts visible caused by the cuts on the filter glass. To illustrate the difference to stars from lenses that natively can create sunstars, here are three images showing the sunstars produced by three different lenses without any filters.

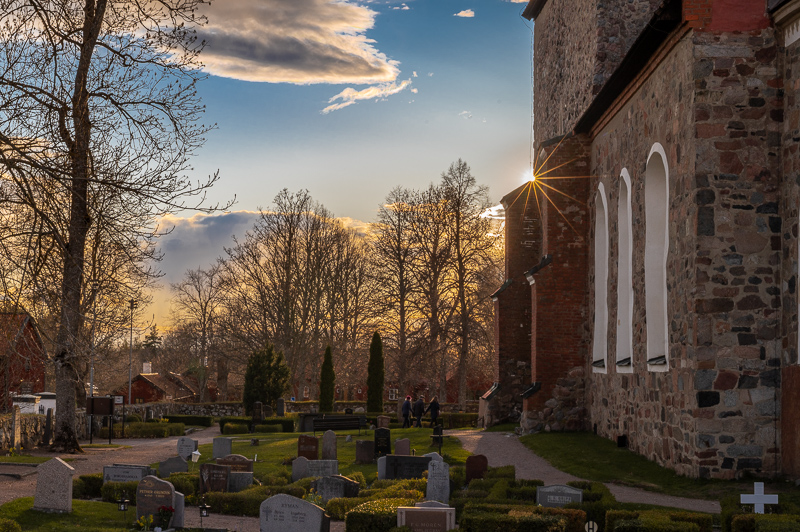
As you can see, lenses that can create native sunstars produce much nicer, distinct sunstars without any artefacts, compared to filters.
In summary, when dealing with artificial light sources in dark scenes, the Nikkor 50mm lens struggles to produce sunstars for light sources close to the camera, and it also has difficulty producing sunstars at larger apertures. The sunstars it does produce are comparatively smaller, and the rays are unicolor, matching the color of the light source.
On the other hand, filters can produce sunstars at any aperture and for both close and distant light sources. If the light source is in focus, the stars are very well-defined and distinct. The star rays produced by the filters are all equally long. The rays can shift in color, except for the Streak Blue filter, where the rays are monochromatic and always blue.
However, if the sun is in the image, the filters encounter problems. The sunstars become very fuzzy, and flare artefacts appear in the image. In contrast, lenses that can create sunstars do so with distinct rays and without any flares.
Prism Filters
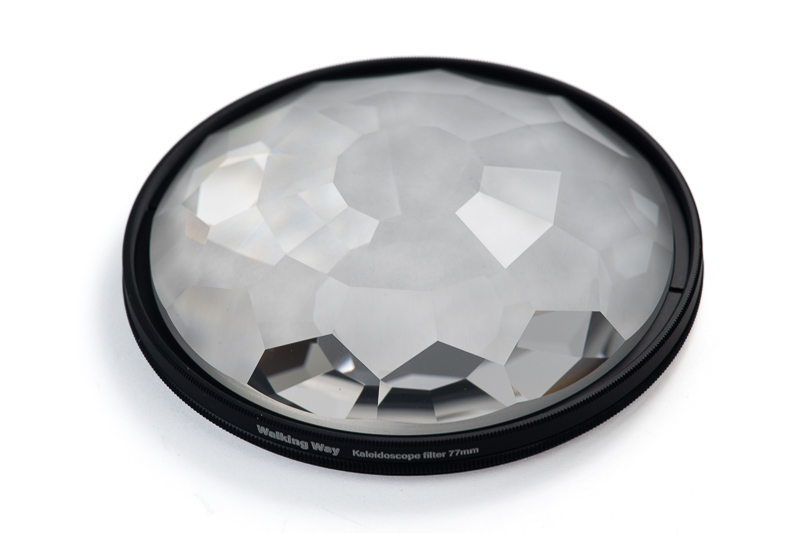
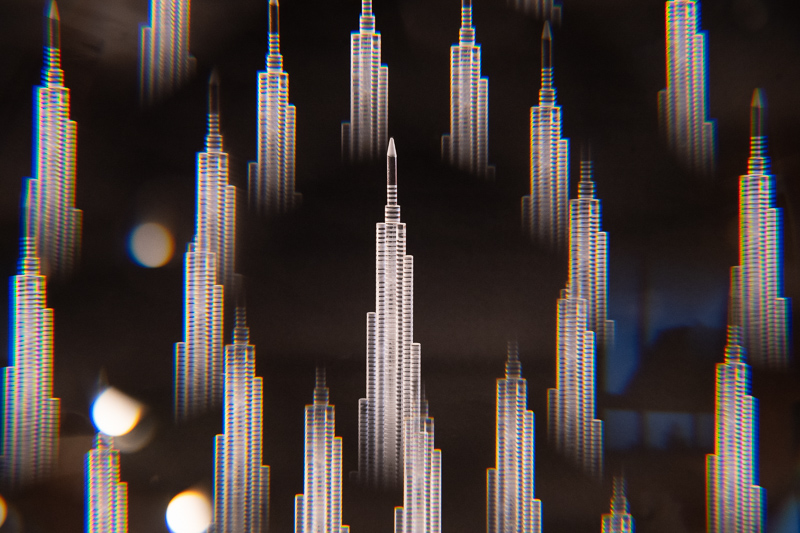
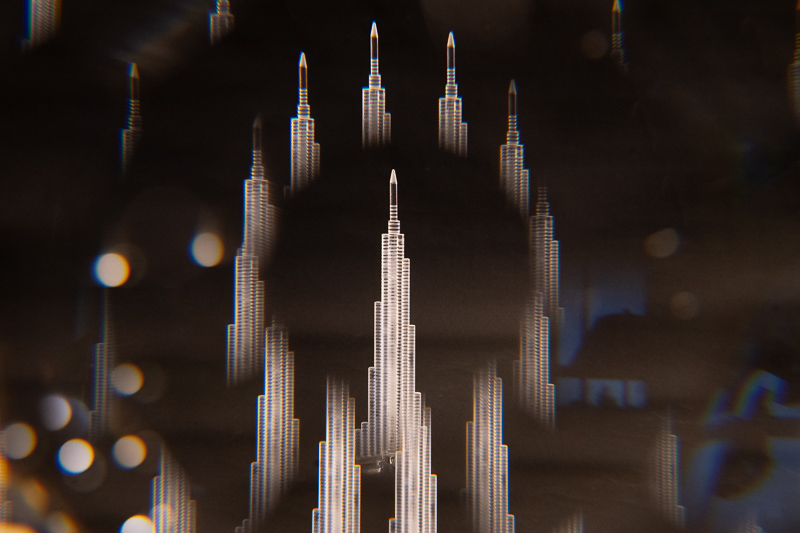
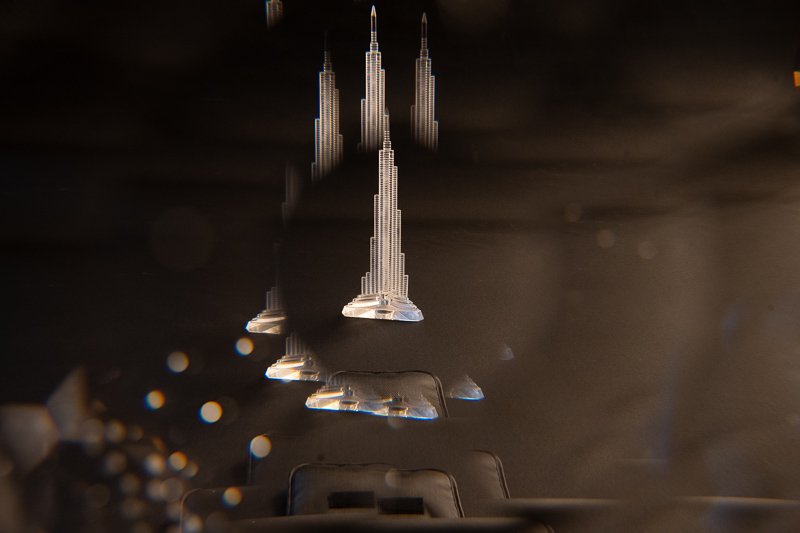
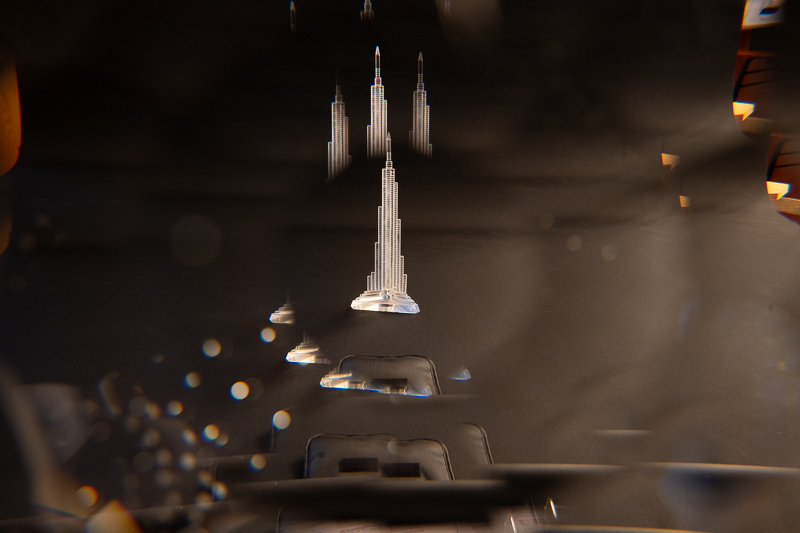
Prism filters are designed to create creative effects in images by multiplying, stretching, swirling, or otherwise producing unreal yet beautiful effects.
Walkingway offers several types of prism filters. I found their Kaleidoscope filter to be the most appealing, and that’s the one I tested. Of course, preference is entirely subjective.
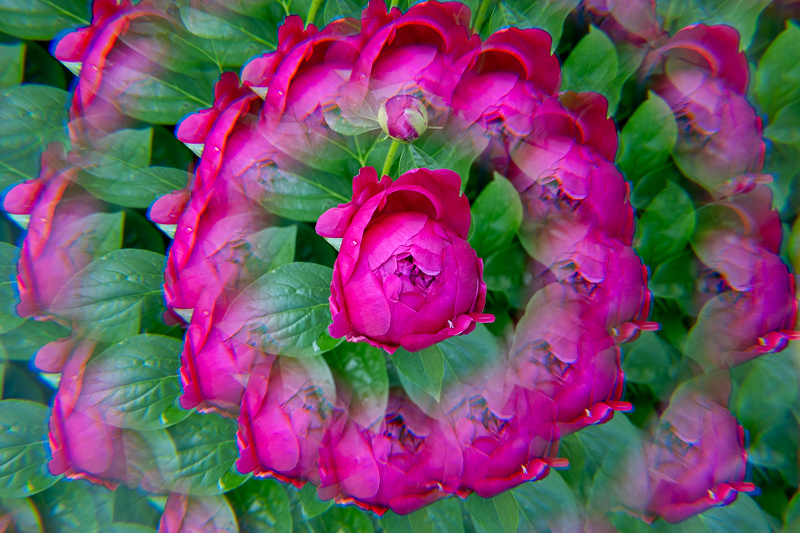
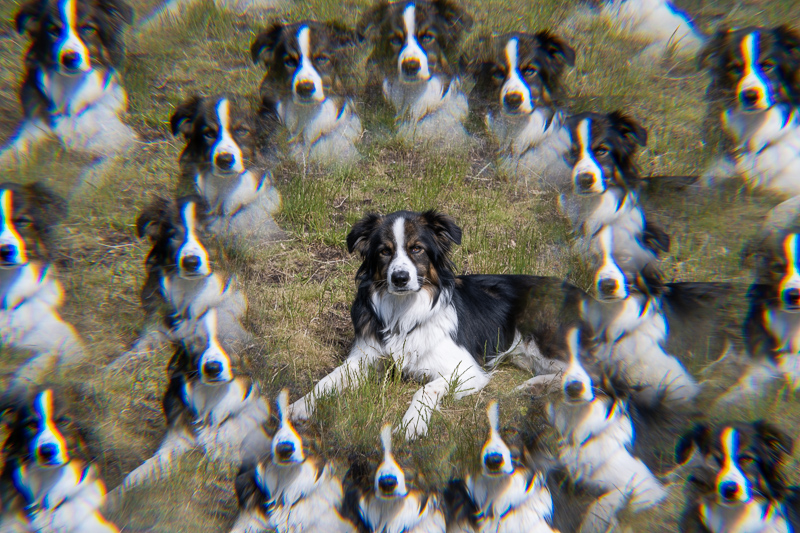
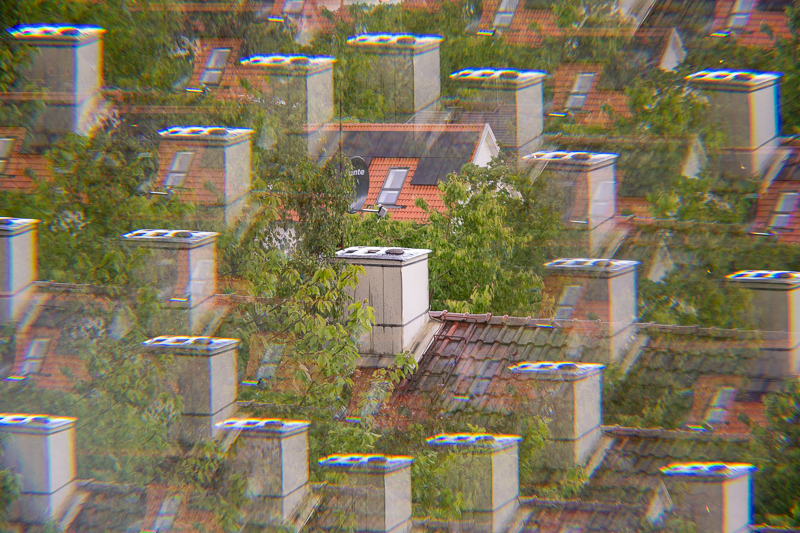
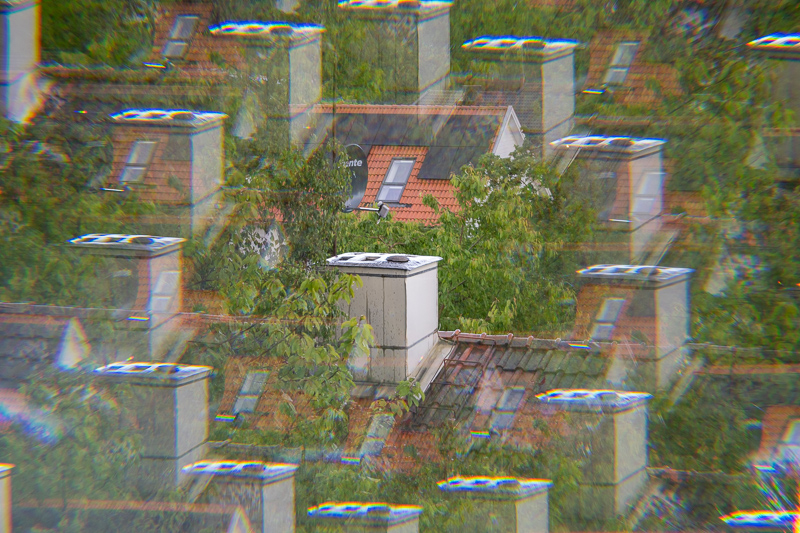
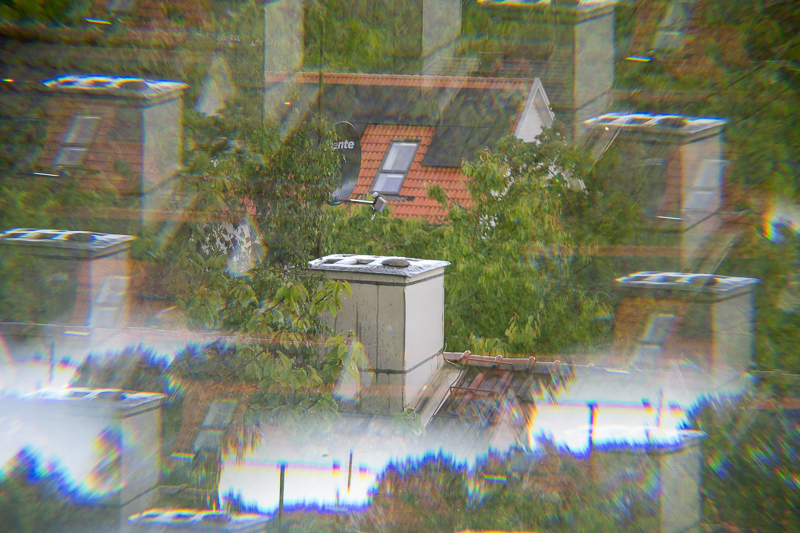
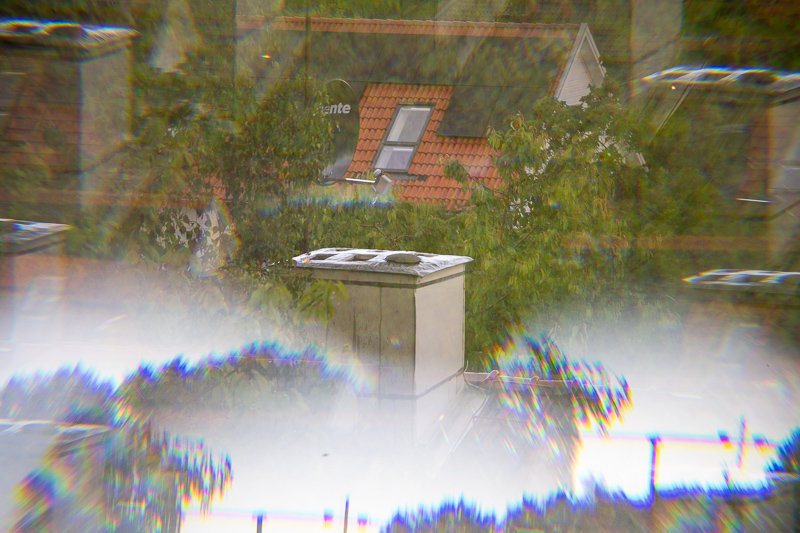
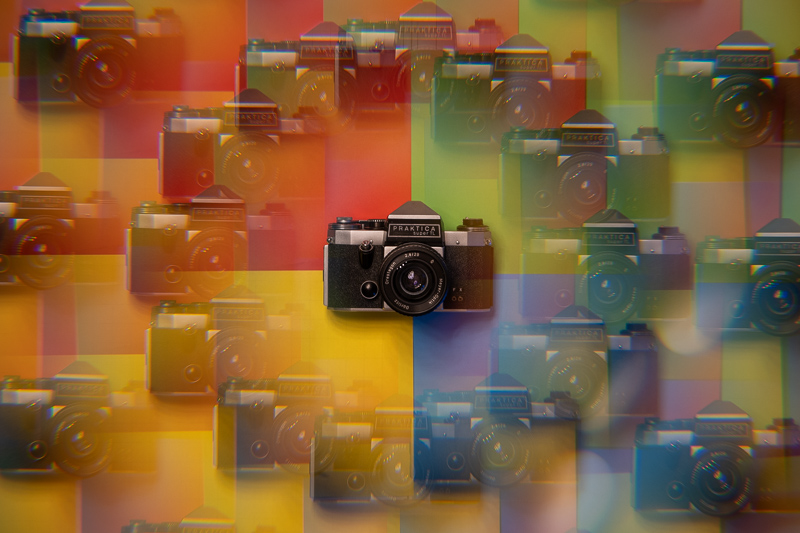
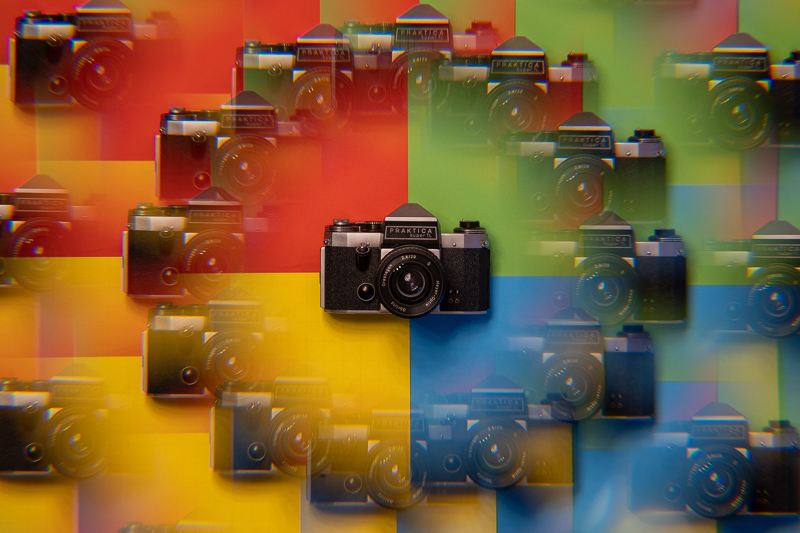
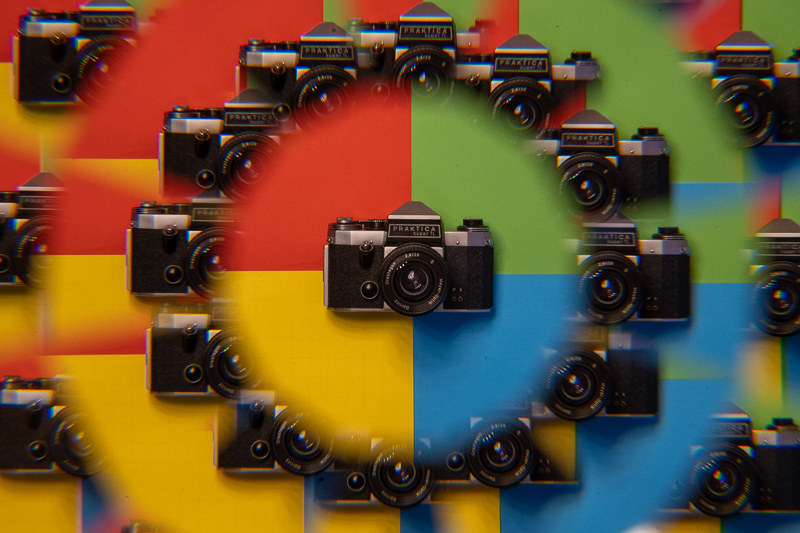
The filter glass is designed like a round, symmetrical, multi-faceted prism, creating the fascinating symmetrical patterns of a kaleidoscope. This is achieved by creating several duplicates of the main subject around the subject, which must be in the center of the frame. In my tests, I found the best effects at focal lengths between 50 and 85mm. A focal length wider than 50mm includes too much of the area adjacent to the center subject, and a length longer than 85mm places the kaleidoscopic duplicates outside the frame. Below, you can see the effect at different focal lengths.
Another factor that affects the result is the aperture opening. The more open the aperture is, the more it creates a dreamy effect where duplicates blend into each other. Conversely, the smaller the aperture, the more distinct the duplicates become.
The prism filters are fun filters for the most part, but can add something extra to e.g. a wedding photo portfolio. These filters work well for specific subjects and situations, creating interesting effects. However, the effect truly shines in videos. Filming through this filter allows you to rotate it, creating a mesmerizing and ever-changing kaleidoscope effect of shapes and vibrant colors (depending on the subject). I put a few short footage on our Youtube channel and as reels on our Instagram for demonstration.
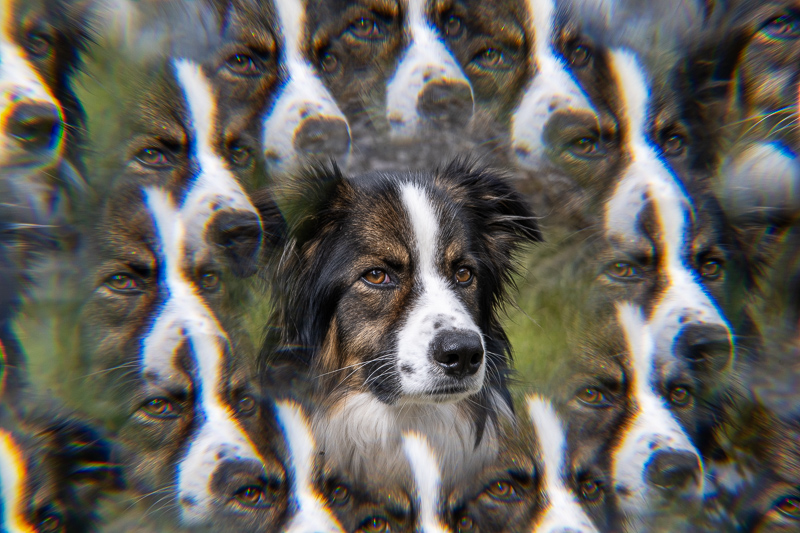
A crucial optical characteristic for this type of filter is the retention of sharpness at the center of the image. Fortunately, as we can see in the image above, the sharpness in the center is maintained.
Conclusion
The softness and dreaminess created by diffusion filters, the beauty of sunstars, or the effects of prism filters are subjective. I can’t label them as good or bad universally, but I can express my personal preference. Discussing optical quality is somewhat irrelevant since these effects often stem from optical imperfections. Sometimes, lenses with poor optical characteristics can produce side effects that are appealing to some. Ultimately, it’s a matter of personal taste. I’m happy to share what I like though.
When it comes to sunstars, I appreciate that they are very distinct with long well-defined rays, at night. While they can enhance certain night scenes beautifully, sometimes the effect can be overpowering. Exactly when it becomes too much is subjective and depends on personal taste. The refracting effect shown in star rays is the same; some people hate them, some love them. On the other hand I don’t like the effect on the sun itself and would not use it in daylight.
On the subject of diffusion filters, I think some pictures that could benefit from a softer touch. Sometimes, this might involve softening the edges of very sharp images to create a specific mood. Other times, it could be used to achieve a dreamy or misty effect. However, it’s important to avoid overusing this technique.
The streak blue and prism filter are somewhat special, the effects are appealing to me for certain situation and recreating them in post without use of the filters, if not impossible, it too demanding, especially in video. So, if you think they are nice and can use them creatively in your projects, you should definitely go for them.
I can definitely see some situations that these filters can be used with successful and satisfactory results. They’re particularly useful for videographers, as achieving the effect in post-production for video can be challenging if possible at all. These filters can significantly simplify the process. Also considering the budget friendly pricing of the filters, most people can afford to buy one or two to test. If you like them, you can buy more. If you don’t, you have’t wasted too much money.
Writing articles like this one is both time-consuming and costs us a lot of money. If you found this article helpful and decided to buy one of these lenses, please consider using one of the affiliate links.
If you are not interested in buying any of these filters, but you still found this article useful, and interesting, or it saved you a lot of money, treat us to a coffee!
| You can buy Walking Way’s filters directly from the manufacturer or one of the following stores.
Buy new: WalkingWay, Amazon.com , B&H for $ (Affiliate links) On Walkingway’s store you can use coupon code MARTINMH to get a time limited 10% discount. |
Alternatives
There are many manufacturers that make similar filters, here I list just a couple of them. Note that when it comes to effect filters the higher price does not necessarily mean better filters, as I mentioned it all comes down to your personal taste.
Tiffen: Amazon, B&H (Affiliate link)
NISI: Amazon, B&H (Affiliate link)
Haida: Amazon, B&H (Affiliate link)
K&F Concept: Amazon, B&H, (Affiliate link)
More Sample Images
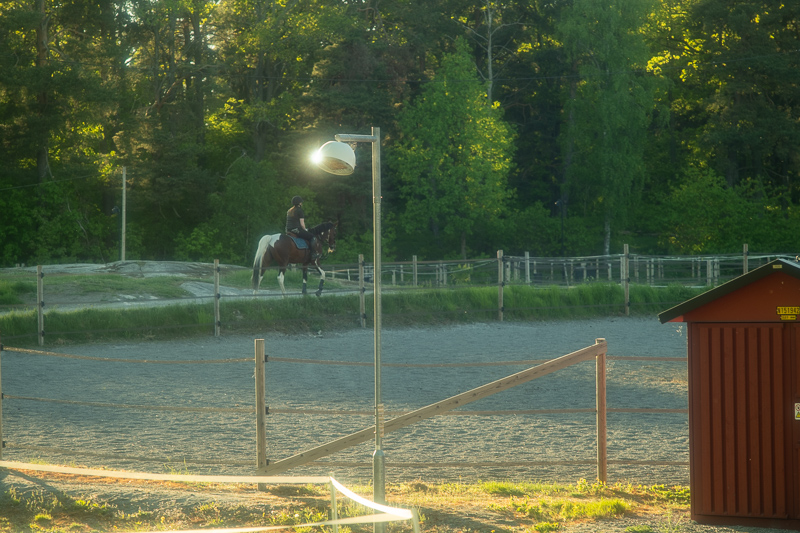
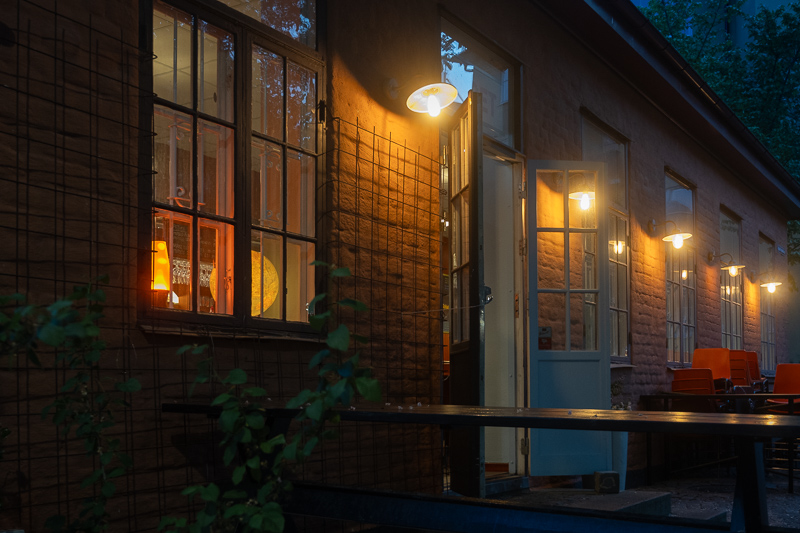
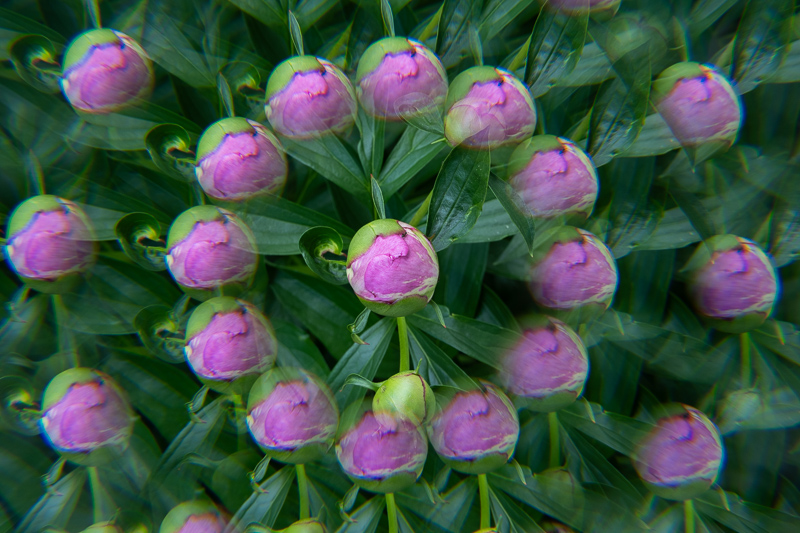
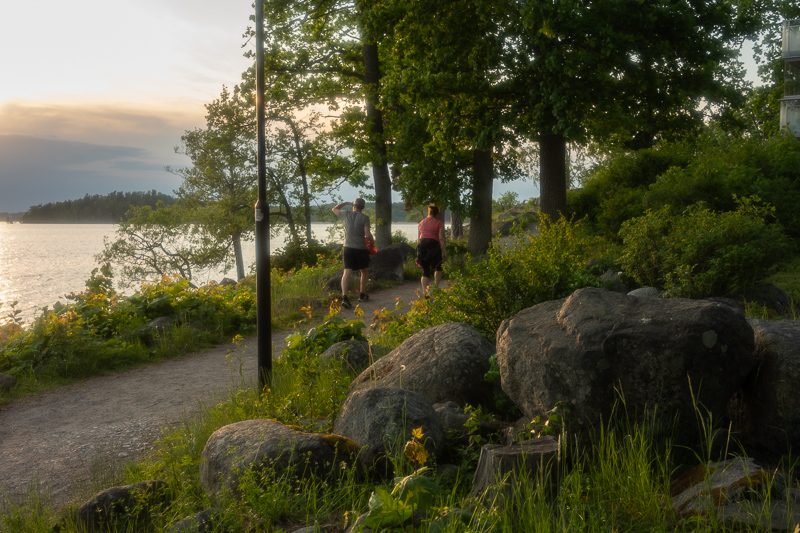
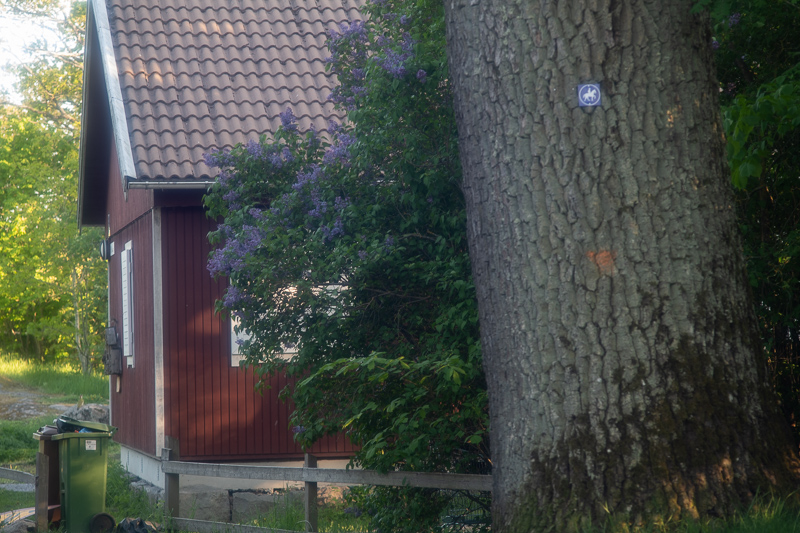
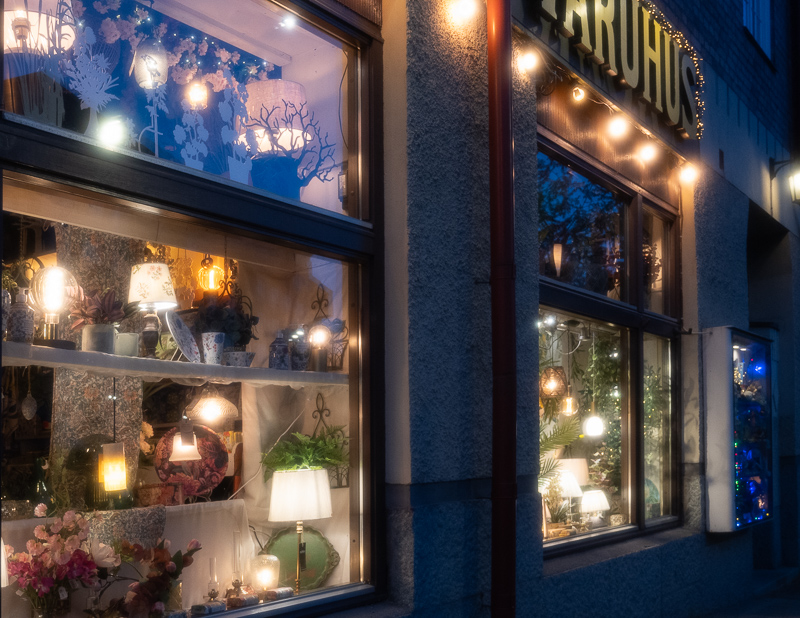
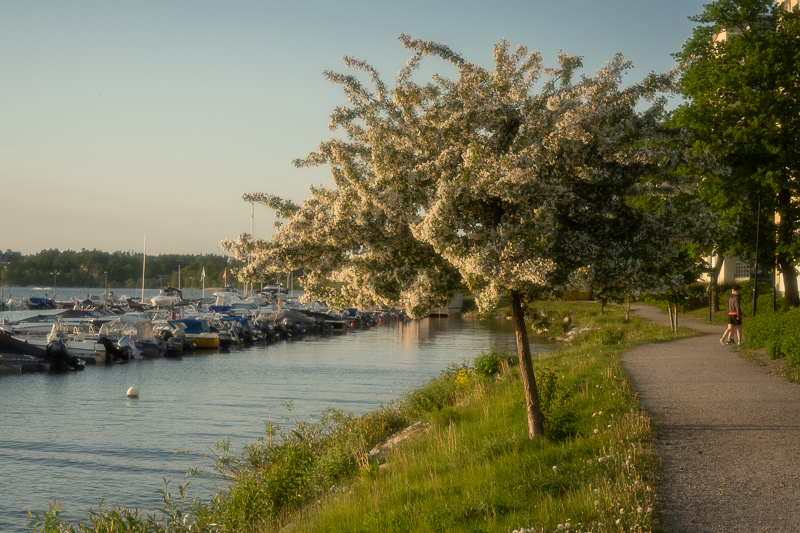

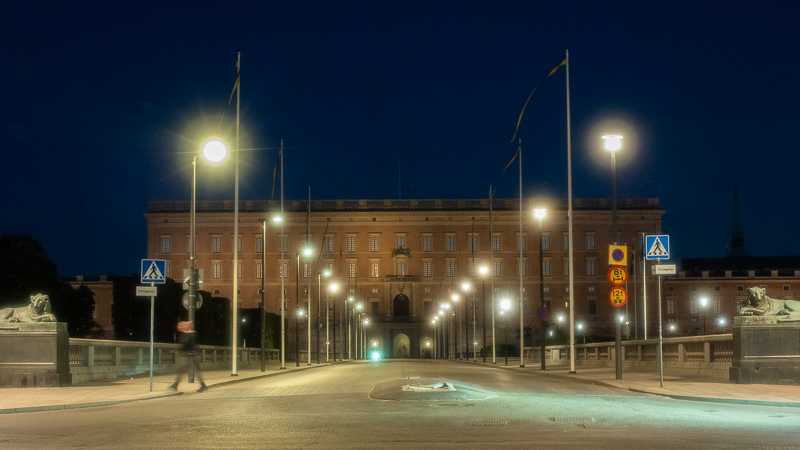
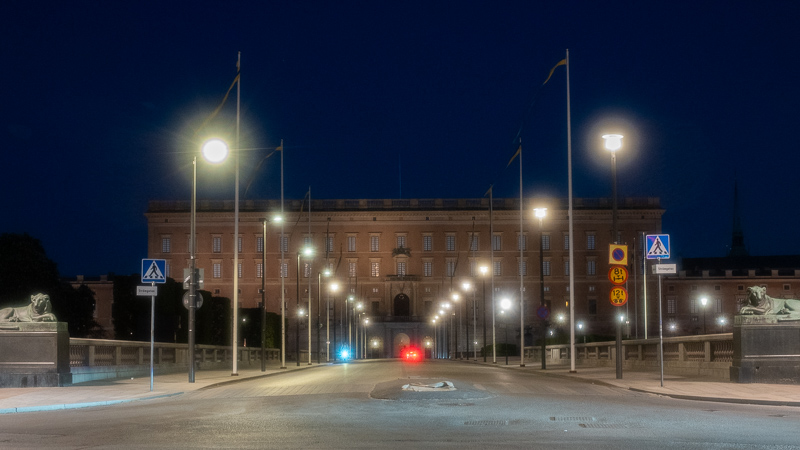
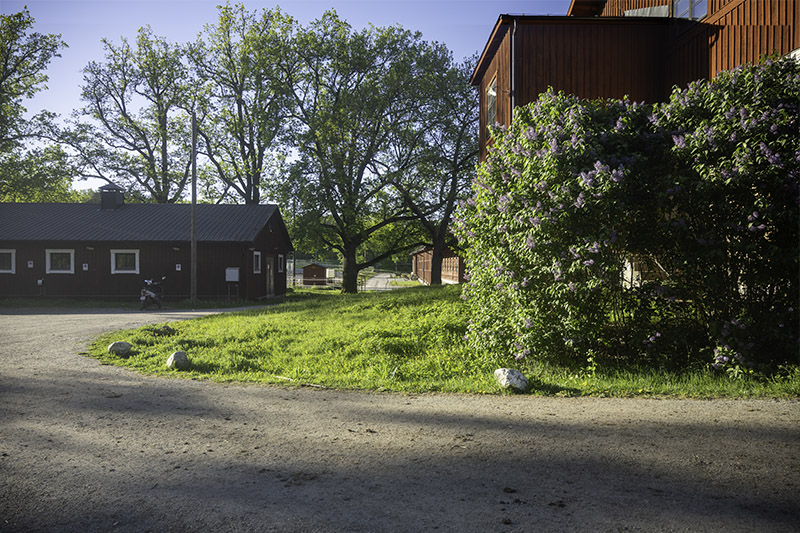
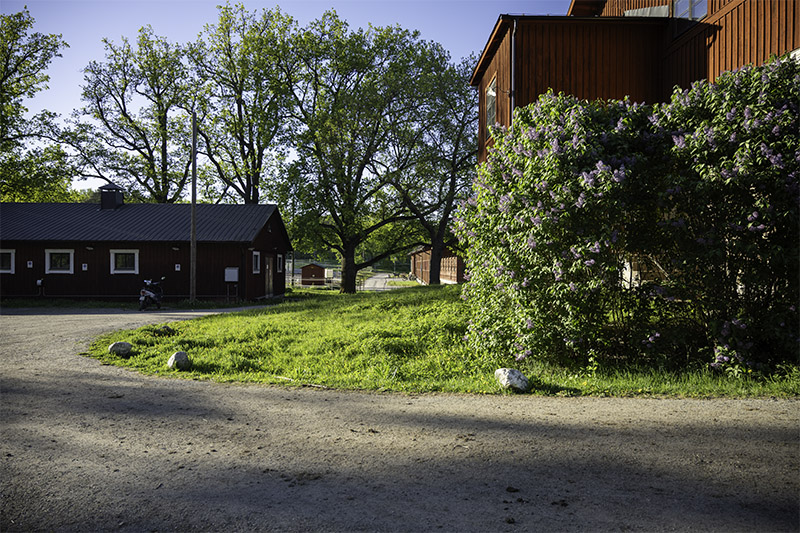
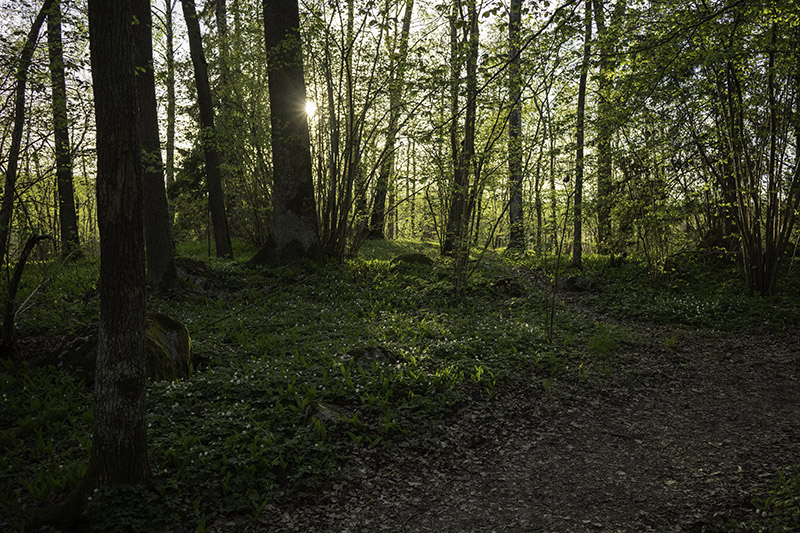
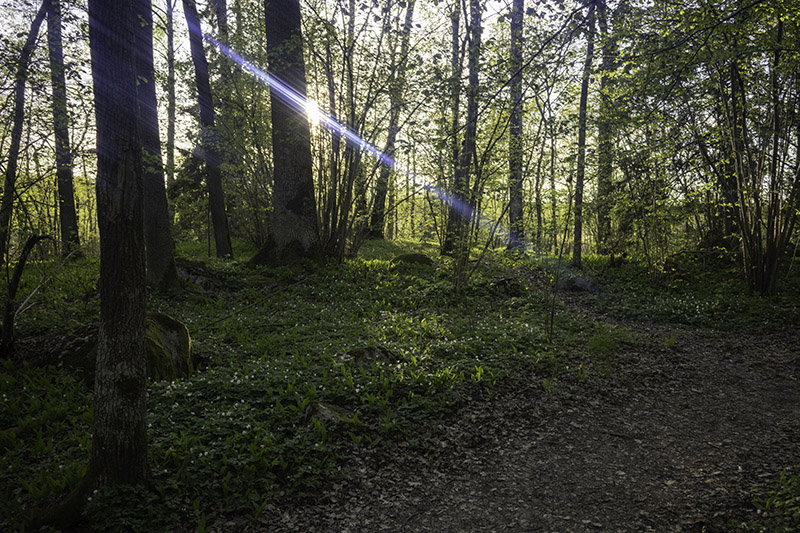
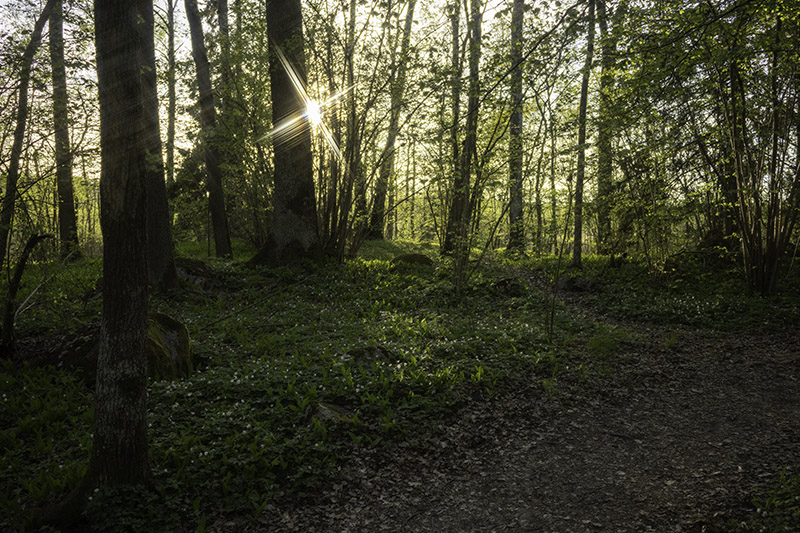
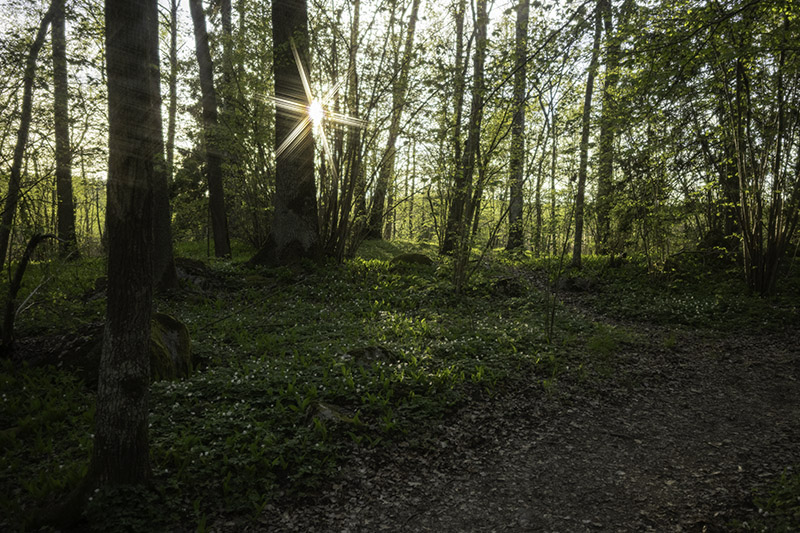
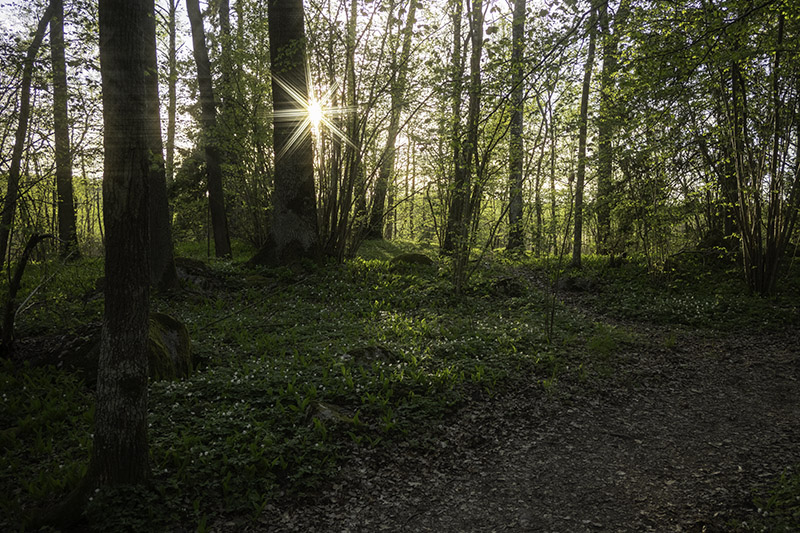
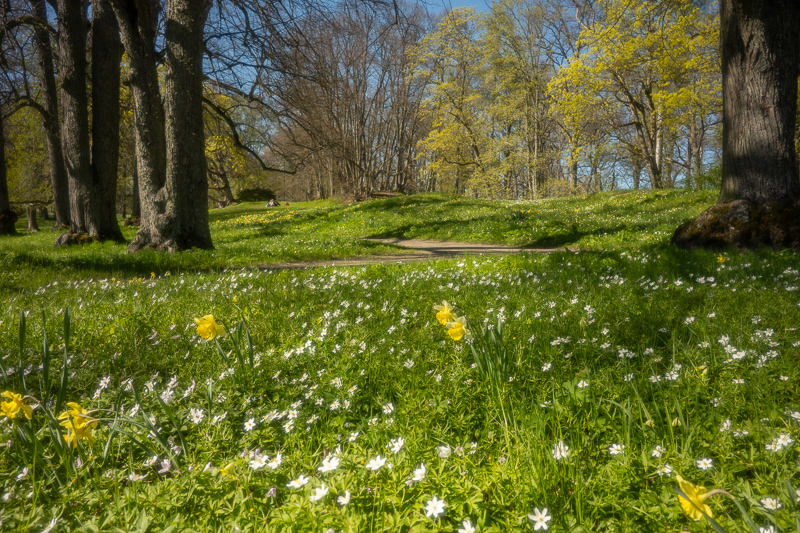
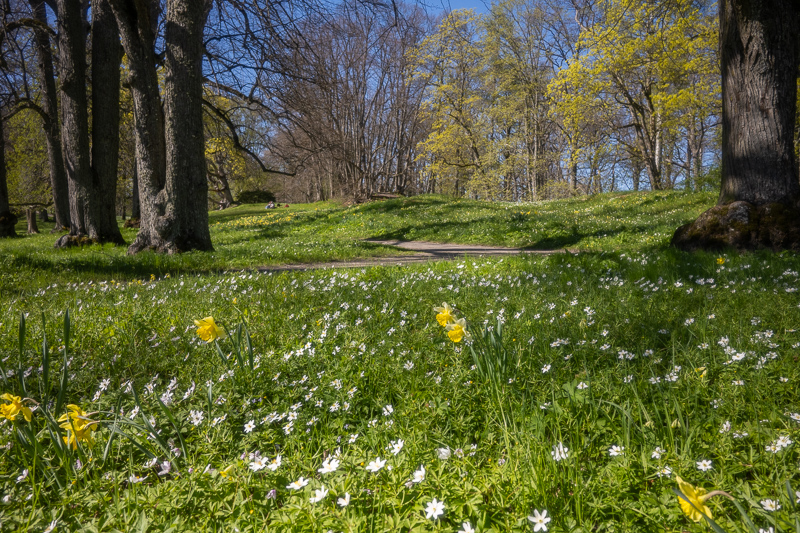
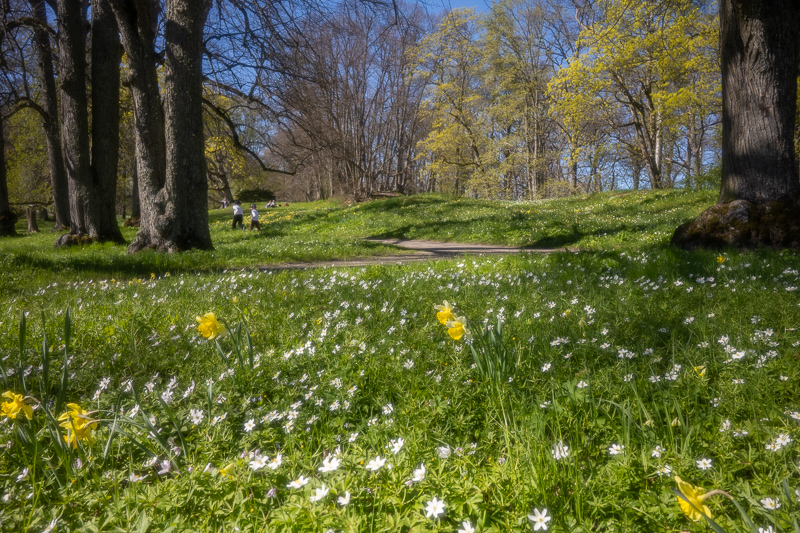
These image series of the grove were taken with Nikkor Z 28/2.8 @f/8.
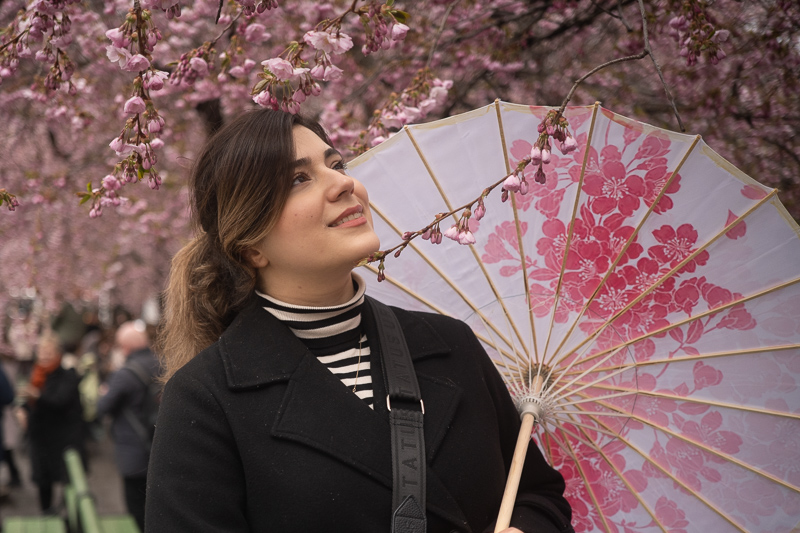
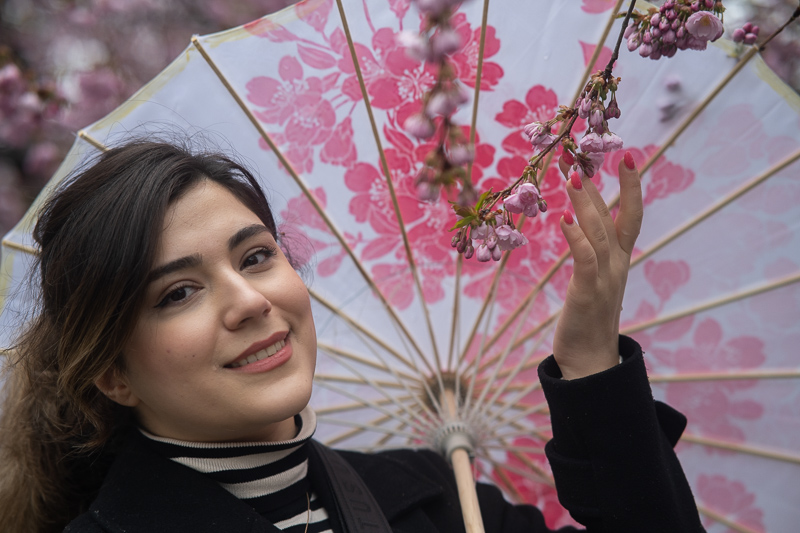
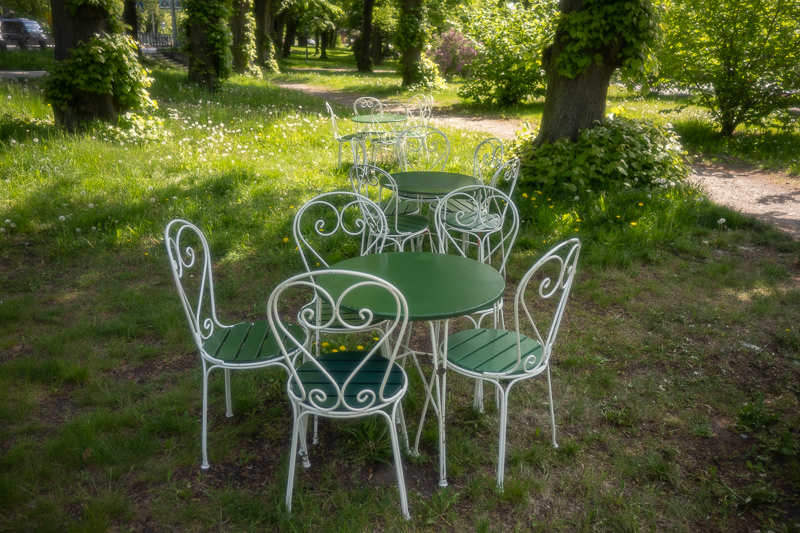


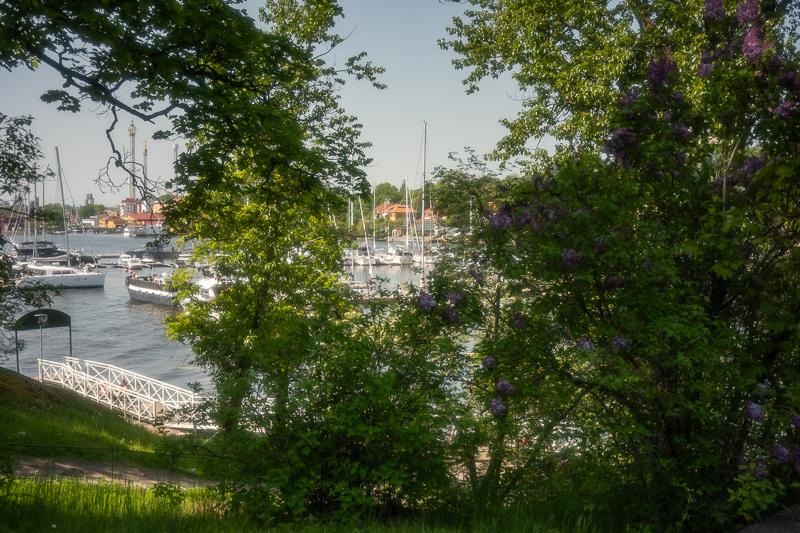

Most of the sample images in this review and many more can be found in higher resolution here.
Further Reading
- Filters for Digital Photography
- Diffusion Filters – Are They Useful?
- What camera gear and accessories do I use most frequently?
Support Us
Did you find this article useful or did you just like reading it? Treat us to a coffee to show your appreciation!
![]()

(Donations via Paypal or bank card)
This site contains affiliate links, for which I may receive a small commission if you purchase via the links at no additional cost to you. This helps support the creation of future content.
Martin
Latest posts by Martin (see all)
- REVIEW/Comparison: Thypoch Simera 35mm f/1.4 ASPH. (Z) vs Leica Summilux 35/1.4 FLE II - February 18, 2026
- Review/Comparison: Nikon NIKKOR Z 35mm f/1.4 (vs. 35/1.8 S) - February 8, 2026
- REVIEW: TTArtisan 14mm f/2.8 - February 1, 2026


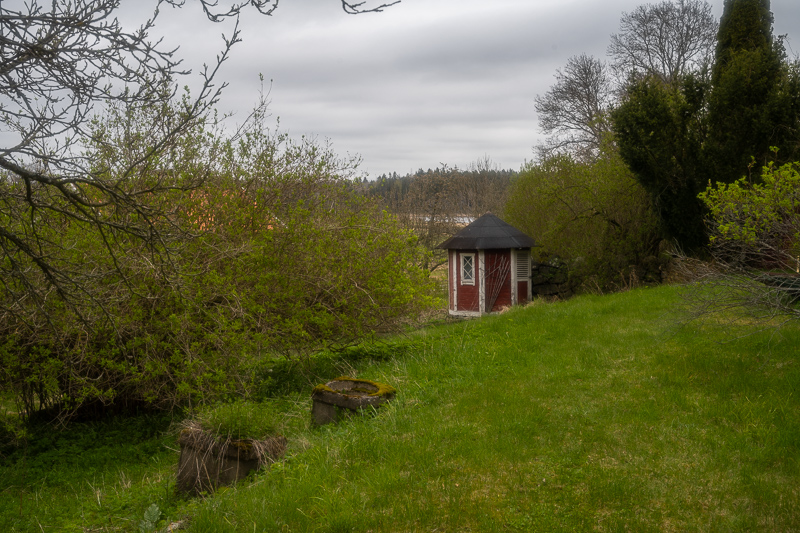
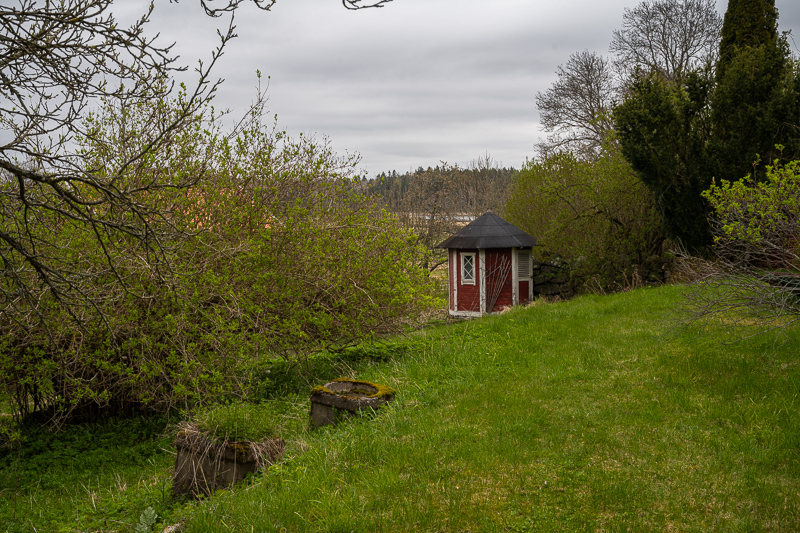









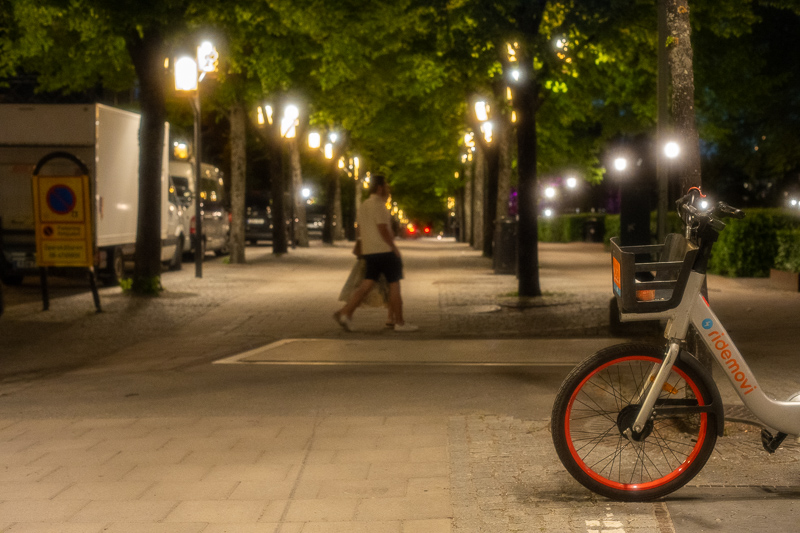
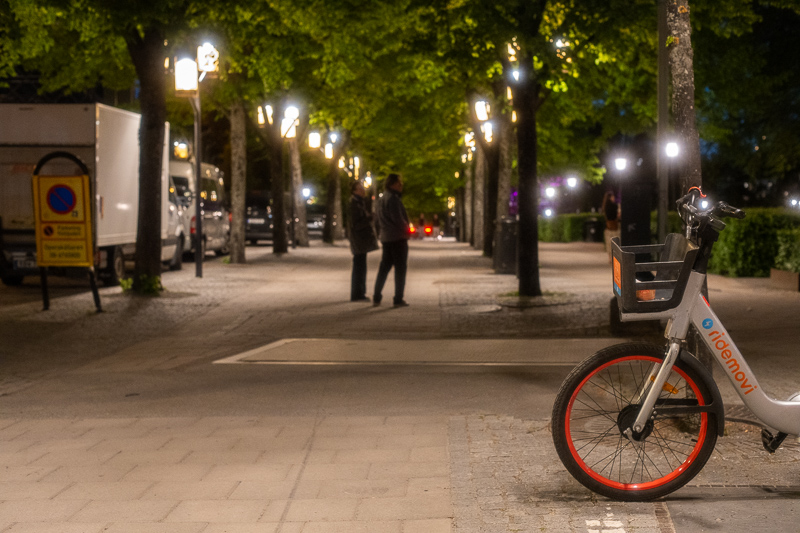
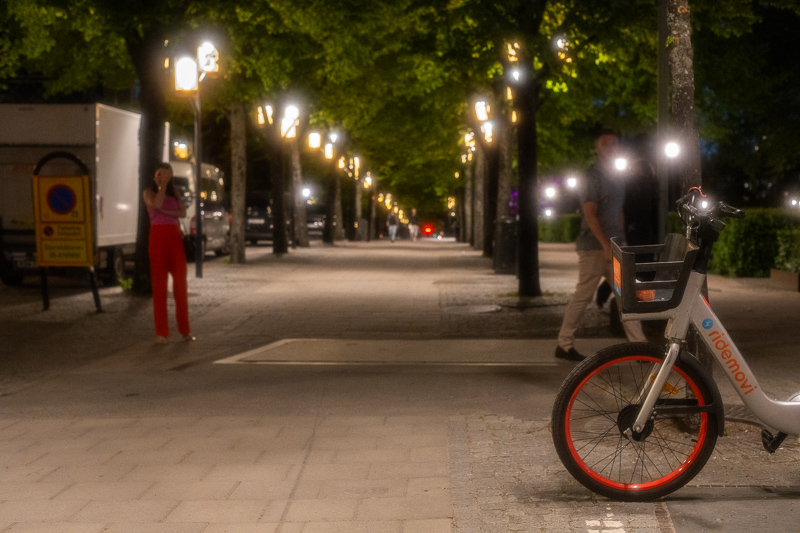
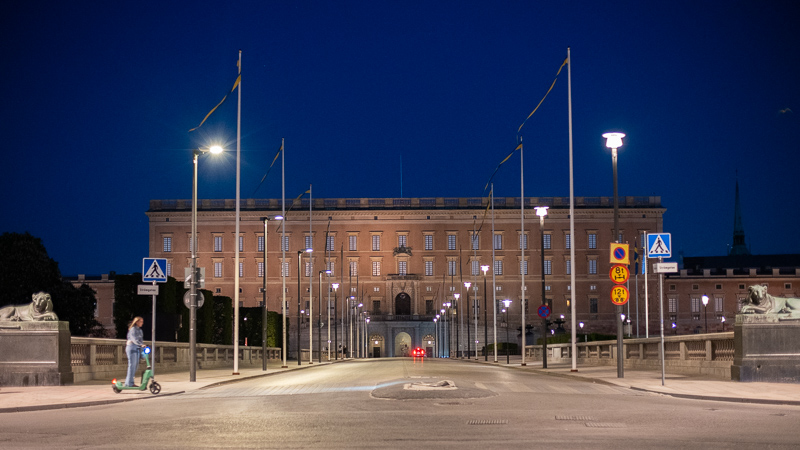







An alternative to a mist filter is a stretched black stocking in front of the lens.
I wonder if they cut shallower groves in the sunstar filter whether they could be subtler, as I find the effect to be far too overbearing in the these. Also, versions with more rays (10/12/14/18) would be good to better replicate modern lens diaphragms.
That kaleidoscope dog headshot under the Prism Filters section is brilliant! It’s the photo equivalent of mistyping “Dog” as “God”.
Another, major application of star filters not mentioned here is Astrophotography. In the field, the aperture used to shoot the sky usually could not produce any sun stars. But there are two ways to create them, one is to naturally use a reflective telescope. The spider vanes, usually 4, will create the signature NASA 4 point sunstars you usually see in their images, but the easiest and the second way is to use the star filter and you can get almost the same effect at f1.8 at some cost of light.
I love how we spend all this money on lenses that over correct all these qualities at the expense of color saturation, tonality, and small size and then pay even more money to reintroduce them 😆 alternative solution: buy a $50 mint film era lens from eBay
Thanks for the review!
Thanks for your article. You inspired me to take out my box with more than 100 Cokin Filters. I started with this system in the 80ies, using them on a Canon A1 and a Canon T90. I wonder how they will work on My Sony A7R-IV.
How to make from an 1000€ lens an plastic 10€ Toy lens…
Well sometimes this is fun.
I use an old UV filter that I color with watercolor paint. Rather think on the edges and almost nothing in the middle. Bleu paint gives a nice Holga lens effect with swirl bokeh.
You can also destroy an old filter by making scratches that will give a kind of light streaks…
As most will have an old uv filter, just enjoy DIY!
I have the Soft I filter, and I have to say Martin, I believe you’ve gotten a very good copy. Using mine on my Zf + 40mm f/2, I’ve gotten quite extreme flaring and loss of contrast during afternoon shots. I find that I need a large amount of post processing to even begin to correct some of the flares and blooms in unwanted areas. I’m using a screw-on lens hood on the 40mm too, in an attempt to cut down on flaring. Additionally, it seems to cut down on overall shadow detail and clarity a lot more than desired, regardless of the time of day. I’d be more than happy to share some edited+unedited RAWs with you if you’d like to take a look.
Overall, I’m not really complaining as it only cost me $10 for the filter, and I was eventually able to produce some nice images after a lot of post-processing. It’s my first diffusion filter, and I wasn’t sure if I’d like it or not. Before, I had simply recreated the effect in Photoshop, and was quite pleased with the results (I saved the process as a one-click quick action and the workflow is really as simple as Ctrl+E in Lightroom, applying the action, and the Ctrl+S and returning to Lightroom). Even still, I wanted to see if it would be worth having the effect straight out of camera, and if there’d be any differences between a real diffusion filter and recreating the look in PS. It seems like I’ll need to step up in quality and price, and potentially look at some filters that do a better job preserving shadow detail (maybe something like the Tiffen Black Mist or Black Satin?)
Anyways, thank you as always for the very detailed and informative write-up!
Well, decrease of contrast is one of the characteristics expected from diffusion filters, flares are not.
Is it a Walkingway filter you have used? on Nikon Z 40mm f/2?
Yeah, I have the Walkingway Soft I filter, and used it with the Z 40mm f/2. I do realize loss of contrast is expected, but comparing my photos with the filter on and off, the amount of contrast lost seems to be quite a bit more than what I’m seeing when flipping through your examples of with/without the filter. Of course, I realize every photo is unique, and highly dependent on the exact lighting conditions, but just sharing my experience. Also, I have heard that some people characterize the 40mm f/2 as already having a softer, almost diffused look, even without a filter attached, so that may have amplified the situation.
I think the 40mm can be part of the reason for both contrast and flaring, as it does not have the high-end coating that the Nikon Z S-line lenses have. Do you have any other lenses you can test with your filter? If yes, I suggest you test with the another lens before you go for more expensive filters.
Unfortunately I got the filter in the 52mm size specifically for the 40mm, and that’s the smallest lens I have. I will note that I don’t usually get too intense of flaring on the 40mm. It’s performance isn’t perfect, but I usually get nowhere near the amount of flaring I got with the filter attached.
That you don’t get flares with 40mm alone is one thing, but when you attach the filter other things happen; the reflection back from the lens to the filter and bouncing back from the filter to the lens, again and again. Nikon’s S-line lenses have much more advanced coatings that can cope with this phenomenon much better than the 40mm with its basic coating can do.