Introduction
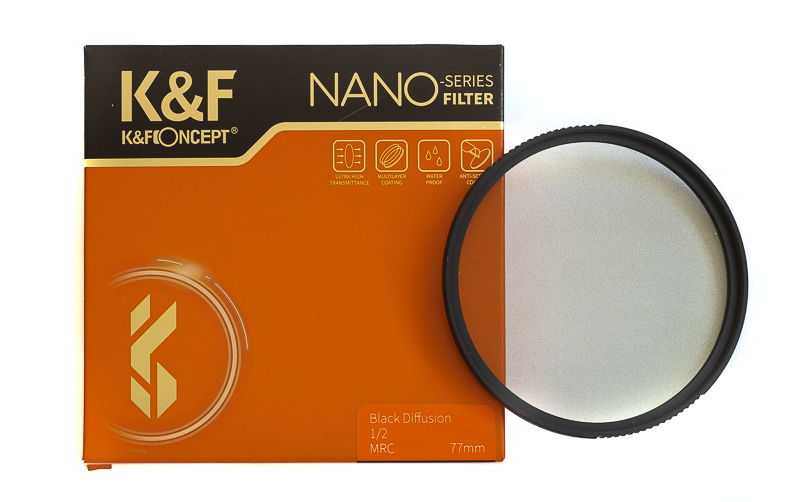
Modern lenses are too good, free of most optical aberrations even at their maximum aperture. This led to a whole new market emerging offering all kind of accessories to make your pictures look worse: kaleidoscope filters, prisms, streak filters and black mist/diffusion filters, the latter being what we will have a look at today.
Contents
What does a diffusion/black mist filter do?
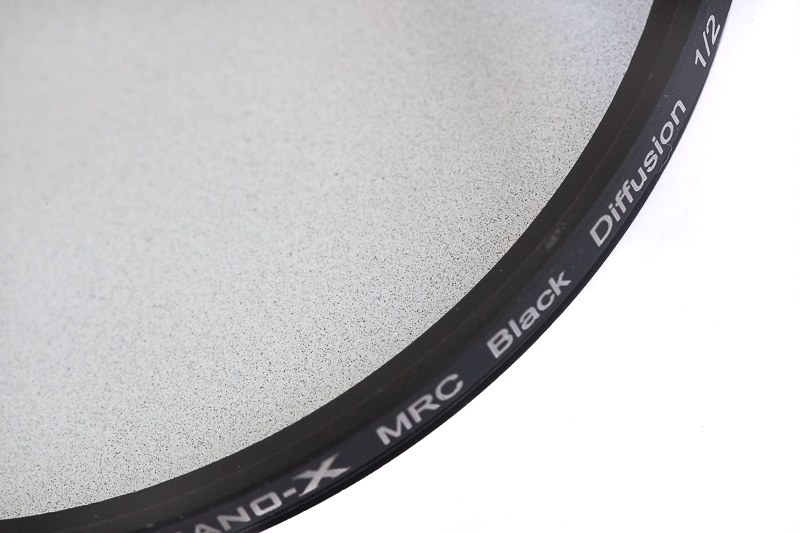
Looking closely at it the filter looks like a lens’ front element that hasn’t been cleaned in a very long time. These filters are supposed to add a bit of glow to bright parts of the picture, similar to lenses with undercorrected spherical aberration. Many of the older fast Leica lenses are famous for this effect.
Sometimes the result is similar to what the Orton effect is achieving, the major difference is, that the Orton effect affects bright and dark parts of the frame alike, whereas the diffusion filters emphasize the brighter parts.
Taking pictures in the dark with point light sources in the frame the effect is also similar to what you get when shooting analogue Cinestill 800T film.
These filters are made by several manufacturers these days and they come in different strengths. Filters with the same nominal strength from different manufacturers do not necessarily offer the same degree of the effect though, which makes it especially hard to find the best one for your needs.
I tried the K&F 1/2 as well as the Tiffen Glimmerglass1, so let’s have a look what they can do.
K&F 1/2 Diffusion
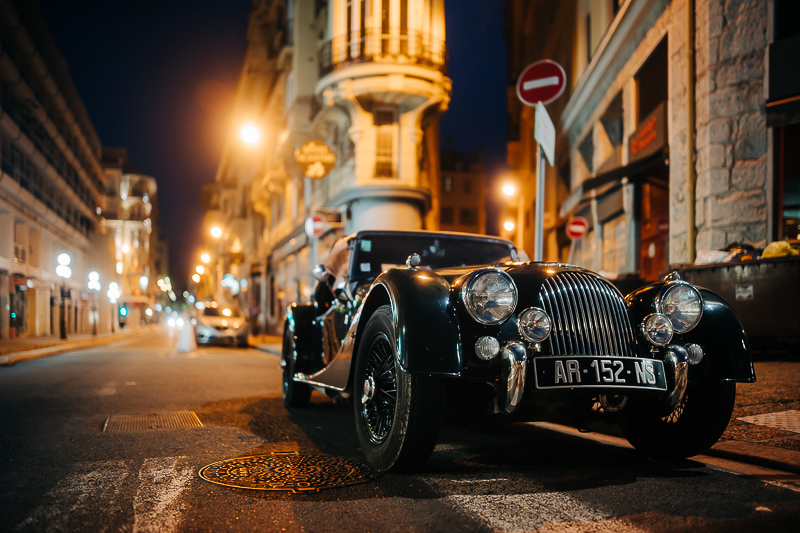
Sony A7III | Laowa 35mm 0.95 | f/0.95 | K&F 1/2 Diffusion
In this comparison it is easy to see why these filters are called “Black Mist” as it almost looks like I have been shooting in the fog, even though it was actually a very clear night.
The general contrast of the picture is much lower when using the K&F 1/2 filter and we see severe halos around the bright parts, which doesn’t always look flattering, especially around the nose.
A digital Orton effect – and there are many different ways to do this – leads to a softer background, but the halos are not that easy to recreate, at least for me.
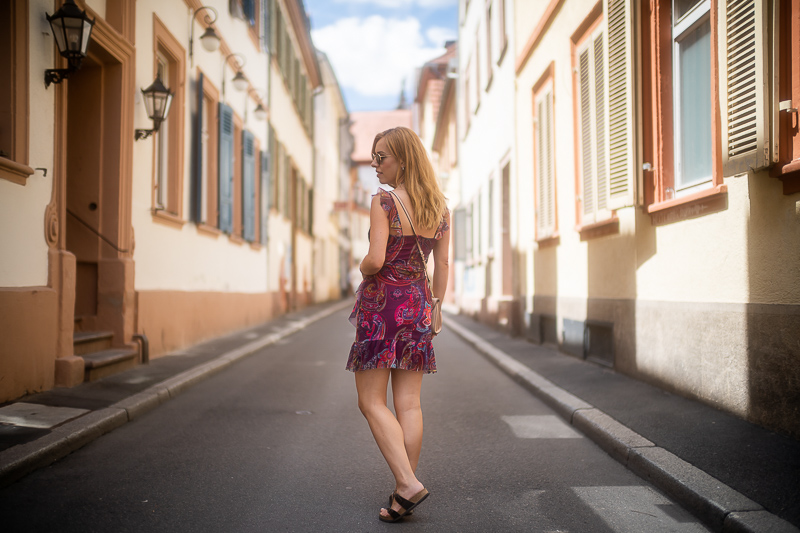
Sony A7III | Laowa 35mm 0.95 | f/0.95 | K&F 1/2 Diffusion
Under flat light this filter mainly leads to a loss of contrast:
Sony A7III | Laowa 35mm 0.95 | f/0.95 | K&F 1/2 Diffusion
Tiffen Glimmerglass1
Sony A7III | 28mm lens | Tiffen Glimmerglass1
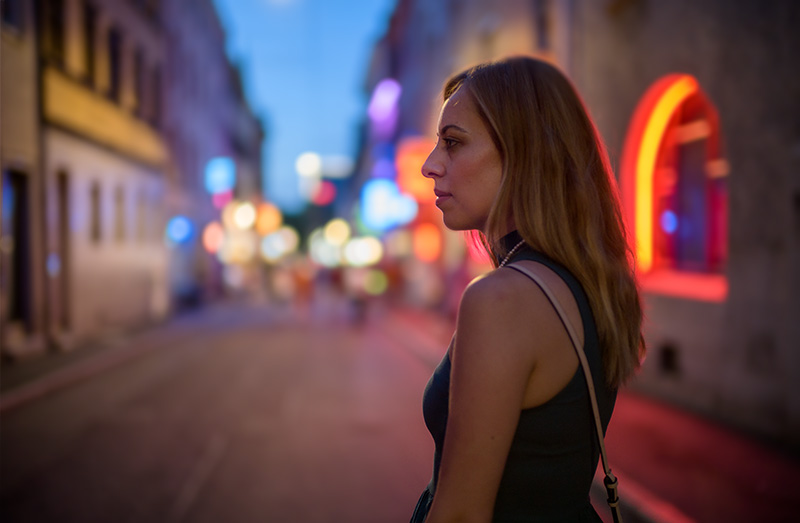
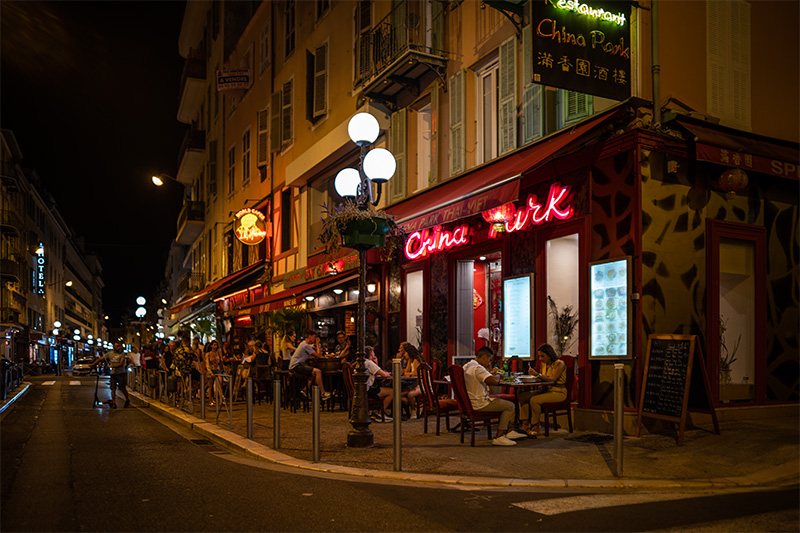
In this scene there are many bright light sources in the background, so the effect of the filter is easy to see. Compared to the K&F filter the effect is more restrained to these point light sources though and not scattered around all of the frame.
Sony A7III | 28mm lens | Tiffen Glimmerglass1
I can see some people arguing with filter the scene looks more natural, whereas others may find the light sources a bit distracting.
Sony A7III | 28mm lens | Tiffen Glimmerglass1
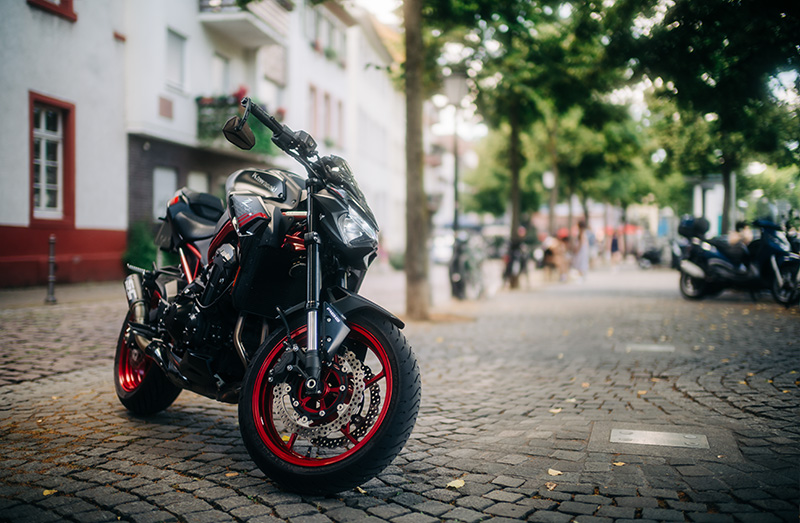
Now in this scene the effect is most subtle, but also looks most appealing to me.
Impressions
I have never been a huge fan of these so called “effect filters” but my friend Simeon Kolev showed a few cool pictures where he used these Diffusion filters to good effect, so I decided to give it a try.
The foggy effect these filters give at night isn’t overly easy to replicate in post – at least for me – but in many situations the K&F 1/2 also yielded unexpected and/or undesirable (side) effects. The number of pictures where I thought it actually added something to them was rather small and life is definitely too short to always take a picture with and without filter to blend them together in post afterwards.
The Glimmerglass1 was more to my liking as it really seemed to only affect the parts of the picture it is supposed to and I may keep it for the next time I take pictures at a fair or do automotive photography during the blue hour.
You can order these K&F Black Mist/Diffusion filters from Amazon.de/Amazon.com and the Tiffen Glimmerglass from Amazon.de/Amazon.com or B&H (affiliate links)
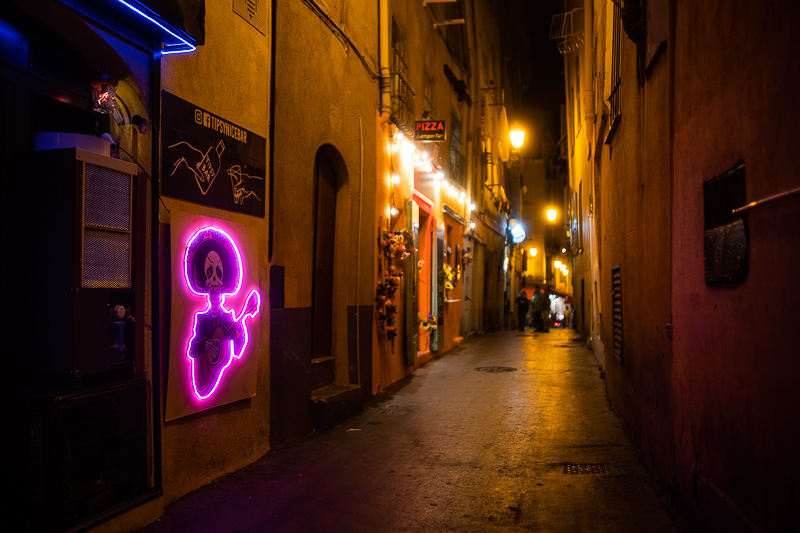
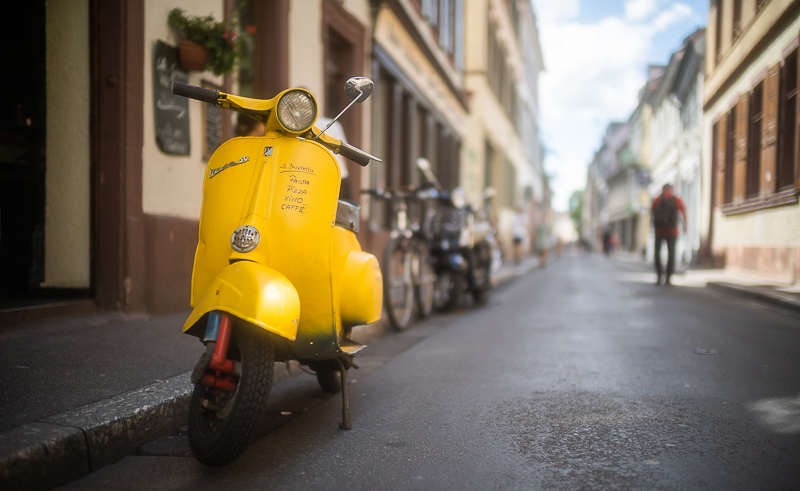
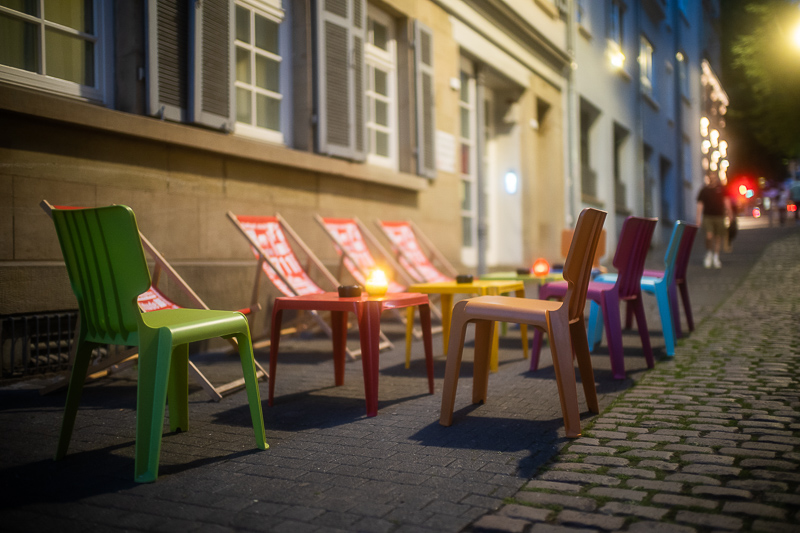
More Samples





Further Reading
- Sony FE lenses: Our comprehensive and independent guide
- Sony FE lenses: Our guide to ultra wide angle lenses
- Review: Sony FE 85mm 1.4 GM
- Review: Voigtländer 50mm 1.2 Nokton E
Support Us
Did you find this article useful or just liked reading it? Treat us to a coffee!
![]()
![]()
![]() via Paypal
via Paypal
This site contains affiliate links. If you make a purchase using any of the links marked as affiliate links, I may receive a small commission at no additional cost to you. This helps support the creation of future content.
Latest posts by BastianK (see all)
- Analogue Adventures – Part 49: Fujifilm Neopan Acros 100 II - February 4, 2026
- Review: Omnar 50mm 2.0 Bertele FLB - January 27, 2026
- Review: DJ-Optical 50mm 1.0 M - January 24, 2026










Hey Bastian,
thanks for this nice short review. I don’t like the idea of worsening the optical qualities of a good lens either. But indeed, the achievable looks may be quite nice. I think I’ll give some NiSi filters a try as well.
I don’t know how the digital Otron effect is implemented in different software solutions, but one way to make it effective only in/around bright areas of the image is to make a copy of the image, overexpose it, blur it, and take a B/W copy of the blurred image as the alpha-channel for blending with the original image. Strength and sensitivity of the effect may then be varied by applying changes to the B/W copy in the alpha-channel.
NiSi recently released a so called “Star Soft” filter which I might give a try in the future — maybe later this fall with less hot nights with less atmospheric turbulences impacting the image quality. In that case the brighter stars should seem more pronounced (as seen with the naked eye), but smaller stars may no longer be visible probably leading to an image with less details. To maintain a high resolution and contrast in the foreground this filter is split in two areas. So one can chose where this effect should be applied. I’m curious how the results will turn out.
For astrophotography the better way to highlight brighter stars in images may be the use of some of the quite good Samyang lenses which are known to show slightly undercorrected spherical aberration leading to a similar effect while maintaining comparably high contrast and resolution in the whole frame.
For the displayed use cases (e.g. in the city) those filters reviewed here may be the smarter choice than a undercorrected lens or software based solutions as the results seem to be nicer.
Greetings
Olaf
You are also invited to write an article on implementing a digital Orton effect via the method just described by you 🙂
Hi Bastian,
Thanks for the effort for a review. I just recently got an K&F 100×100 1/8 black mist for video purposes on the SEL14. It brings cool results for video, but i almost never leave it on for the photos. Just like you say it tends to create artifacts that are not very pleasing.
All in all I think for video its a great tool, especially now with high res footage. But i struggle to find it useful for photos.
1/2 is too strong anyway. 1/4 is already strong for my taste. Maybe try playing with 1/8
There is a kind of beautiful poetic futility to buying a $1000 lens with all the best reviews and the highest sharpness, then sticking filters on it to degrade optical performance. A nice example of the human condition I suppose.
Very nice review Bastian, I didn’t know what these filters did until now.
The quality and taste of the whole dish are limited by the worst ingredients. For that reason I would never use a wine for cooking that I would not dare to drink pure.
I think it’s a bit of the same situation here. Sure, one can get very respectable to good results from really bad lenses if talented — I’m looking at you, Bastian!
But one has more freedom for further creative modifications if the base itself is very solid. You can blur any sharp image, but the other way only works in action movies where crops of single frames of 240p/12fps surveillance cameras magically sharpen up to the same quality as if that cropped area was taken with a slightly stopped down 400mm/2.8.
So far I prefer to take pictures that show the scene as it is — like a “copy of the reality” — but from time to time some effects can be nice, too. As mentioned above in my earlier made comment I think I’ll give some NiSi products a try (they also have different “black mist/white mist” filters). Among the filters tested here the Tiffen Glimmerglass is my clear favorite as the rendering is rather unobtrusive and produces a very nice glow around lights. Seems pretty natural to me — even more than the pictures from some clinically sharp lenses that don’t show any signs of contrast loss or flare with strong light sources in the frame (another example for that point are the pictures of the meadow in the Minolta MC 55/1.7 vs. FE 55/1.8 comparison).
I recently bought myself a 1/4 Pro Mist filter for my CV40, and the effect does have a lot of charm. I’m not sure how exactly that compares to the filters described in this review, but I can see some similarities.
Out of the two in your review the Glimmerglass seems to keep more of the lens character and quality, and adding the layer of diffusion on top of that. The K&F Diffusion 1/2 seems overpowering to me personally.
Thank you for the review. Love the first picture. Funnily enough I apply my digital implementation of the Orton effect always to the highlights only. Like you I struggle a bit to use these filters in still photography, but I can see their merits for video.
Lovely review as always, Bastian. What’s that 28mm lens you used for some of the shots?
It is still in development, so I am not at liberty to tell you yet, sorry!
Oh, it’s totally fine. Secrets like that are fun! And, it means that as soon as the lens is officially announced, we’ll get a reputable review.
Based on the rendering and low-light performance, I am guessing that it’s the new Laowa 28mm f/1.2 (which is yet to be announced). It will be interesting to see if you share my opinion of the lens. 🙂
Tiffen is indeed a lot better at what it does. No wonder they are quite known in movie scenes. I do have Glimmerglass 2 and it does effect only highlights as well, while retaining sharpness and contrast over all other image parts. The effect is a bit stronger than the glimmer glass 1 that you used.
These filters are mostly used in movie making rather than photography. The film makers know how to utilize these filters fully based on the light sources they use. Thats where these filters shine the most. We as the photographers can barely use the surface of what these filters can offer to the true proffessionals that use 100k worth of lights on the set. Nevertheless the effects that can be spotted in the picture give the enough of unique look. They trully shine in the night time where the contrast between lights and shadows is too great for the camera to be able to capture it evenly across the frame. The filter scatters highlights across the bigger area, turning them in to a mist. Allowing better control in postprocessing and also complementing the noise in the image as well.
Bokeh is really a thing for many photographers now. I don’t know such demands for bokeh comes first or later, but lenses have become faster and faster as mirrorless system ripens. And I believe such trends will continue in near future; Canon added SA control system in their RF macro lens(but gimmicky), and patented electronically controllable apodization filter lens element.
Adding filters with 80s commercial-like effect firstly seem unreasonable for me. But your pictures told me it is actually more than that. Thanks for the review.
Lenses with spherical aberration control are ‘soft focus’ lenses, which have been around and marketed often for portraiture since the beginning of photography.
Lenses with SA control specifically have been around for awhile too.
Not close to an expert, but is there something worth doing with these filters that cannot be done in Lightroom with some masks and some negative clarity?
All of these filters seem to contain a higher density of very small implanted particles/defects. Those lead to a mixture of diffractive and scattering effects in the path of the light travelling through the optical system. Without going too much into detail most of those effects will lead to blurred light sources where the blurring might be well approximated by the superposition of some gaussian blurs with a filter specific distribution of different radii (it‘s not exactly gaussian, but close enough to keep that simple model — which is also implemented in most photographic/image manipulating software). Hence, yes, theoretically one should be able to recreate these effects quite easily with some work.
I will try to demonstrate some of those digital effects here sometime in the not too far future. Let‘s see how it turns out.
But there are situations where doing everything in software isn‘t viable or simply not wanted. First, if you shoot video, it will cause very heavy workloads in post. Second, if you shoot on film…well, that‘s obvious. Third, if you‘re a purist and don‘t want to treat every image in post, or if you try to improve your “analogue” photographic skills.
Another example of „yes, it can be done in post, but that isn‘t always the best way“ doesn‘t really apply to those filters described here: Just imagine taking a photo of a sunset by the ocean without a reverse GND filter. Of course the dynamic range of modern sensors will help you in post, but heavily lifted parts of the image — if you don‘t want the region near the sun to be extremely overexposed most of the image will be rather dark — might then easily become noisy. Using the right filter will lead to way better color and brightness information in the otherwise underexposed parts. And thus to more flexibility in post without compromising the overall image quality.
I never carry a tripod, if I shoot digital I never use filters. If I want a long exposure I take several (from 30 to >100) handheld photos and merge together. If it’s high contrast scene: bracketing and merging.
If I shoot film, I just enjoy the not perfectness of the process😬
Everyone has different needs, and enjoy different processes, there’s room for everyone in photography😁
To me, if you want video to look more flattering, it doesn’t make much sense to use modern lenses and make them worse with such filters, which doesn’t mean it’s not possible. It’s much better – and cheaper – to use older but good lenses in the first place. Many of them have been reviewed here.
If you want a dreamy or misty look like the amazing photo above, that’s different.
One good thing of using a diffusion filter (or any other) is that you can achieve the same expected and desired result every time. Having confidence in the effect you are after every time is power to you. Who cares whatever anyone else thinks. If a filter/lens combo brings home the bacon so to speak – power to you. Knowing your tools is power to you. This flattering romantic looks with blooming highlights is what I need sometimes or what someone else requires, e.g. wedding couples. Use the correct filter – done.
Just got this filter for my canon eos 700d, love the effect! Yet if i film lights directly and zoom in a little, there are some ugly reflections. Is this a common problem and i just have to try to avoid them or is my camera the problem?
The Tiffen filters seem to be uncoated, this should be the reason for the reflections.
Tiffen is apparently not made like k&f or other Chinese filters. The number 1 on the filter should in theory give a very strong effect, but it is visible only in the light. I bought a Walkingway 1/4 and it looks like a k&f. (and even cheaper by half) I will continue to test.
I get much better results with K&F’s 1/8 black diffusion. Even 1/4 is too much. 1/8 looks a bit better than your tiffen I think. I tested sharpness decrease formally and there wasn’t anything measurable.
Laowa Argus 28mm f/1.2?!
Yes, review is here.
thank you for the article
Laowa 105mm f/2 STF is sharp enough to be unflattering for some portraits. Some contrast reduction and adjustment of skin micro-detail by means of Black Glimmerglass 1 is welcome. No blooming halation with the Black version.
For street glamour, glowing city lights at night, and dreamy bokeh flowers, Pearlescent 1 is the way. It is much more noticeable than BGG1 in portraiture, but it can be controlled and dialed back via dehaze.
Samyang XP 85mm f/1.2 gets no filter action because of its 86mm filter size, so CPL and ND only. It will be the same with the Sigma 105mm f/1.4 with its 105mm filter thread.
Thereʼs room for both approaches.
Another use for diffusion filters (to save a lot of time in post) is when photographing B&W half tone images in books and magazines.
I use a Tiffen #3 Diffusion filter from the 1970s (!) to improve
the tonal graduation as it seems to merge and reduce the halftone dot moire effect without losing to much ‘sharpness’.
Not sure how it would work on colour CYMK dot patterns.