Many of you may have wondered where I have been in the past year. My last review has been published long ago and the dust settles on my blog activities. There is a good reason: I have been out there and had an intense time learning new skills in a totally different field of photography. Now I am ready to share my knowledge in a beginner’s guide for bird photography.
This blog is free of visible ads to provide a good reading experience. If you buy your gear using the affiliate links (marked with *), you help us to keep the blog running and to provide new content.
The COVID-19-pandemic has not only been a massive caesura in my private life but also for my photography. Much of my former work has been related either to travel or people photography which both wasn’t possible anymore from one day to another. After a short moment of weirdness and depression, I met a great biologist who showed me that there is much more to see than my perception allowed me to in the first moment. Discovering nature around my hometown was the perfect escape from my dilemma and incredibly satisfying as it opened my eyes for the hidden beauty that is already there and needs to be preserved. Every place that I visited from that point was a new discovery for me, even if I had been there before multiple times.
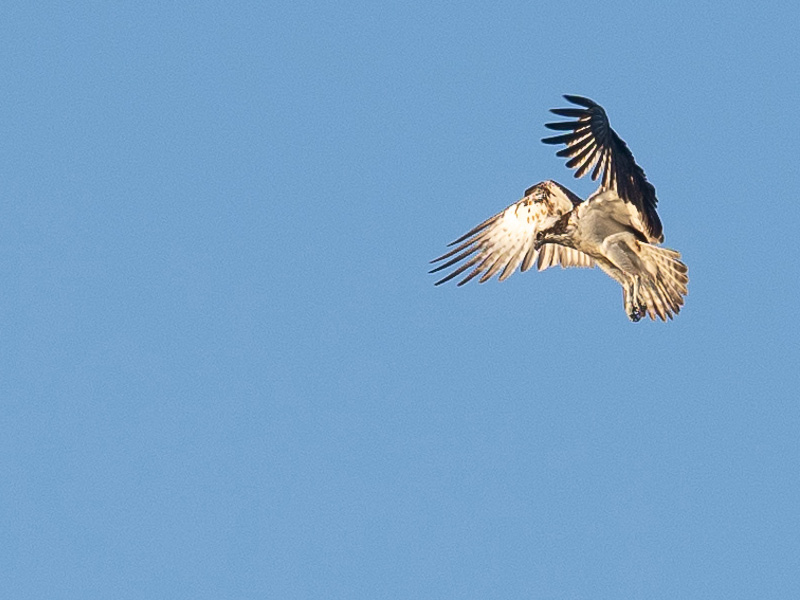
When I went out the first time with the purpose of taking images of animals I only had my Sony 1.8/135mm GM lens as longest option. Luckily (or unluckily), I immediately spotted an Osprey (rare in Germany!) but wasn’t able to take a sufficiently close image of it.
I didn’t hesitate for long and ordered the most obvious option in the Sony line-up: The Sony 5.6-6.3/200-600 G OSS*. Finding the right lens will be a post by itself so I won’t cover it too deeply here. Furthermore, it also is not the most important aspect of getting into wildlife photography. Almost everybody can buy a long lens and take good images in the zoo with it but being successful in the wild is a totally different story.
If you want to take good wildlife (wild living – not prisoned – animals) images by yourself that are not taken in a premade paid hide or a feeder, you firstly need to understand that you need to sharpen your senses for nature based on the following pillars:
- Respect
Respect for nature and all non-human life is the foundation for the work of a wildlife photographer. This is a lesson that seems obvious but has to be learned prior to everything else. For me personally this wasn’t easy at first because I love to explore the world around me and I feel nowhere as free as in nature. Nevertheless, please keep these sentences in mind:
- Respect weak, resting, breeding or hunting animals and try to avoid any distraction
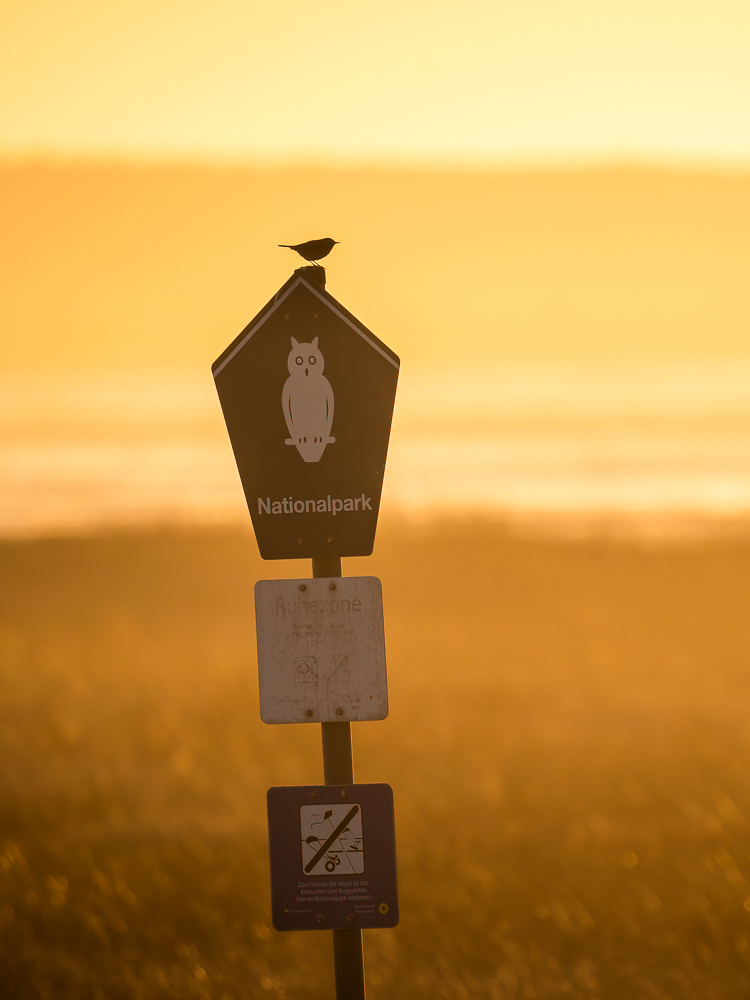
- Respect protected areas like national parks. Leaving the trails or breaking other rules to take an image is never worth it and ruins your reputation
- Don’t feed wild animals for the purpose of taking pictures of them. These animals will lose their instincts and may be in serious trouble after they got used to it. Urban wildlife may be an exception here because the lack of food sources sometimes makes feeding recommendable
- Knowledge
You don’t have to be a biologist to get along in nature but there are disciplines of zoology that are essential. Understanding taxonomy is one of the first things that I recommend to do. What is a genus? Which species are more closely related to each other than others? If you feel comfortable with it, you should try to learn which species you can find in the area where you want to work. This is of course pretty simple if you are just interested in mammals and becomes incredibly complicated if you want to be able to know all the insects that you see on your path.
Don’t feel bad if you don’t understand what you see around you. As you are reading this, you probably own a camera and are able to take a picture of it. In case you are not lucky enough to have the right book on hand or know a biologist, you can at least access the swarm intelligence.
I recommend to sign up at www.inaturalist.org, you can upload your findings there. An algorithm will try to identify it which gets better with every upload. Of course, there is no warranty that the suggested species is the one you are looking for. The trick is that you suggest an ID (for example based on the algorithm suggestion) and other knowledgeable users will look at your findings and tell you if you are right. It really works like a charm and I learned so much using this method.
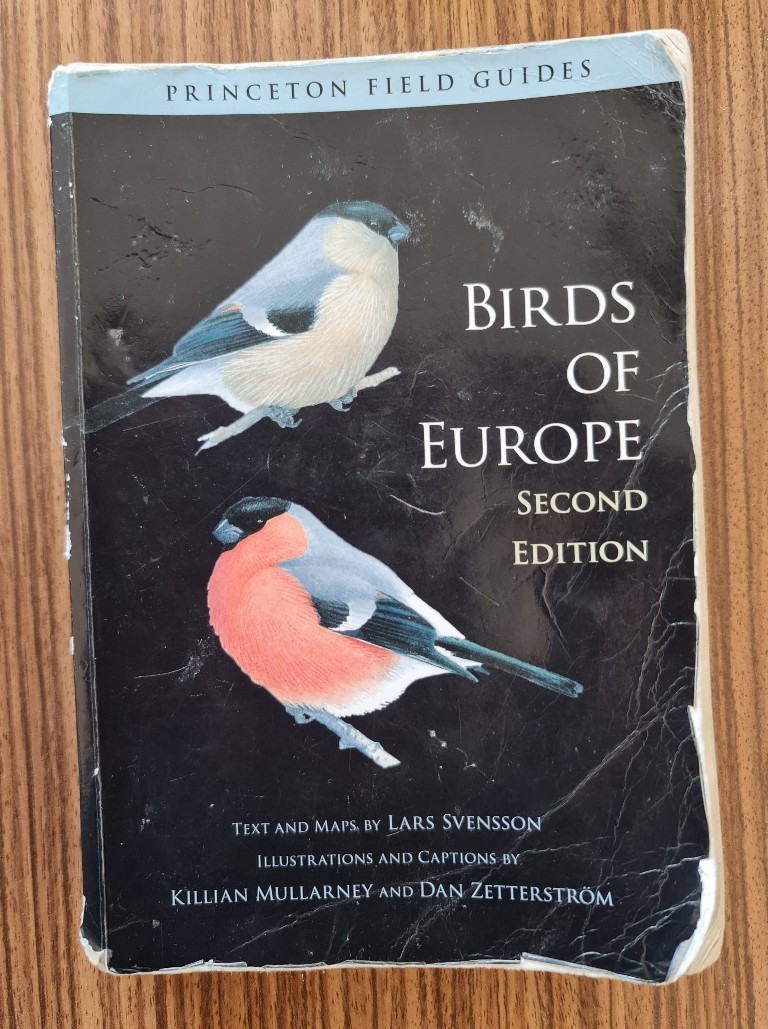
Of course, the good old books are a major source of knowledge as well. As birds are my main interest, I have several books that contain all species in the regions where I am (and also one for the world). I can always check what I have already seen and also learn about the species that are of interest. Where do they live? What do they need? When is their time of activity? If you don’t want to be dominated by coincidence, you need to get prepared. For birds in Europe, I recommend the book by Svensson (German, English) Amazon.com).
One more tip is to follow other wildlife photographers work. You may learn a lot by a person specialized in taking pictures of a species that you also wish to see. Most people are very proud of what they do and happily share their knowledge if you ask gently.
People from the area where you live are often at least superficially interested in local wildlife. Many common images may have been noticed by them either so it can be rewarding to talk to other people about your hobby and ask them for their experiences.
The last tip is to look at databases. Depending on the country where you live, you can often access multiple databases like www.inaturalist.com. There you can access maps to see where species have been recorded. For birds in Germany, I also use www.ornitho.de. I record my sightings there to improve the data which is used for research purposes and to let other people know what I have spotted. I started to do that after I was sure enough about what I saw. Furthermore, you can find information about recently recorded birds in your area which can be very helpful.
(Don’t record your sightings officially if you are not certain about what you saw or if you don’t know how to count in the right way)
- Visual senses
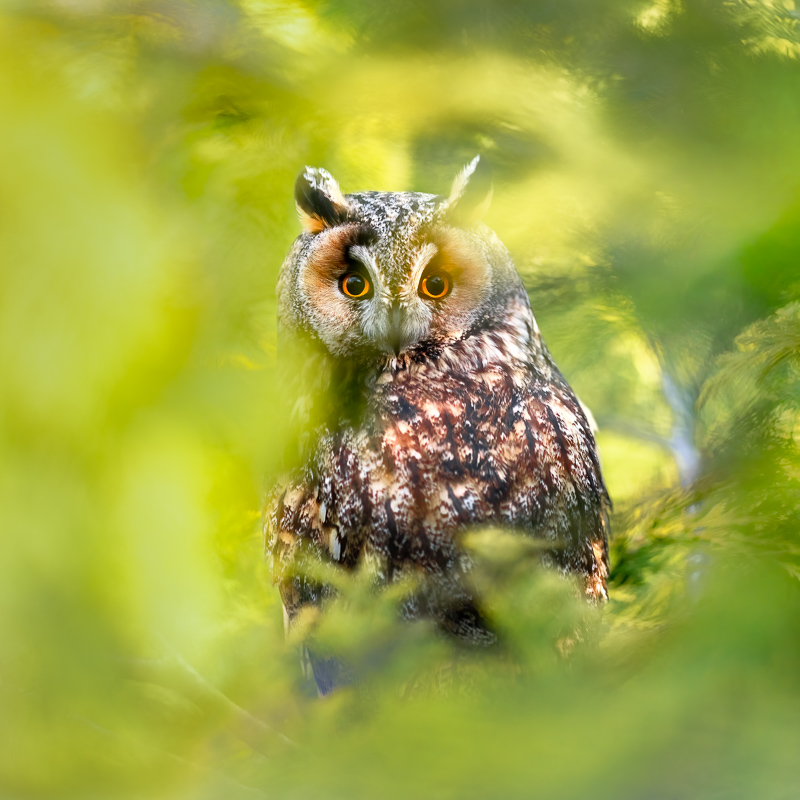
If you are new to nature (even if you usually go out and take landscape images), you have to learn how to see again. When you look for animals out there you will begin to get an animal radar. It is impossible to spot every animal that is living out there. They see, smell or hear you way before there is a chance for you to see them. Nevertheless, sometimes you are lucky.
Especially if you look out for:
- Silhouettes (Look out for fences, treetops, pillars, etc.)
- Movement
- Possible places to hide (caves in trees, bushes etc.)
After something caught your interest, you need to understand what you see there. Two things help:
- When you have your camera on hand, take a picture. In case have good gear, this is probably the best option to identify your observation. Furthermore, if you are unsure about what you see you can analyse it in detail when you get home.
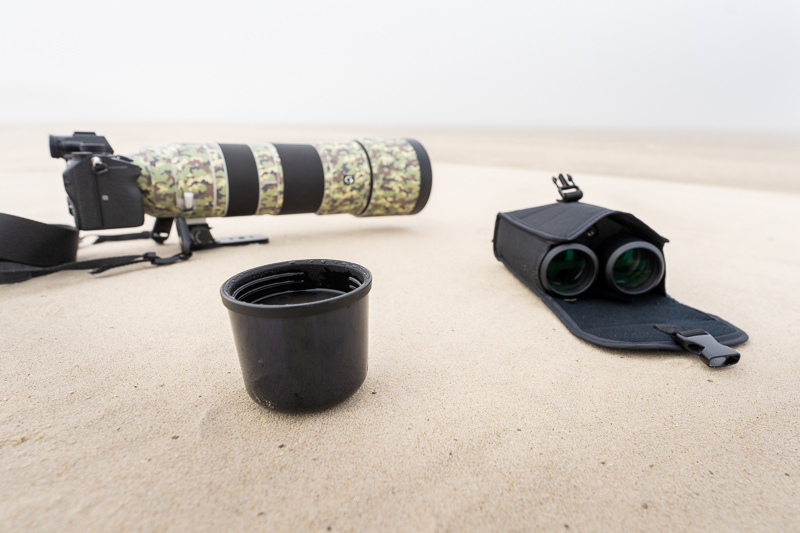
- Use binoculars when you walk around and your gear is stowed. I use a Swarovski CL Pocket 10×25 (small but optically good binoculars to take everywhere | Amazon.de* | Amazon.com*) and a Minox X-active 10×44 (good binoculars in low light conditions, for example in the forest | Amazon.de*).
Visual understanding also means observing. Many animals have fixed behavioural patterns. Try to understand what you see. Repeated behaviour may help you to get prepared.
Some examples:
- Kingfishers tend to appear at the same time of the day in the same place again. After spotting one, plan to revisit that location at the exact same time oft he day.
- Some birds of prey usually pluck the feathers of their prey in the same spot.
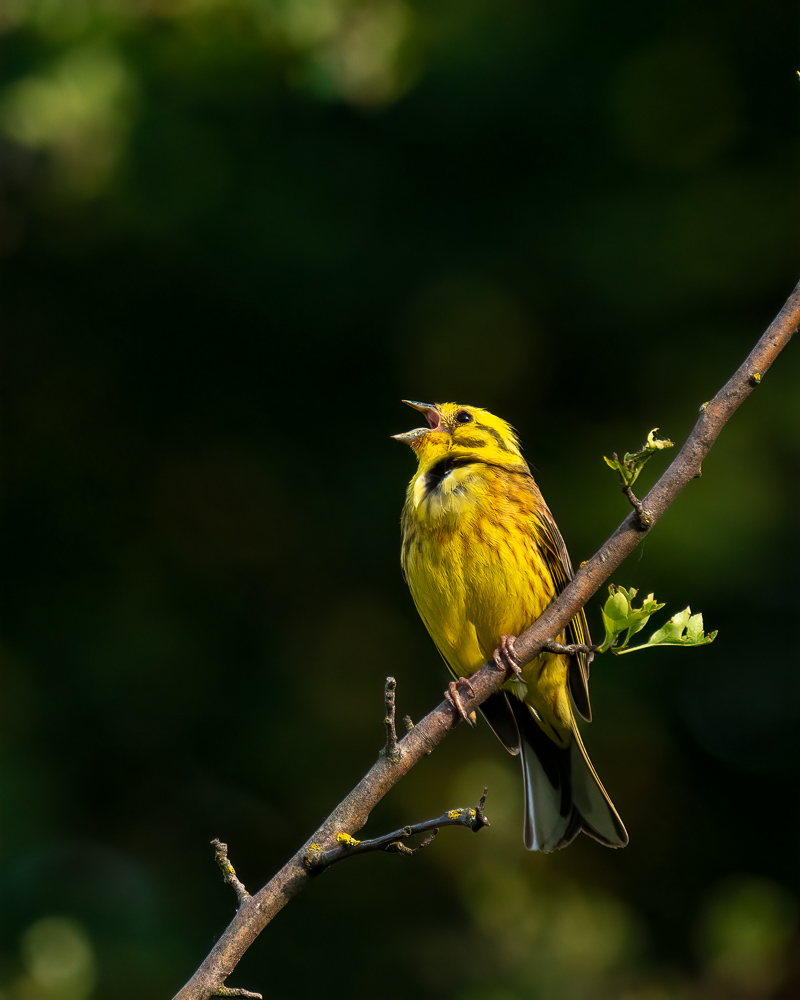
- Many singing birds prefer to sing at a specific time of the day and tend to stay invisible for the rest of the time.
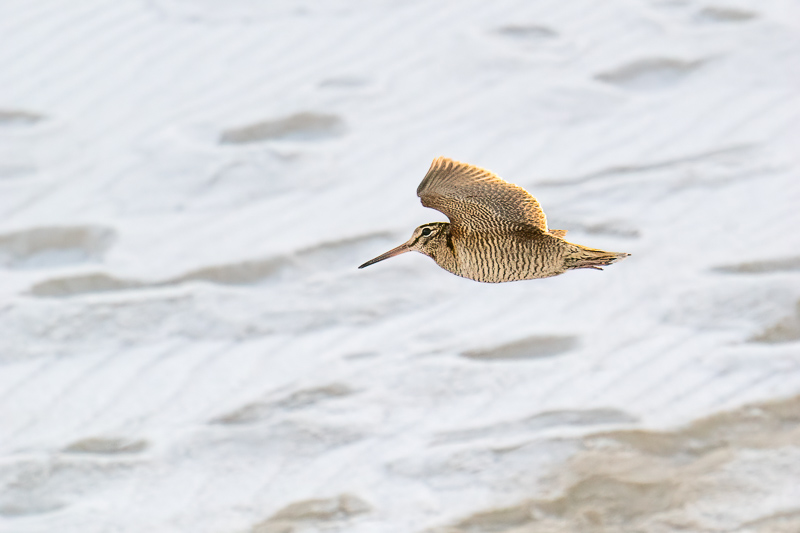
- When you see a bird landing next to you, try to set up your camera for the take-off to get that great in-flight shot.
- Auditorial senses
Hearing often can be more important than seeing. This is especially true if you are interested in birds. Often I hear and identify birds way before I see them. It happens frequently that I only hear but can’t find the bird. Nevertheless, I got an essential information: I know what is there and will be watching for it when I visit this place again. It happened more than once that I found what I was looking for at a later time.
When it comes to birds, there is a powerful tool that can help you to get an idea of what you hear, the smartphone app BirdNet by the Cornell lab of ornithology. You can record bird voices and analyse the calls. It is not always correct but in my experience the success rate is higher than 80%. You can double check it if you search for the bird’s voice on the internet. If it sounds similar, you can be optimistic that the app was correct. I also recommend to record bird voices in order to analyse them afterwards if you can’t manage to do so in the field.
Additionally, insects and mammals emit specific noises that help you to get an idea of the surrounding animals. Deer calls can be very loud as well as grasshopper chirping. These are example of useful auditorial help to locate animals.
- Patience
Wildlife photography can be plannable but never dependable. For a good image, several aspects have to be considered:
- Weather: Try to consider the weather and the direction of light when you plan to get out. There are situations when getting out is just not that promising and it might be better to do something else instead.
- Season: All seasons have their charm and you just have to know what to look for. Spring can be overwhelming because there is so much to do and observe. The light vegetation in early spring makes it easy to spot usually hidden animals. Even winter can be promising as many migratory birds might spend the cold period at your region.
- visit promising places repeatedly, especially during different times of the day and in all seasons.
- Don’t give up if a specific animal doesn’t show up within the first five minutes. Often it is sufficient to know the place, be quiet and stay calm. Camouflage might help to get even closer.
The hardest part is the last one. You probably have guessed already that the learning process is a long one and the only way to accelerate it is to get out as often as possible. It happens in small iterations and it starts again with every new place that you visit and with every animal that you see for the first time. You permanently have to challenge yourself and you should only be satisfied when you have identified every animal on your images and understood every call that you heard. When you go out next time, you may be able to identify it in the field and know what you see or hear before you take a picture or ask your app.
If you enjoyed reading this beginner’s guide for bird photography, you probably look forward for the next much more technical chapters:
- Episode II: How to choose the right camera for your bird photography
- Episode III: How to choose the right lens for your bird photography
- Episode IV: How I set up my gear for bird photography
- If things are running well, I might add some more specific guides, there are plenty of other topics coming to my mind.
Of course this article is written based on my experience in Germany. Not all of it can necessarily be transferred to other regions of the world. Let me know in the comments if your experiences differ.
Instagram (Link to my profile) is currently the best place if you want to follow my daily work. I also share information about the species I see and how I shoot them.
This site contains affiliate links. If you make a purchase using any of the links marked as affiliate links, I may receive a small commission at no additional cost to you. This helps support the creation of future content.
Jannik Peters
Latest posts by Jannik Peters (see all)
- A beginner’s guide to bird photography – Episode 1: Sharpening your senses - August 3, 2021
- Review: Tamron 35mm F/2.8 Di III OSD M1:2 - March 8, 2020
- Review: Zeiss Batis 2/40 CF after the Firmware Update - August 16, 2019
been following on IG and have to say im generally impressed with the images you managed to capture over just just one year into this new type of photography.
looking forward to the episodes.
Thanks a lot! Much appreciated 🙂
Fantastic! I got into wildlife photography for the first time this year actually! I’ve been using a canon nFD 300mm f4 L and it’s been fun using it. I’ve managed to have some success photographing birds but I really want to photograph foxes (which are v hard to find where I live) and coyotes (literally everywhere in suburban areas in my city but still quite elusive). It’s the most difficult form of photography (and it’s not close) but the experience of it is SOOO much fun.
I imagine you know this already but for me I’ve found that 1) talking to people around your town or city and asking them where they’ve seen wildlife is *very helpful* and I don’t think I would have had much success if I didn’t do that. And 2) getting on the ground at the animals level to photograph them versus standing makes a *huge* difference in the framing, bokeh, and reaction of the animal.
Beautiful shots!
Also, inaturalist.com doesn’t work but inaturalist.org does.
Good blog post
Thank you for the correction, hope it works now!
Big respect from me that you managed to get good results with a MF 300mm. Had that FD L as well. Very good lens but probably sometimes on the short side for birds.
The advice to ask other people for their sightings is really good. You are right, I have updated a paragraph and added this. I was also lucky before in that regard.
I didn’t have that much luck with foxes either, they seem to be rather rare in my hometown compared to other places. Often they share a cave with badgers, if you know one it could be worth to hide and wait there.
Thanks! The 300mm is no doubt on the short side and they’re not super high magnification photos for that reason but with enough patience and luck I was able to get some photos that I liked. Though, I don’t think they’re quite as good as yours. I’ve thought about getting a tele converter for my canon but I’m not sure if I want to stick around with my canon because I don’t love the bokeh. As for focusing, I found manual focusing to work surprisingly well with rapid shutter, focus peaking, and focus magnification. I haven’t actually used autofocus with a large telephoto lens yet but with my experience with autofocus I don’t think it would be that much of an advantage unless you are shooting moving targets and your camera has the ability to track targets, but maybe I’m wrong ¯\_(ツ)_/¯ Most of my experience with autofocus with a shallow DOF had resulted in out of focus pictures due to inaccuracy too so I tend to just default to MF
As for foxes, I only have ever seen them at night so even when I see them, it’s not light enough to photograph them. I think I want to start shooting urban coyotes instead when I get back from my current travels. Another thing that I’ve found helpful too that I forgot to mention is wildlife spotting from a vehicle. Because you can cover so much ground in a car, it can be really easy to find some animals driving around in the dawn/dusk. From there, take note where it was and come back and wait for the animal again in the same place, or if possible go and take a picture right there but that’s usually unsuccessful because it often scares the animal away.
Always happy to see new content in your blog. I’m not into birds photography right now, but have read this with article with much joy (and with opened wikipedia to check all these birds).
You made me (and i’m sure, many others) love the photography even more. Thank’s for your sharing!
Janik,
Thank you for working on this series. In future episodes can you discuss how to get the best out of your camera’s auto focus? In a prior post you described your move between camera bodies to solve issues, can you describe what you’ve experienced and why you’ve made the decisions that you’ve made?
I’ll admit I do most of my bird photography like I hunt where I use a technique called still hunting where I would walk in the woods for 50yds stop for a minute or so and look and listen then move again. In these scenarios I bump into animals I don’t get a lot of time to setup and take pics maybe 3-4 seconds at most and have a tough time with getting an AF lock.
my older A7II and sigma 150-600 are probably a bit of my issues but they both still work and I’d like to get as much life out of them as possible.
Thanks
Hi Jannik,
thanks for yet another great article with one of my favourite topics. You guys have been a constant source for inspiration, knowledge in the Sony system and general photography excitment for me.
I know especially this first part isn’t about the gear, but I have a question regarding the 200-600 that frustrates me. I have the same setup with the A7RIV, but I sometimes have focus issues with the lens, as in it confirms focus, but with stabilization on, a still subject and even a good shutter time sometimes the pictures aren’t sharp at all, more mushy or like a bad jpg of a high iso image. Other times it’s perfectly sharp and I can’t find a direct correlation. There aresome youtube-videos sharing the same issue for this camera-lens combination.
I saw that most of your sample pictures in this article where taken with the A9, did you encounter any similar problems with the A7RIV or was the switch to the A9 solely for the better AF&Tracking and gerneral speed?
Since for me the setup is sometimes unreliable I’m thinking about moving to the 100-400 but i don’t want to give up the extra reach …
Any feedback is appreciated.
Cheers from Brandenburg
Christoph
This mirrors my covid-19 photography transition, which was triggered by a random encounter with a kingfisher on the local river banks. My tools for now are an a6400, the 135GM and 100-400GM, a Canon 10×30 IS II binocular and a collapsible hide. And, of course, a lot of scouting and patience, which is part of the fun 🙂
I did some photography this weekend and set up the tripod about 10′ or 3m away from a hummingbird feeder manually focused and stepped away and used an electronic shutter release.
Some questions:
1. How do you get good depth of field? at 3m the DOF seemed like it was about 1″ or 2.5cm and I got a lot of shots out of focus even with the camera at F9
2. To try to get higher DOF, and stopping down and one is using ISO as a crutch to keep shutter speed high, at what point do you limit off ISO before you loose picture quality?
3. Given the variables, which would you be willing to give up on first? DOF, Shutter speed, or ISO?
out of 250 shots this was in my opinion my best shot
https://photos.app.goo.gl/FpZQWT5c3LKfq3QLA
The following depth of field (DoF) formulae are accurate as long as infinity is OOF.
DoF = (N H^2)/10 in landscape orientation and
DoF = (N H^2)/22 in portrait orientation.
H = imaged field height, N = F number (actually effective F number). (Lengths are in metres) This is based on a 0.029mm circle of confusion which gives an MTF50 of 24cycles/mm, if you want twice the resolution you need to double the divisors.
For a hummingbird framed landscape with H=0.15m at f/9 DoF-> 0.02m. One way to increase the DoF is just to re-frame the subject with a bit more empty space (increase H). Also, viewing pics on a web page as presented here 24cycles/mm looks much better than pixel peeping or printing your own work (I think this thread covers that https://www.dpreview.com/forums/thread/4134182).
Regarding the ISO, blur, DoF trade-off, I’ve found looking at flickr informative – I see moderately high ISOs, OOF bodies on small birds and blurry wings.
Regarding the harm done by bumping up the ISO it’s foremost a problem when recovering detailed shadows in landscape photography, but check this out https://blog.kasson.com/a7riii/sony-a7riii-edr-vs-iso-setting/ – 10.5 stops at 3200 on a7r iii.
Also keep in mind that a hovering bird will have points in its cyclic motion where its head is moving slowest or even still. Accordingly one can expect to have to shoot a good long burst to catch it in that spot. (I think I saw this mentioned somewhere on this site)
Great to see this new blog from you.
I use an tamron 150-600 G1 with an LA-EA5 adapter, the AF is functional but not as fast as it was on the A68.
There is also a mobile app version of that trusty “Bird Guide” book by Svensson et al. It can be found from Play Store and Apple App Store under name “Collins Bird Guide”. The app isn’t free, but I would say still worth the money. Texts and pictures are the same as in the book version, but there are also sound samples included.
And regarding bird sounds, probably the best place to find sound recordings of birds all around the world is xeno-canto (https://www.xeno-canto.org/).
Thank you for this article, it is just right for me. I have recently bought A7R III and 200-600 Sony gear and want to start a new hobby!
My only hope for your future articles is that you don’t say A9 or A1 and 600/4 lenses are minimums. I went to my budget limits to get the gear I have! 🙂