All posts by Phillip Reeve

I have two hobbies: Photography and photographic gear. Both are related only to a small degree.

A $400 lens kit for your Sony a7 series camera

Five years ago I was a broke student and manual lenses were a way for me to get much more creative freedom and image quality for my very limited money. This post is aimed at people just like my 5-years-younger self who have a very limited budget but want to get the most out of it. I think that manual lenses are a smart way to deal with a limited budget since I wouldn’t know another way to get image quality on that level for a similar budget. Sure, manual focus can be a limiting factor for some applications but most people are surprised how far they can get with manual focus.

When I started with manual lenses there was very little reliable information about manual lenses available so I had to spend a lot of time to tell apart the good from the bad lenses. Now 5 years later I have reviewed several dozen lenses and gained a good oversight which I would like to share with you in this artice.

Continue reading A $400 lens kit for your Sony a7 series camera

Review: Canon FD 300mm 1:2.8 L

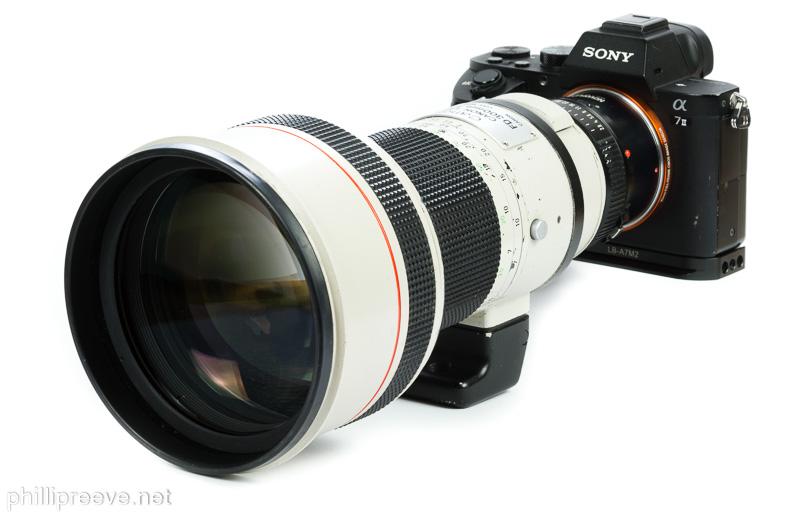
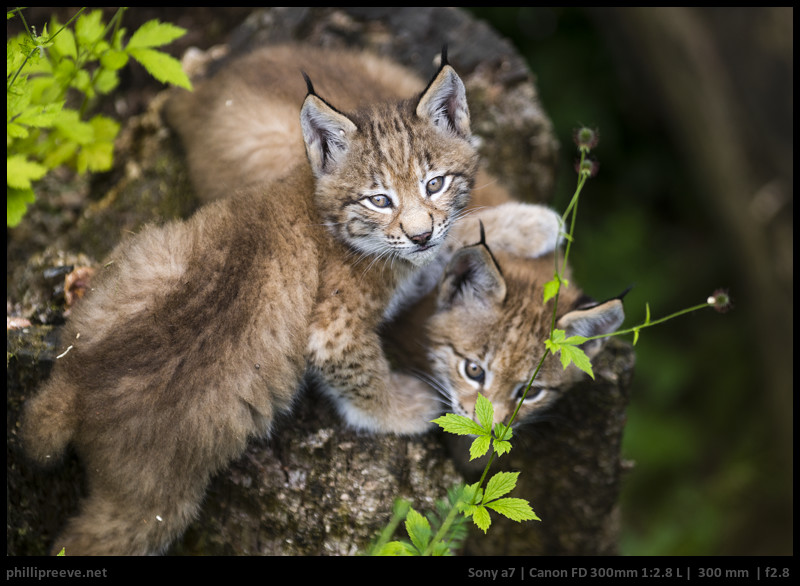
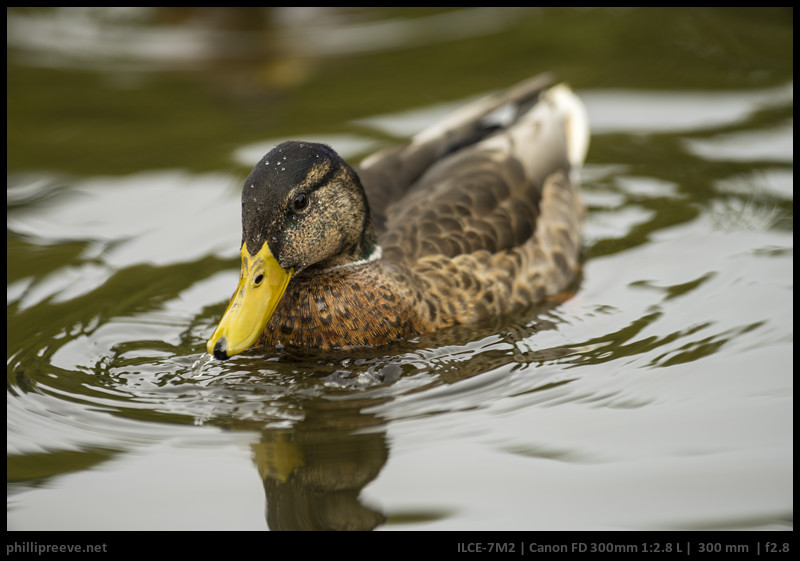
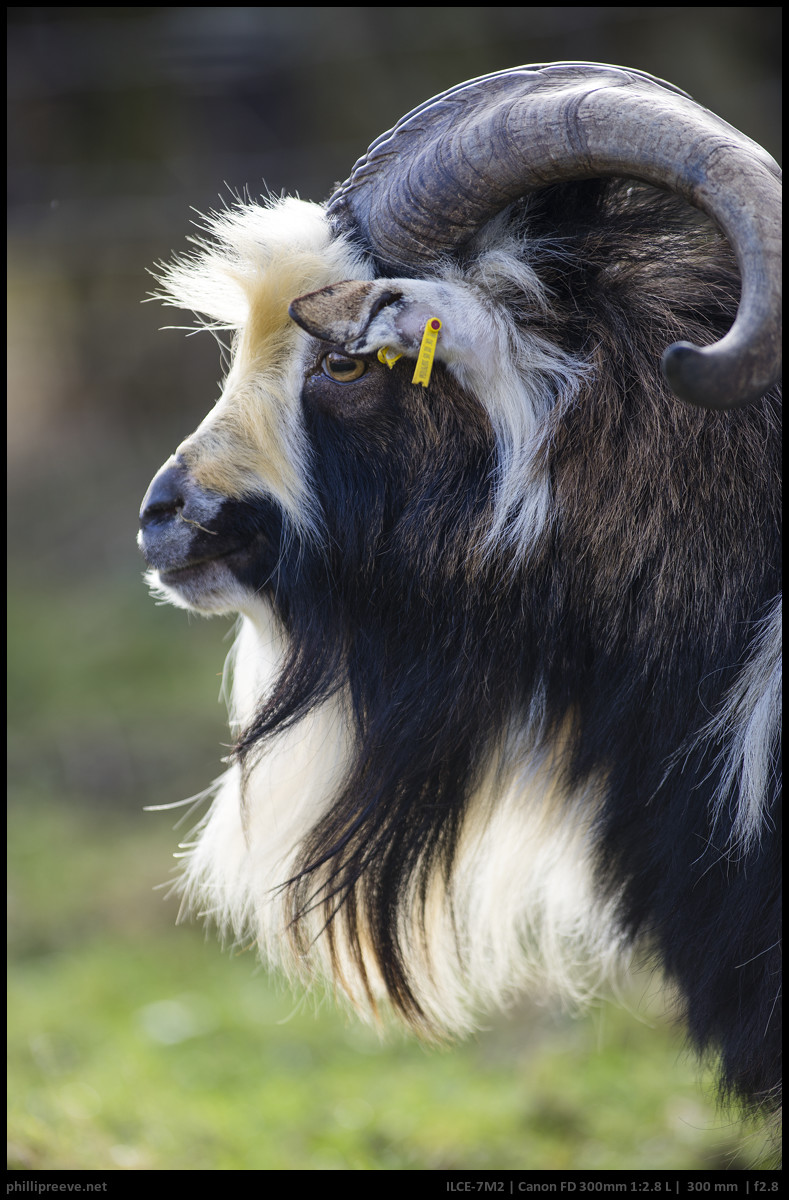
The Canon FD 2.8/300 L was one of the most highly regarded manual super tele lenses in the 80s. Today it can be had for much less money and in this review I evaluate how it performs today on a modern mirrorless camera.

Image Samples

You can find all images shown in this image in full resolution in my Canon FD 300mm f/2.8 L flickr album.

Continue reading Review: Canon FD 300mm 1:2.8 L

5 hacks for the Sony a7 series to make your shooting easier

This is just a short selection of tricks which make it easier to use your Sony a7 series camera.

1. Use DRO to see into the shadows

final image/ uprocessed raw
To save the highlights I had to underexpose this image a lot. Thanks to the DRO function I could focus none the less.

This trick only works if you shoot raw.

The problem: If you have a high contrast scene and expose it for the highlights you often have to use a negative exposure compensation and end up with a very dark preview image. This is no problem because you can brighten your image a lot in post but it makes focusing and composition hard. Another situation where this problem arises is when you are using flash to light a foreground subject, but there’s bright natural light in the background. While you are focussing, the foreground subject will be likely too dark to focus.

The solution: The DRO function is meant to lift the shadows in your jpg images which is just what you need: Use DRO +5 and the shadows of your preview image will be pushed by about 3 stops so you can see into the shadows now. Your raw file won’t be affected by the setting. Don’t forget to turn it off though or it is easy to unintentionally underexpose your images.

2. Use the zebra function for perfect exposure

Continue reading 5 hacks for the Sony a7 series to make your shooting easier