Introduction
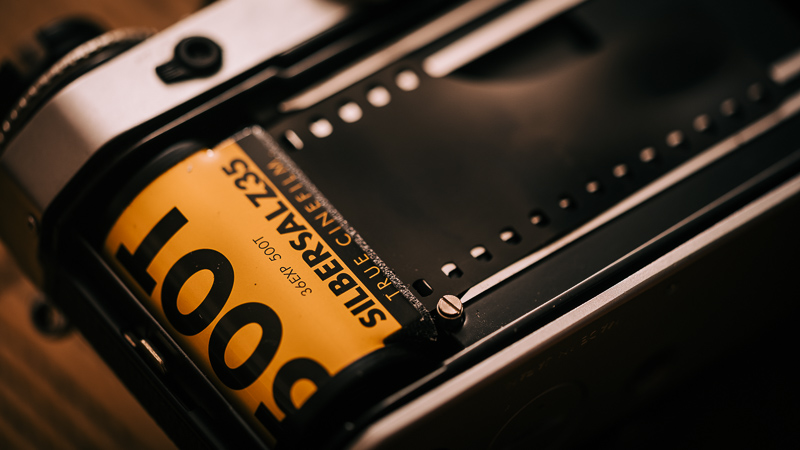
A small company with the name of Silbersalz35 from Stuttgart is offering repacked Kodak Vision 3 cinema film to be used in ordinary still photography 35mm cameras. They offer four different films: 50D, 200T, 250D and 500T which I all tried. There are some quirks – but also a lot to like – so let’s have a closer look.
Processing and scanning was done at Silbersalz35 in Germany.
Update: in the end of 2022 Silbersalz35 changed their scanning procedure, now you get 10mp files with the option of getting 140mp files for additional money.
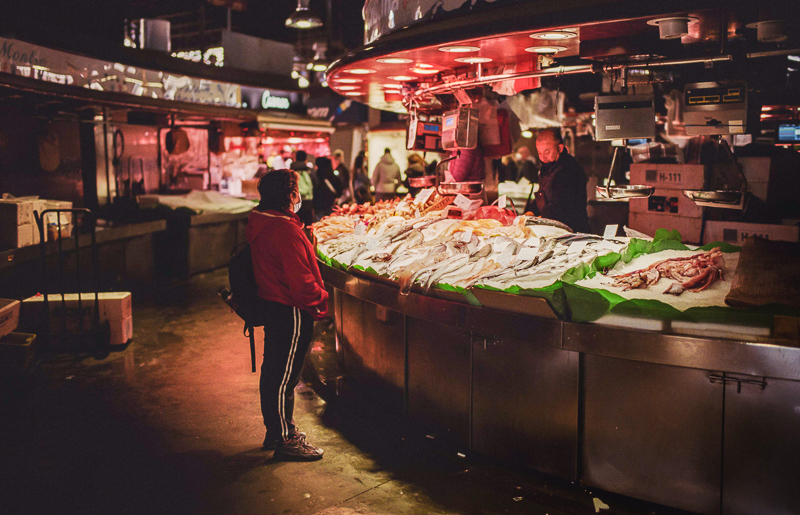
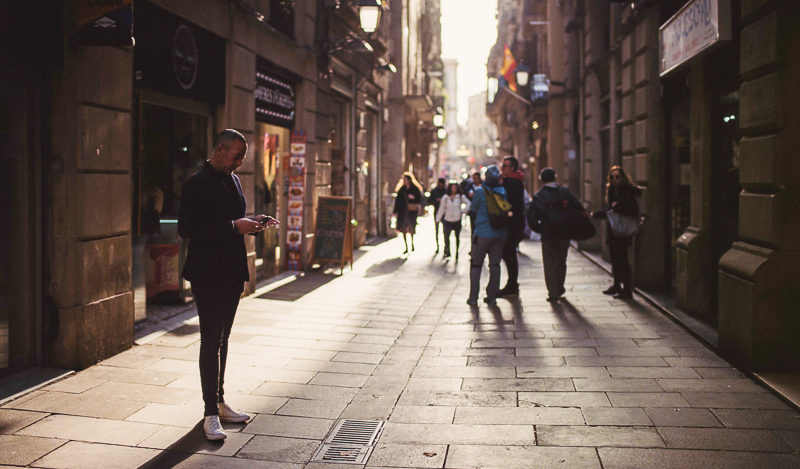

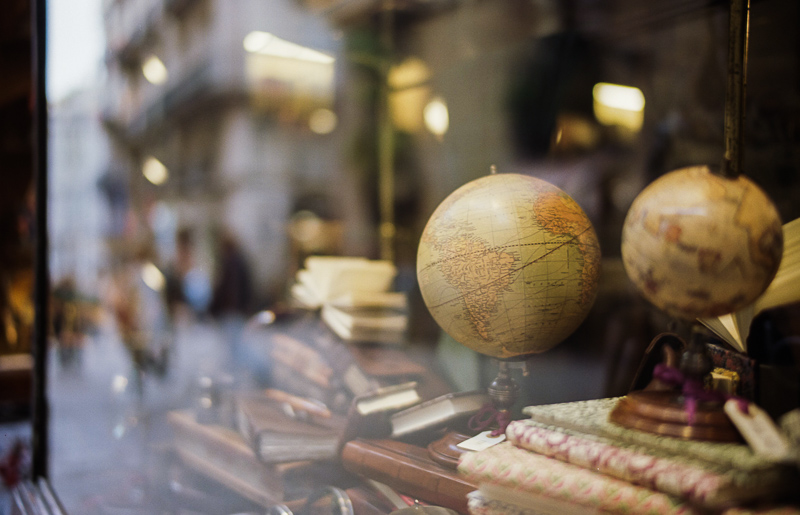
Silbersalz35
In a few words: the guys at Silbersalz35 take one of these 35mm cinema film rolls, cuts it into pieces and repacks those smaller parts into typical 35mm film canisters with DX coding.
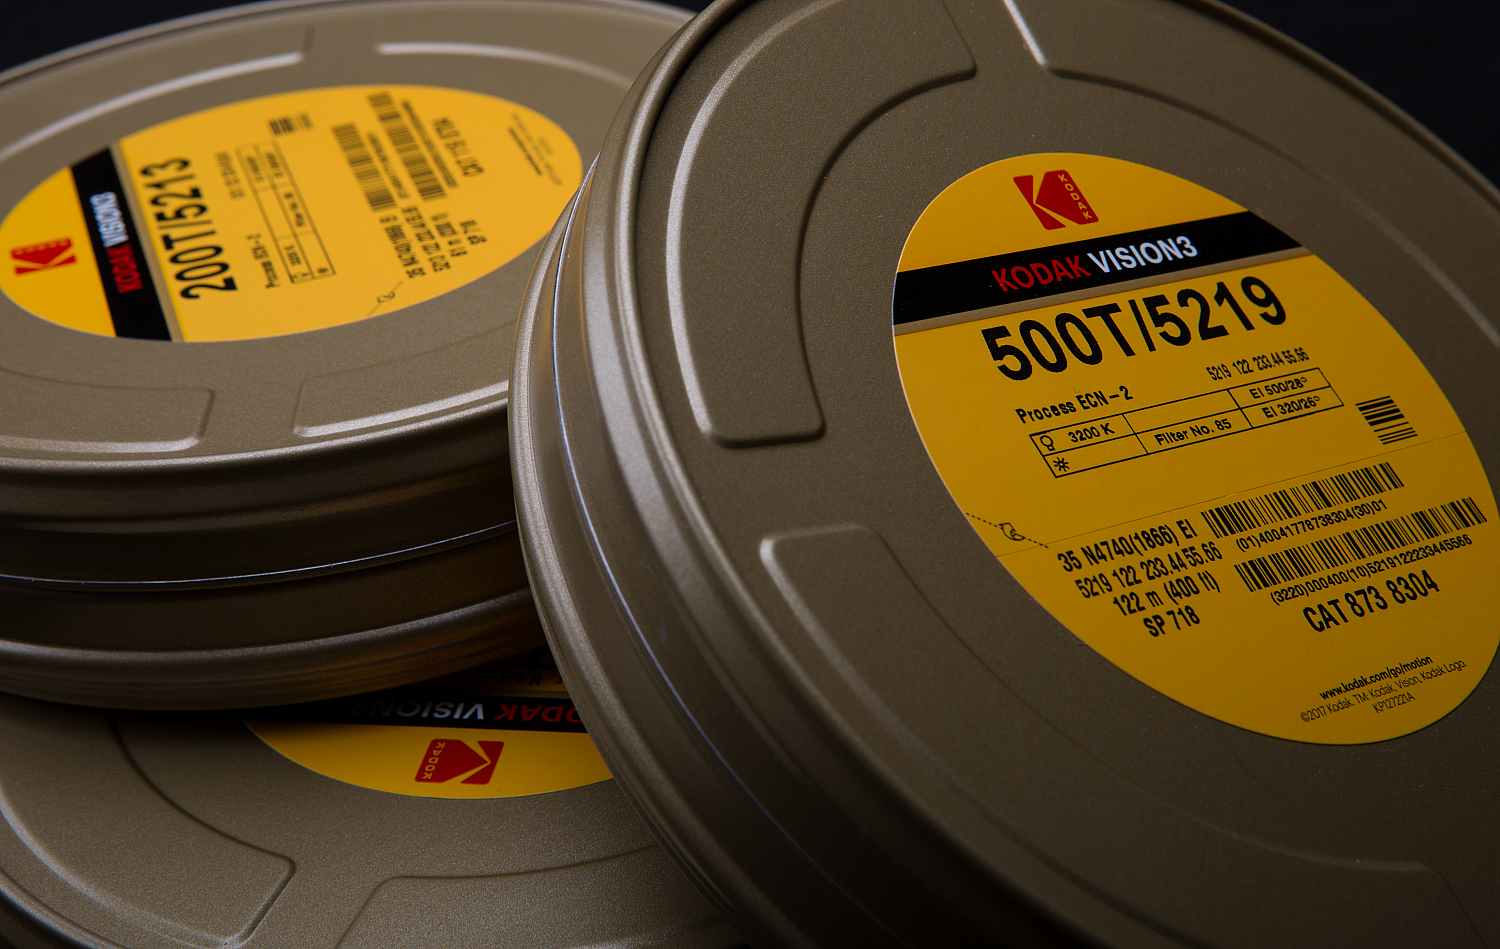
For the development – in order to get best results with this film – the ECN-2 process is needed, which is way more complicated and costly than the commonly used C-41 process. And it is hard to find someone who can do it.
So when you buy these films (~21€/roll in 03/22) not only the development but also 21.4mp 16-bit scanning with a claimed 13 stops of dynamic range is included in the package.
This makes it a pretty good deal compared to other high quality films – if you don’t want to take care of development and scanning yourself (I don’t).
For more details also have a look at the Silbersalz35 FAQ.
Working with Cinema Film
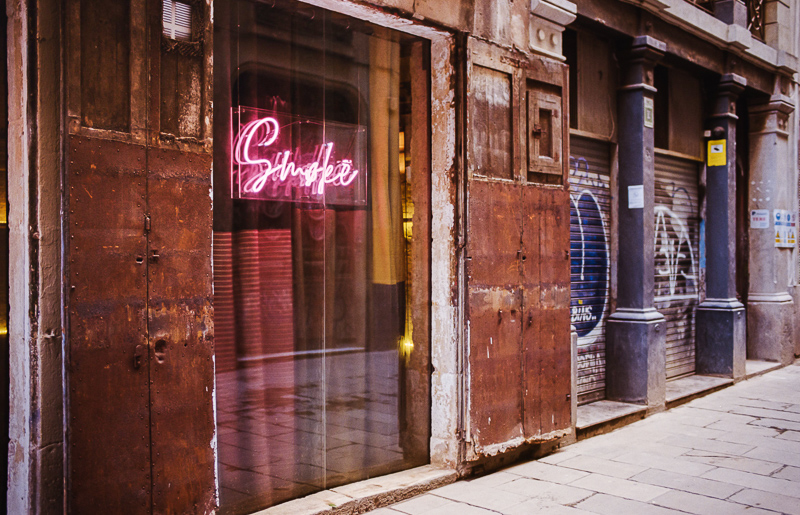
Working with cinema film is quite different to normal stock photography film. The latter is meant to give you a distinct, punchy look out of the box – which I am sure is why it appeals to many people: fancy looking pictures without having to edit them first.
Cinema film on the other hand is more like shooting digital: you get a rather flat image that you need to color grade in post for it to yield the look you desire. You can think of it a bit like shooting with a logarithmic profile but with your analogue camera.
This leads to a comparably high dynamic range and – unlike digital – with film there is more information stored in the highlights versus the shadows, so to capture most of that dynamic range it is recommended to overexpose by about 1 stop. This is already reflected in the DX coding.
My Leica M6 doesn’t care about DX coding, I shot the films like this:
50D – ISO25
200T – ISO125
250D – ISO160
500T – ISO400
It might sound unappealing at first that you shoot analogue and still have to edit your pictures, therefore each picture you will get in 3 versions:
- Ungraded 16-bit Raw Scan in JPEG2000 (14 MB each)
- Graded 16-bit JPEG2000 (30 MB each)
- Graded JPEG (2 MB each)
The last two look the same, whereas the ungraded Raw scan would definitely need a lot of work to be usable.
But in the end, as is the case with every JPEG file, it is up to you to decide if you are already happy with what the JPEG engine (which in this case is the Silbersalz35 team) gave you, or if you want to use the RAW files to edit them to your liking.
Unfortunately Lightroom doesn’t support JPEG2000 files, so you first have to convert them to TIFF, which will significantly increase their filesize to 64 MB each. I still have to figure out how to deal with this in the future, but for me using the graded JPEG2000s hardly gives me anything over using the JPEGs, as can be seen from this example:
So I guess I will not convert anything to TIFF but instead keep the smaller JPEG2000s – in case I may ever need them in the future – but mainly work with the ordinary JPEGs, which is also what I did for all the pictures you see here in this article.
50D
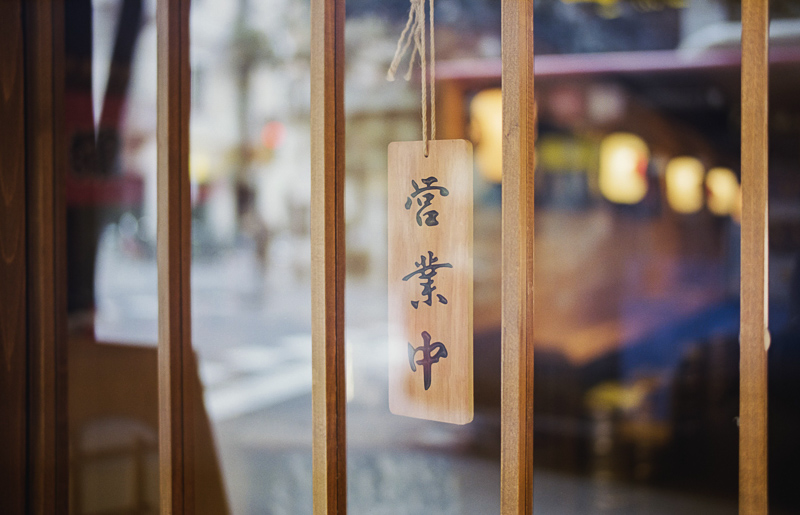
The 50D is a slow daylight film and to be honest it has been my least favorite of the bunch. It shows the lowest amount of grain (which was to be expected) and high resolution though, so I can still recommend it for landscape/architecture shooting or taking portraits with fast lenses to allow for shallow depth of field during day hours – without having to use ND filters.
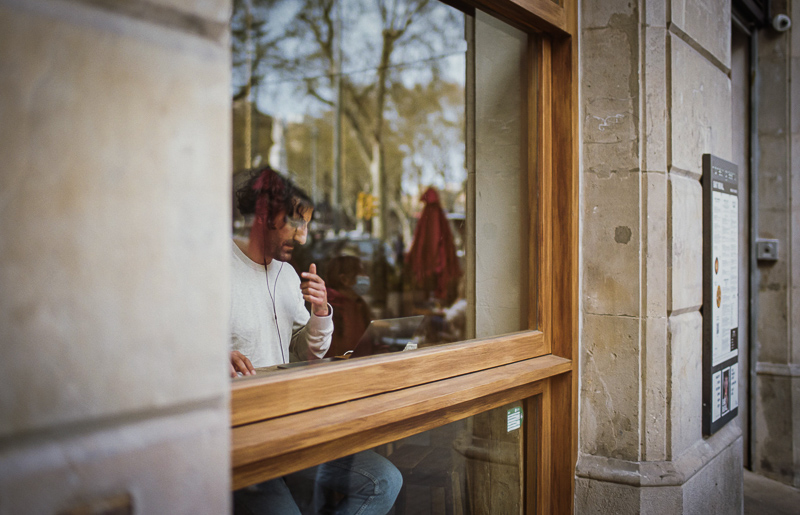
The colors of this film didn’t feel overly punchy to me. Of course this can be adjusted in post to some degree.
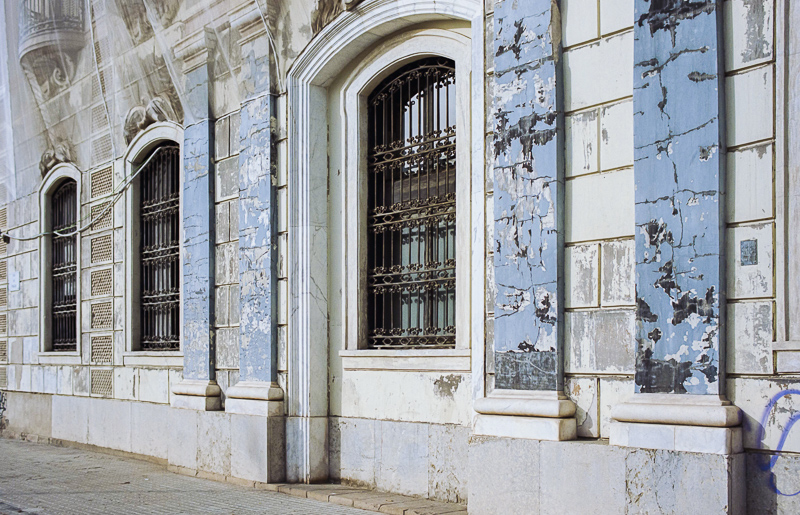
In the following scenes I would have preferred having a faster film loaded to the camera, but this is how it goes.

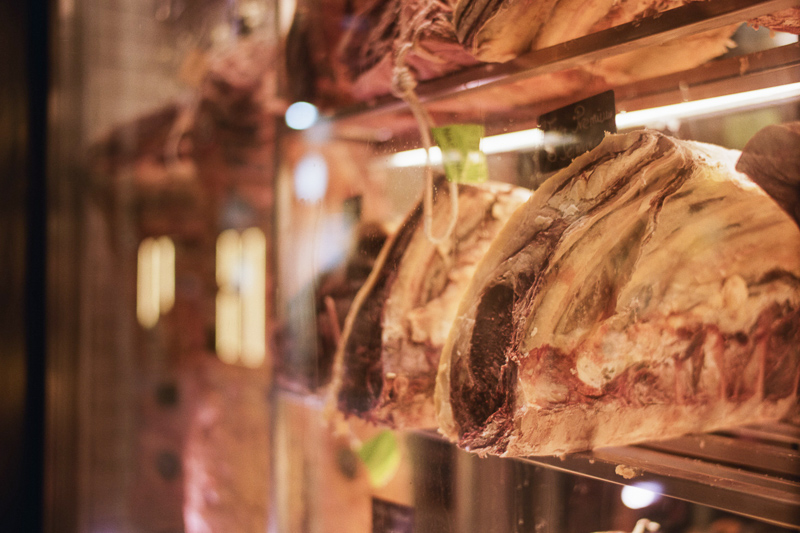
200T
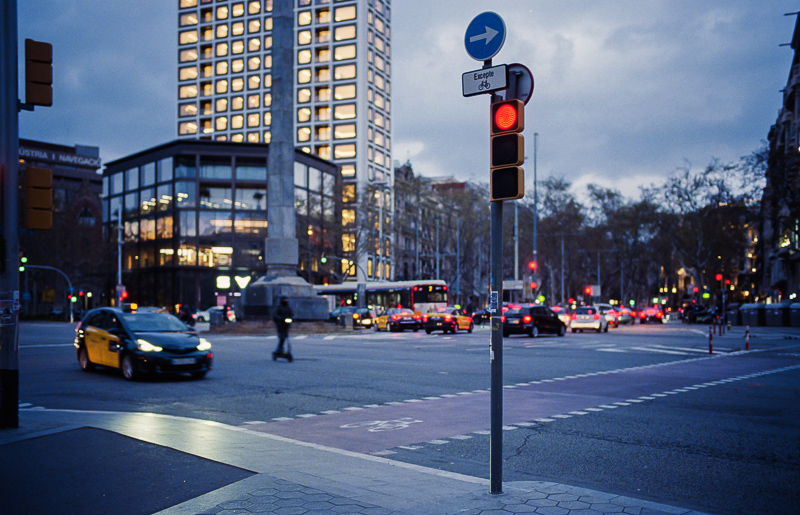
The 200T is the slower of the two Tungsten films. It gives very likable colors in the dark and during the blue hour, but also the colors in the daylight pictures look surprisingly appealing to me, so this ended up being my favorite of the four films.
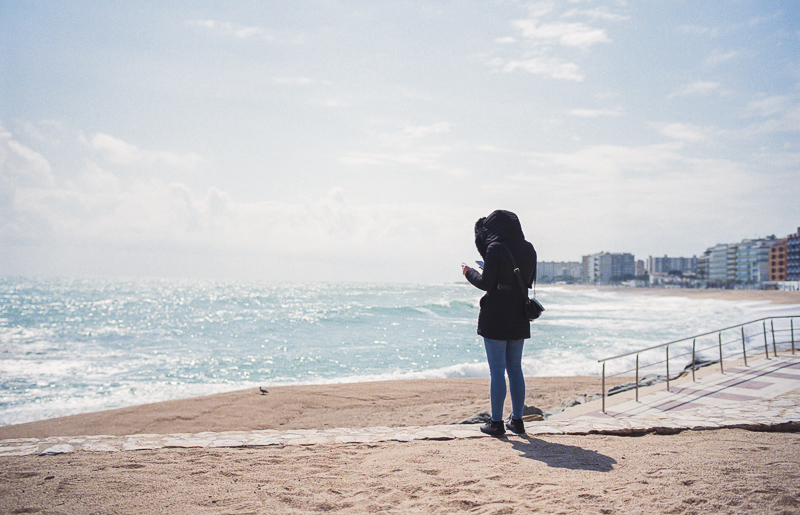

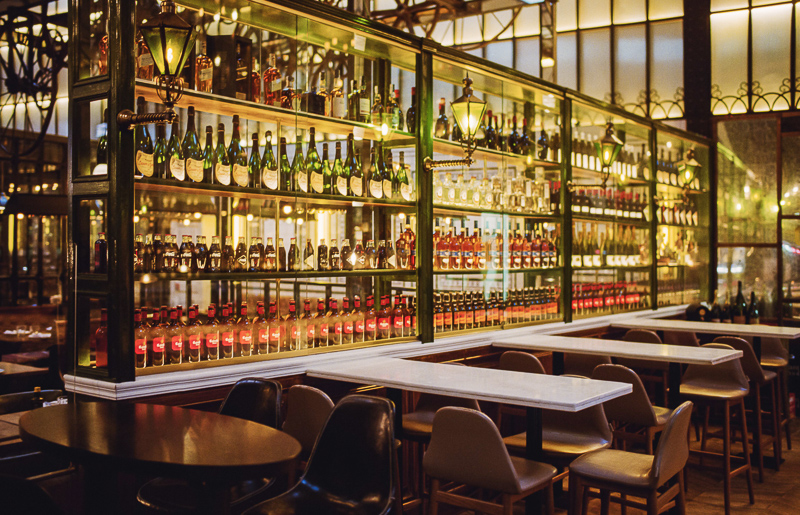
250D

The 250D is the faster daylight film. It felt to me a bit like the “allrounder” in the line up and I also have the feeling it has a particularly high dynamic range.


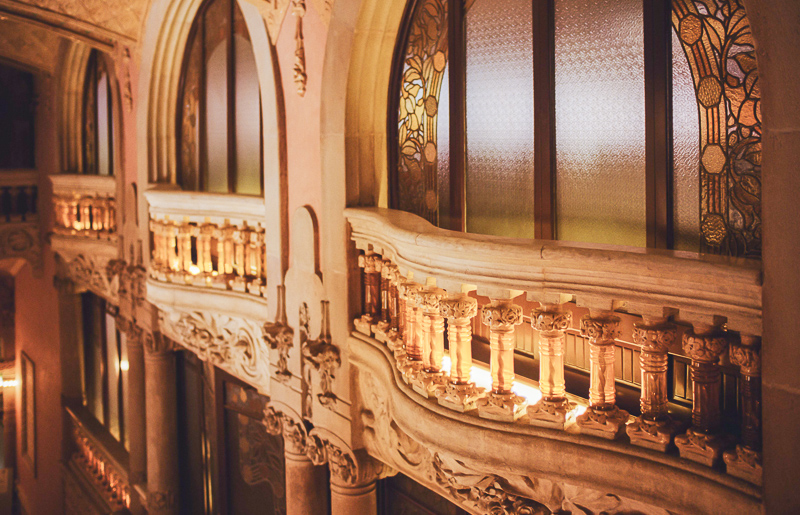
500T
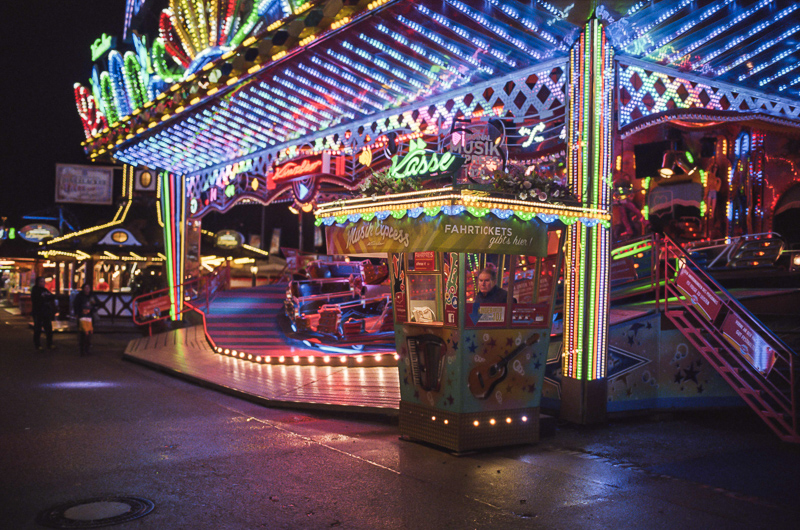
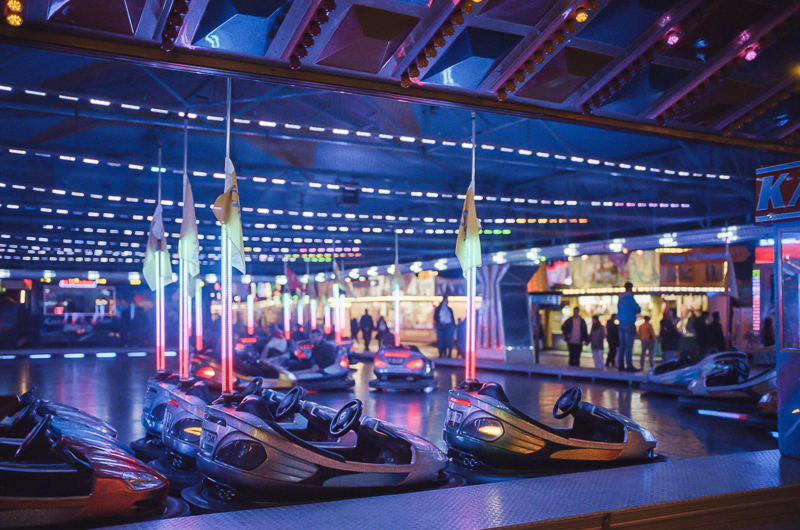
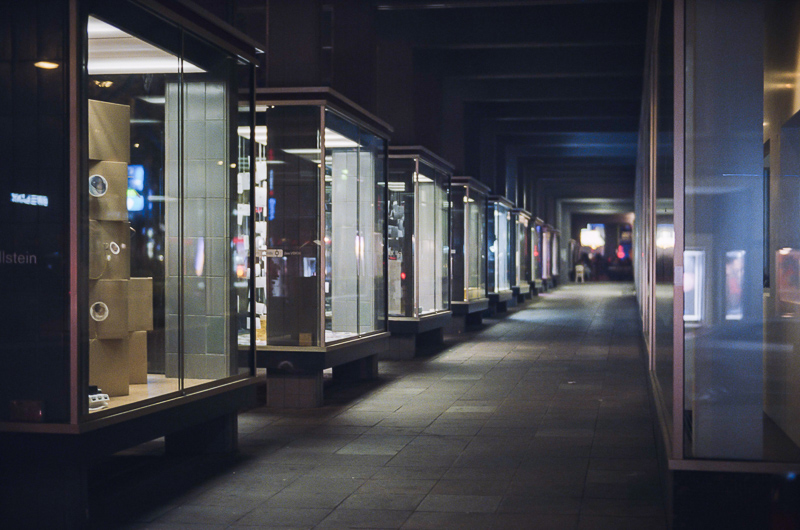
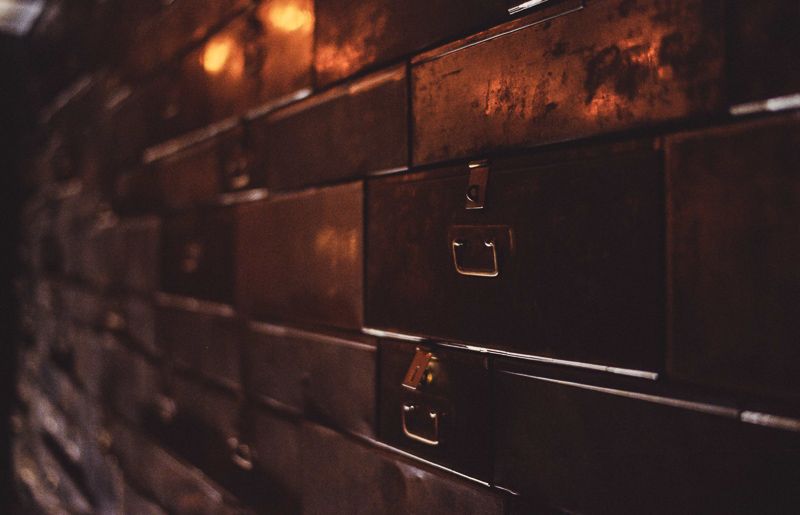
The 500T is the fastest film and like the 200T a good choice if you want to take pictures during the blue hour without a strong color cast. Due to its higher speed it is obviously also the best choice among these films if you want to shoot indoors or in darker environments without a tripod.
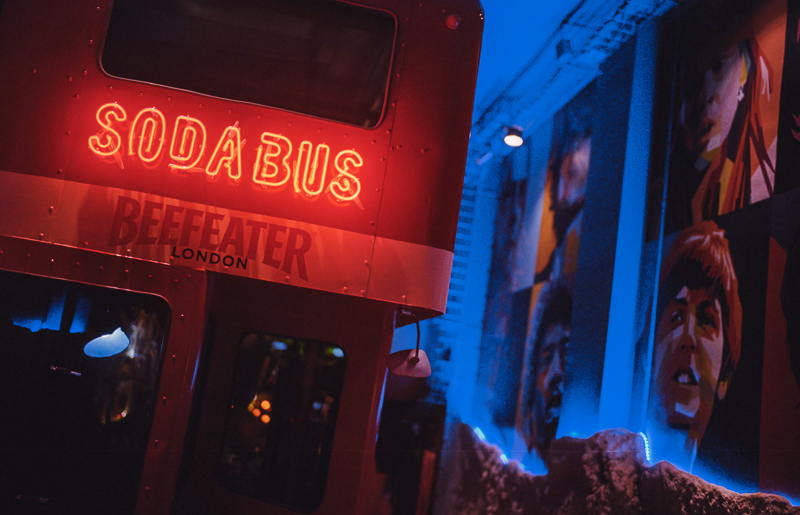
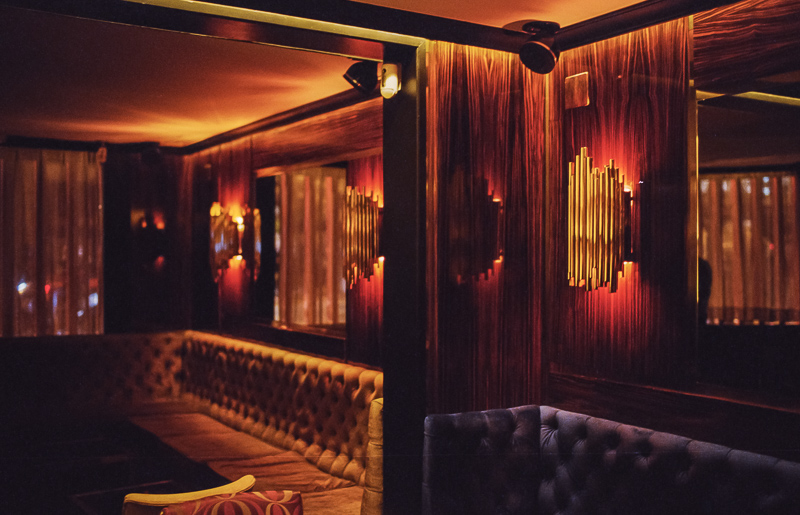
The higher sensitivity of this film also makes it tempting to shoot in situations where there is bad and little light to begin with.
Impressions
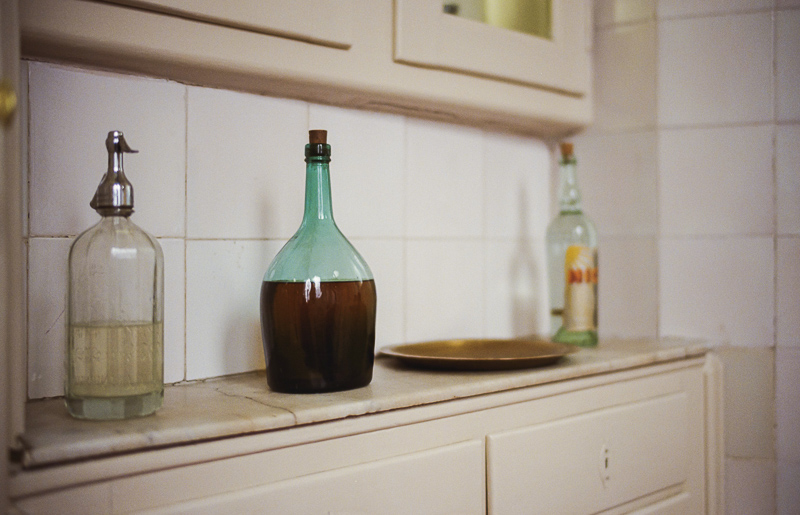
Films meant to be used for Tungsten light are very rare to encounter these days, so I find the two Tungsten films here especially appealing. If you still have a set of color filters matching your lenses this might not be important to you though.
The 200T and 250D show a bit higher grain than comparable still photography films, so if you care more about low grain than a high dynamic range there might be better films for you out there.
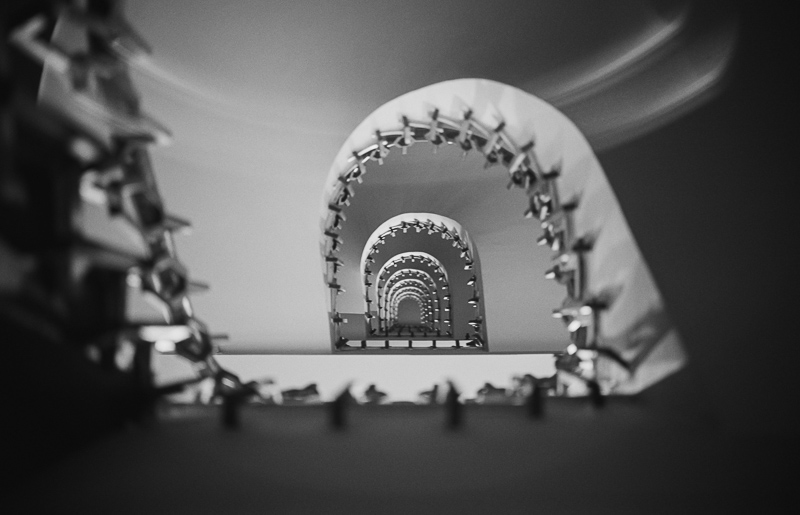
The complete process is also a bit different here. At the very least you have to crop the pictures they send you and it certainly helps to know a bit about basic raw development as well – I didn’t have to fiddle with the files more than I have to with any Raw file from a modern digital camera though – maybe less actually.
Also, the Silbersalz35 scans are the best scans I have encountered so far. They actually feel like 20 mp and not like 2-4 mp actual resolution blown up to 20 mp files, as is very often the case.
There are more pictures taken with these films in Part 4 of this series.
Further Reading
Support Us
Did you find this article useful or just liked reading it? Treat us to a coffee!
![]()
![]()
![]() via Paypal
via Paypal
Latest posts by BastianK (see all)
- Review: Songraw 50mm 1.2 Moonlit - February 14, 2026
- Review: Nikon AF-S 14-24mm 2.8G – Way ahead of its time - February 11, 2026
- Analogue Adventures – Part 49: Fujifilm Neopan Acros 100 II - February 4, 2026


Dear Bastian, a very nice read as always. I am tempted to try it out. For now I’ve been playing around with Cinestill. The idea is very similar, but the film was modified to be able to process it in most labs. Disadvantage is the quality (color fidelity) is a bit less. Advantage is that I don’t pay additional costs for delivery, and return of the negatives. (Which makes a difference of around 15 euro per 4 rolls more or less). Have you by any chance tried this alternative and did you see a huge difference in quality?
The Cinestill films are usually backordered here and from what I have seen the results look significantly worse.
I do have ordered two of their 800T rolls though, maybe they will be delivered in June…
Nowadays I am doing more analogical than digital.
Thank you Bastian for your very informative and pleasing reviews. I may have already asked this here before but did you shoot the Tungnsten films WITHOUT filters during the day? I read some folks suggest an 85 filter DURING the day – but if you have shot Vision 3 Tungsten films WITHOUT filters in daylight, they surely look real nice. Thank you.
Thought I already answered this: no color correction filters 🙂
Thank you Bastian, yes you have on the previous article. I will try it out. Kind regards 🙏
stunning images as always and very interesting post.
What struck me most is your comment about the resolution of the scan. I felt drawn towards medium format because of the “low” quality of 35mm film with affordable scanning solutions. I compared lab scans (noritsu) vs my cheap old flatbed scanner, and the quality is noticeably better, but more like 3MP vs 4MP.
The scanning process of silbersalz looks very sophisticated and your comment makes me really want to try it out.
If you are interested and it helps you I can make one of the files available for download, just tell me which one you like and which version (graded jpeg / graded jpeg 2000 / ungraded jpeg 2000) you would prefer.
i’d love that 🙂
i think it would help me most to have a look at one with alot of detail+dof across the frame like this one:
https://phillipreeve.net/blog/wp-content/uploads/2022/03/Silbersalz35_200T_11.jpg
graded jpg is fine.
Would have been my recommendation as well, here you go.
thanks for sharing! very solid scan quality considering its “free”.
Yes, surely would like to read more.
I’m occasionally buying some old film bodies to accommodate my legacy lenses.
As someone who has been printing color negative film for over 30 years, through scanning in the last 8 years, I would like to say that there is a lot more that one can get out of a color negative. I was able to match color from negatives in different light sources better than people who were shooting transparencies even if they matched film and used color meters and CC filters.
But it takes time in the darkroom. Or these days time and patience in scanning and color correcting.
Is it worth it? I would say it’s not. I can do it and therefore I do, but does the customer or viewer really care? Probably not.
Really nice work you have here. I appreciate your insights, and learn from them.