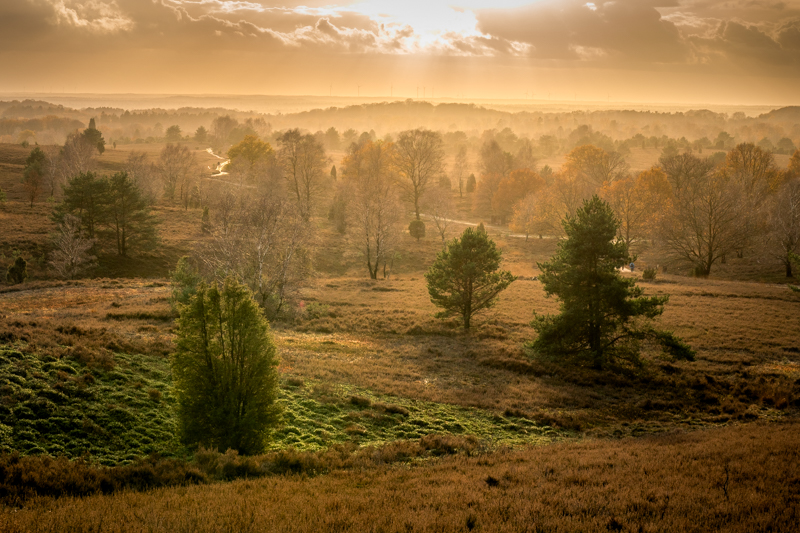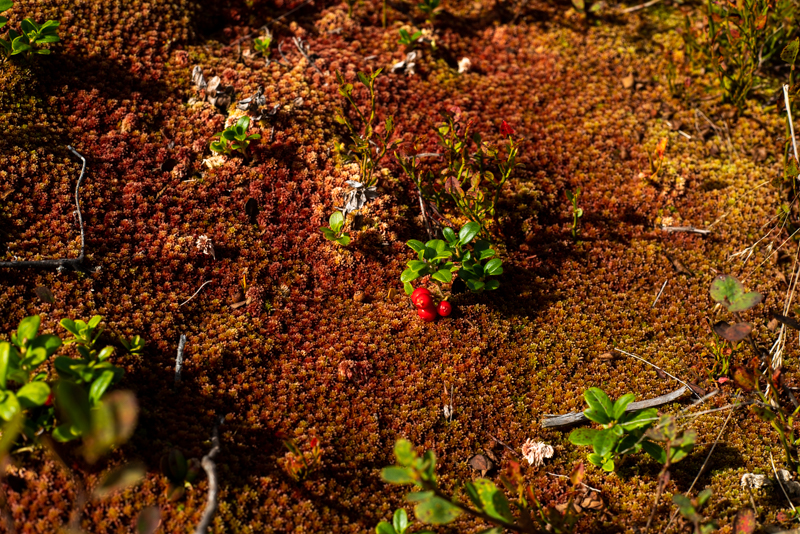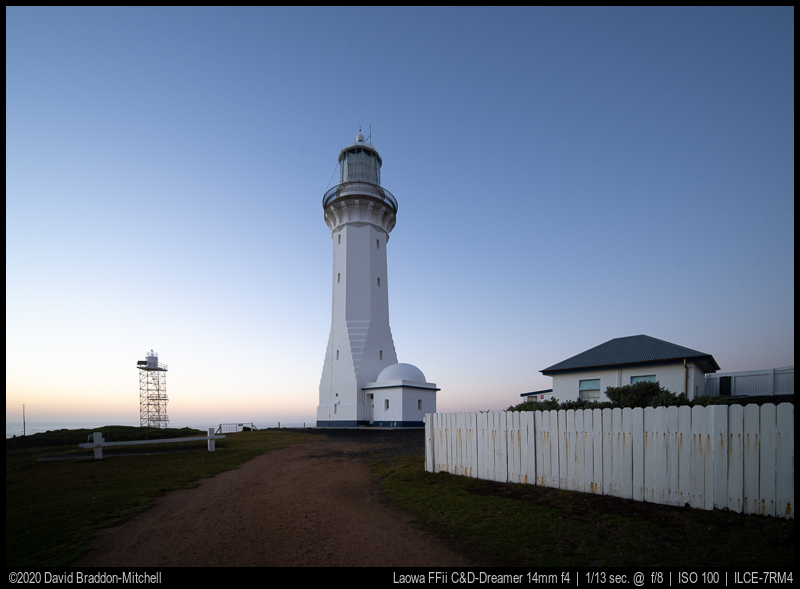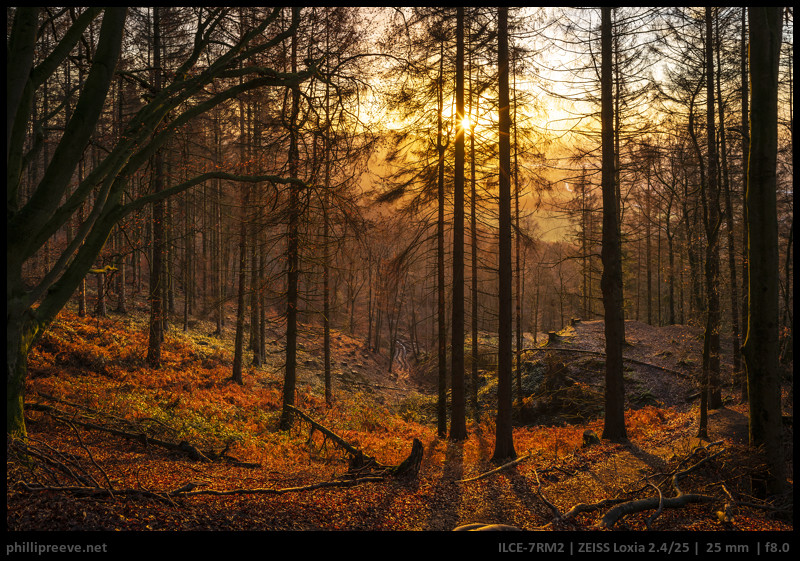
This image was taken a little after sunrise on the day of the winter solstice 2020 and I feel that it is a fitting image for the whole situation at the moment. Most days here in Germany are dark but at times one is lucky enough to catch a few rays of sunlight. At the same time one can look forward to sunnier days ahead.
2020 took it’s toll on the team as well. We and our families are all healthy and we work in secure jobs which is a big privilege these days. The blog, which is our hobby, got a little less attention because of the whole situation though. But still we managed to publish or update about one article per week and I am grateful to Bastian, David, Juriaan and Jannik not only for the articles but for the constant exchange behind the scenes.
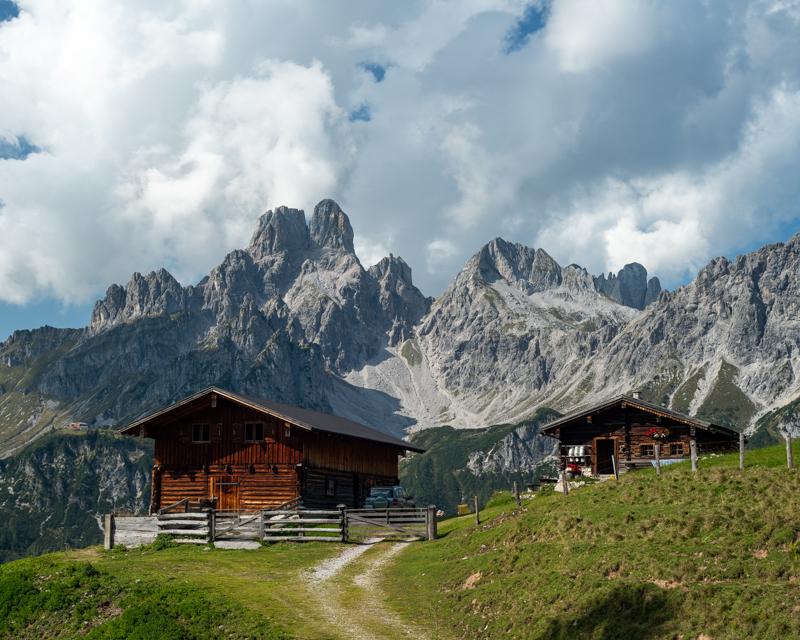
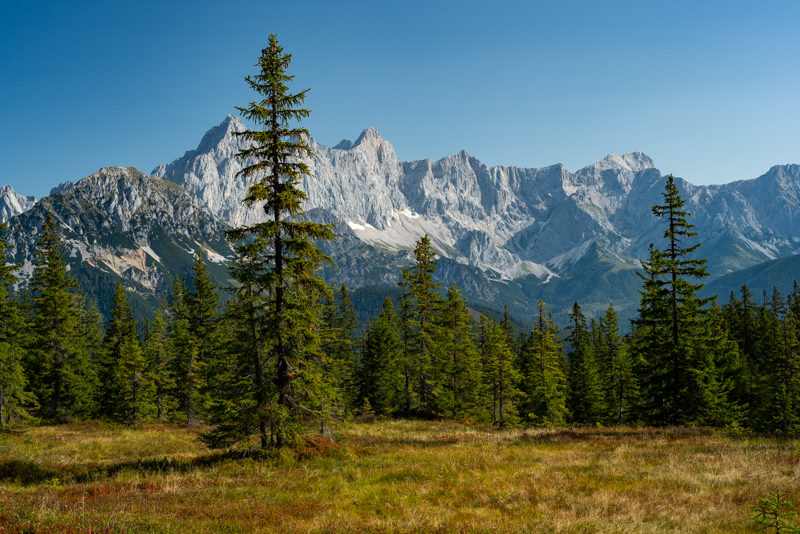
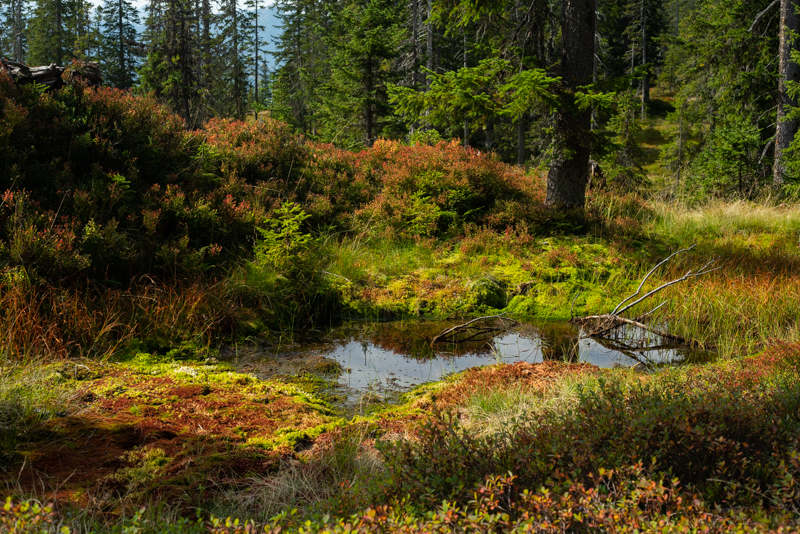
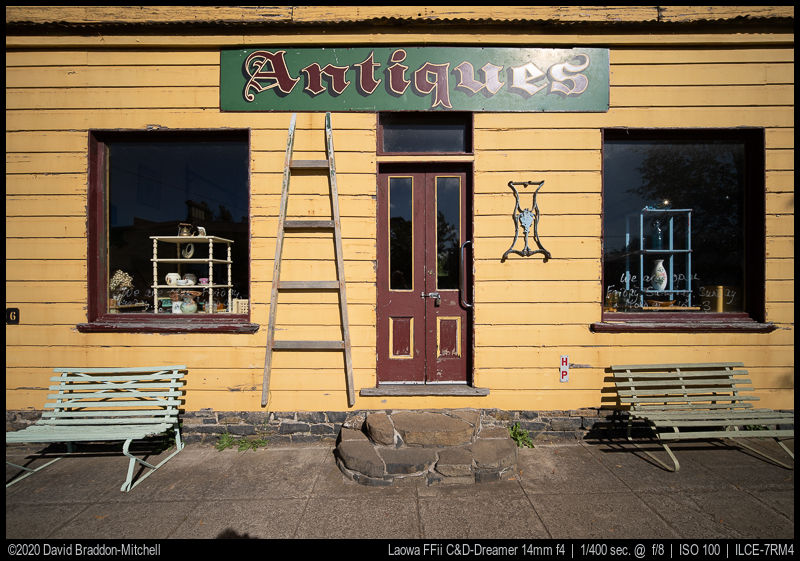
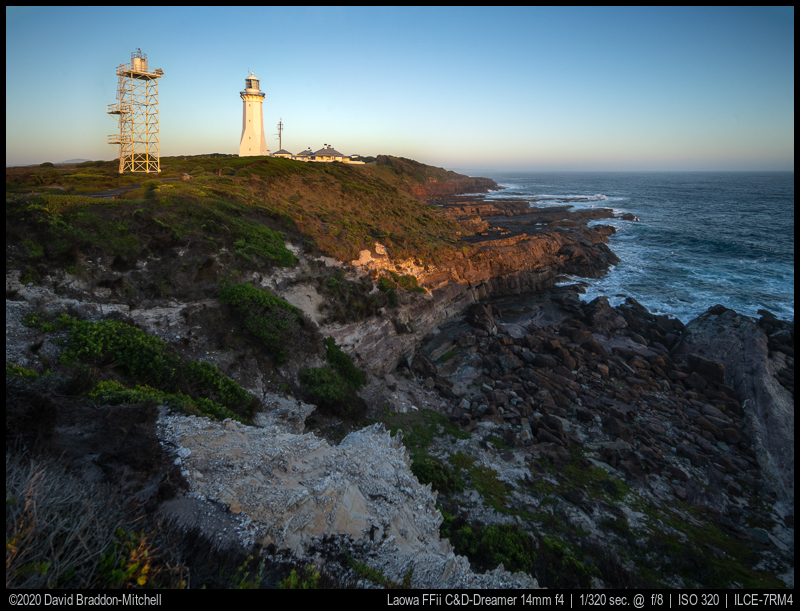
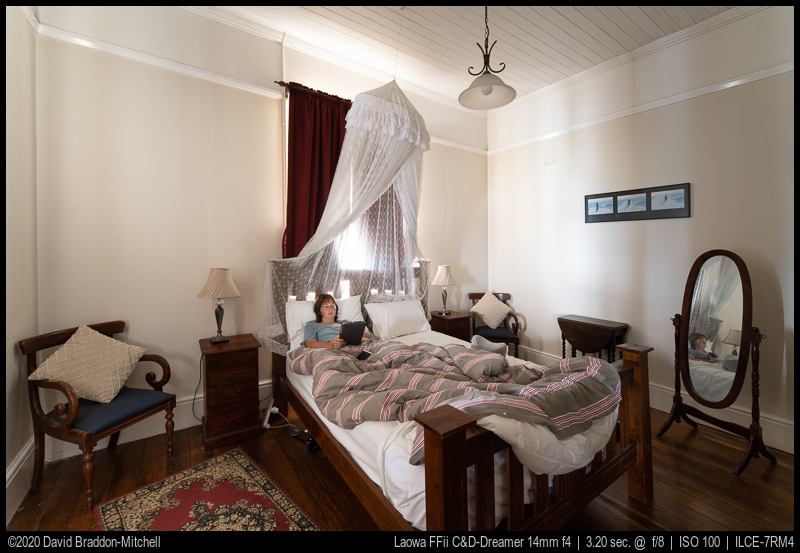
And now lets have a look at the teams most important articles of the year and also one important image from 2020 from each team member.
Continue reading 2020 – Year’s end review →