Introduction
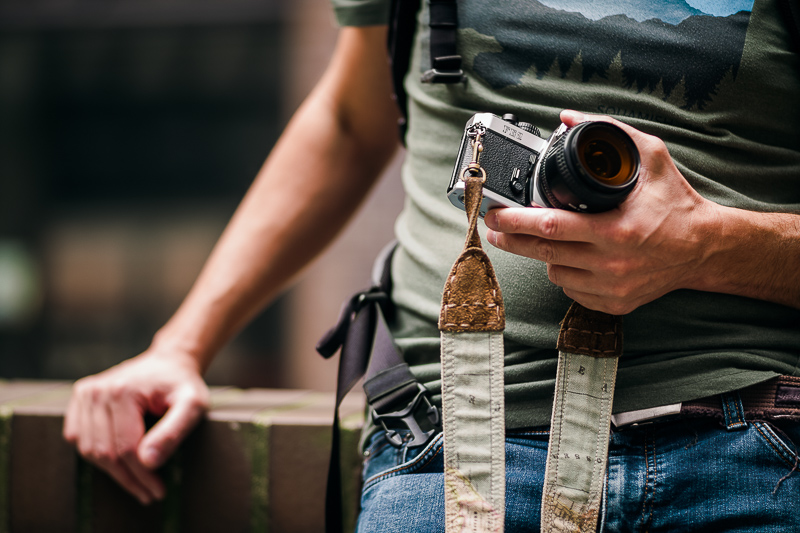
I have already been talking about editing pictures with the help of profiles in the past in the articles How I edit my pictures and Emulating Filmlook. This time I will have a look at the Cobalt Image profiles.


Contents
Disclosure
I was approached by Cobalt Image to have a look at their portfolio and afterwards they provided me with the Basic Profiles for my three cameras as well as their Kodak Film, Leica Monochrom CCD and Leica M Digital emulations packs.
Basic Profiles
The basic profiles are camera specific and serve two purposes:
- These Cobalt profiles are using a different color science compared to the Adobe Standard profiles. You can have a look at a detailed explanation here.
- They can make pictures taken with different cameras look exactly the same, which is needed for their film and digital emulation packs to give consistent results.
The latter generally does work very well – when using the same lens on these cameras. And usually additional white balance adjustments need to be made as well.

But what does different color science mean here and does different equal better?
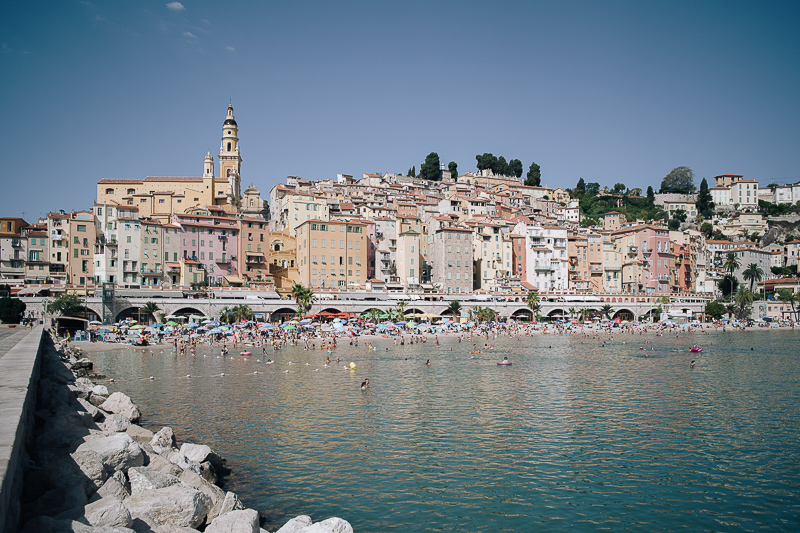
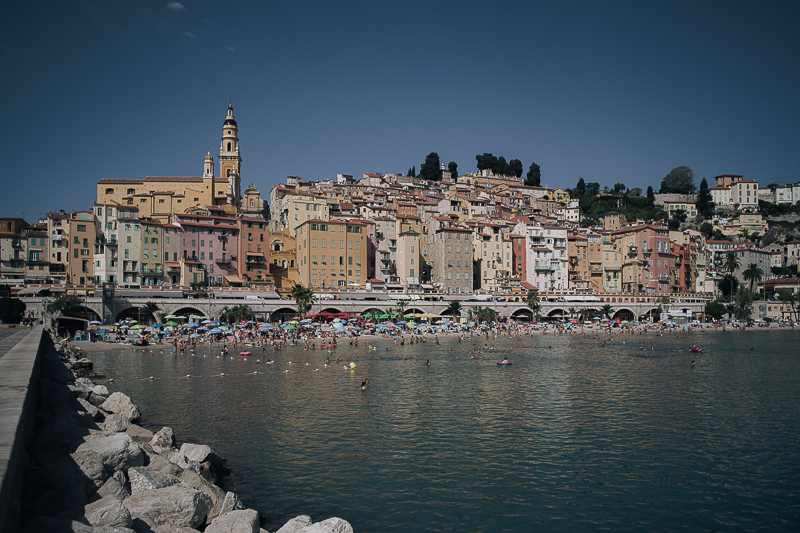
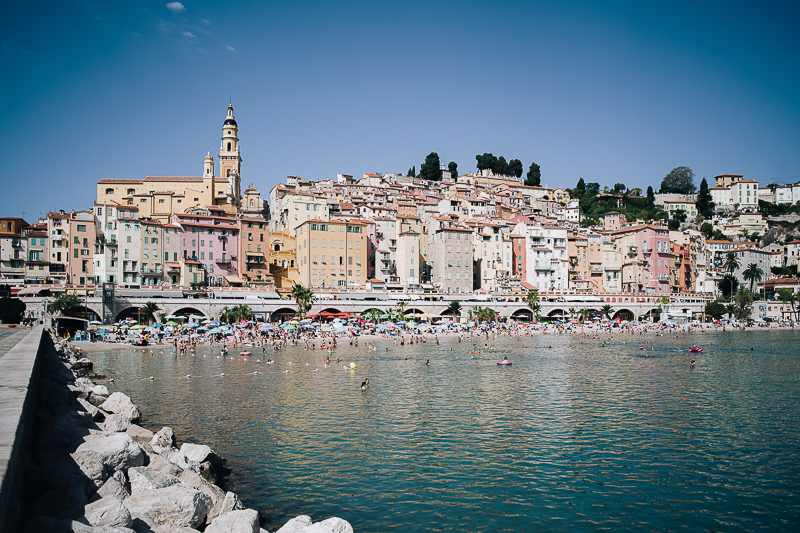
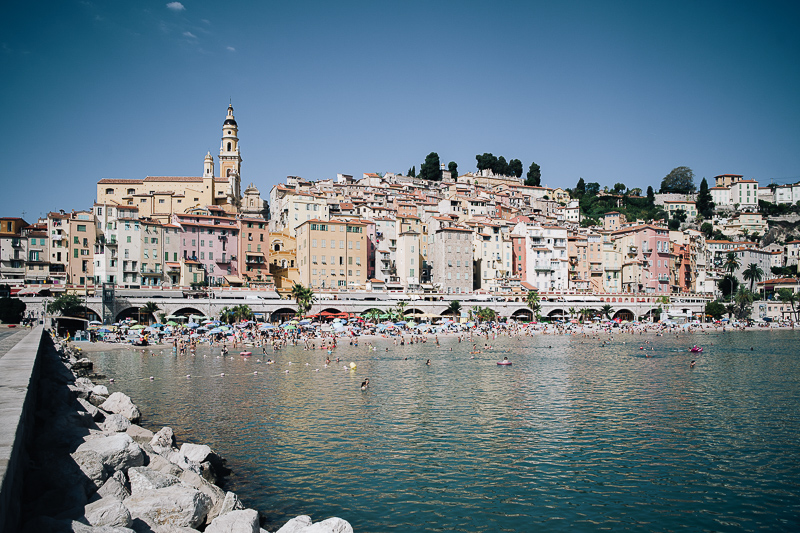
To be honest with you: in many scenarios I didn’t see a notable difference between the Adobe Standard and the Cobalt camera specific profiles.
With rather complicated lighting situations I did notice some clear benefits using the Cobalt profiles though, as they bring out better color detail in the highlights. With neon signs I found this especially noticeable, but I guess when taking pictures of colorful flowers under the sun it will also be visible.
In a way the look of these neon highlights when using the Cobalt profiles reminds me a lot of what I am getting out of the Silbersalz 35 color negative films.
Kodak Film Emulations
The Cobalt Image Kodak Emulation pack contains profiles for Ektachrome, Ektar 100, Gold 200 as well as Portra 160, 400 and 800.
With professional digital photography a mostly “neutral” or “true-to-life” (whatever that may mean) color rendition was and still is what many camera manufacturers aim for – at least with their standard picture profiles. Still, emulating the look of film has been a big topic for a long time. Fuji is still using its film heritage with great success, offering such film emulations mimicing Fuji film stock (even discontinued ones) directly in camera.

But even if you are not using a Fuji camera there are plenty of options, if you use Lightroom you can find presets and profiles helping you to emulate pretty much every film stock that ever existed (also have a look at my article Emulating FIlmlook for further reference). The quality of these presets varies greatly though.
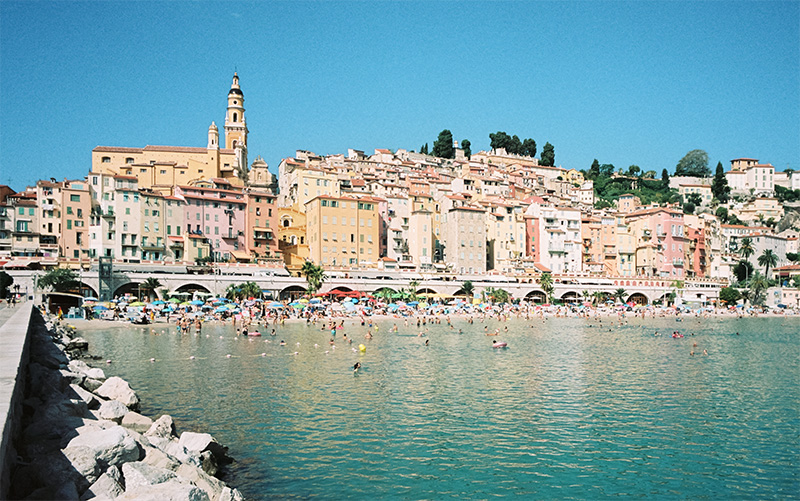
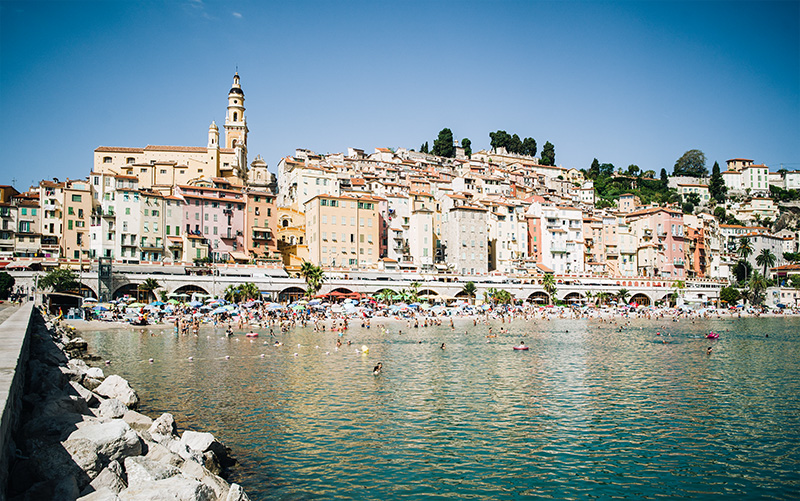
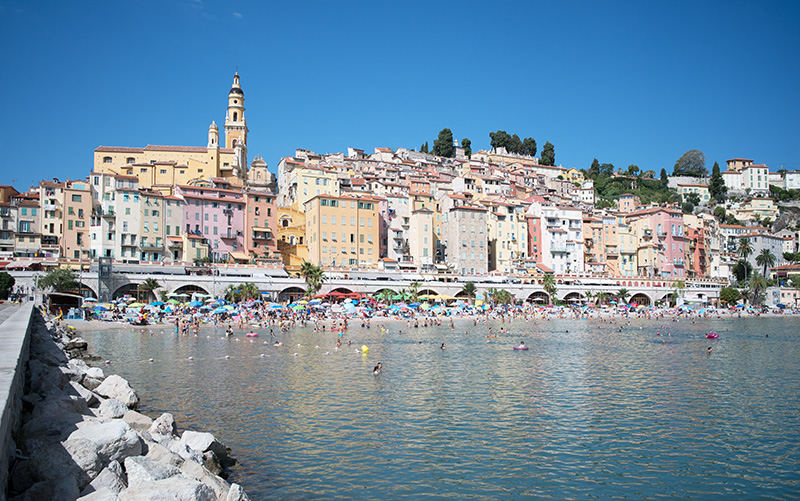
So now I have Kodak Gold 200 presets from three different suppliers. But all are meant to emulate Kodak Gold 200, so the results will look roughly the same, right? Not at all, as you can see from this comparison:
There are several issues here. How you develope and scan the film can already alter what the results look like. Film and digital react differently to varying light sources. Color negative film has a high latitude in the highlights, digital in the shadows.
There are also presets that are designed to give you a punchy look “out of the box” whereas there are others that only alter the colors and look very “flat” at first sight, With the latter it is expected of you to make changes to the tonal curve as well as contrast and clarity yourself to get the look you desire. So it is also important to find the profiles that fit your workflow best.
For every film included, the Cobalt package contains 4 different profiles, the Standard and sRGB always look the same to me, probably because I work in the sRGB space anyway:
Again the question is: how do these compare to a picture taken with an actual roll of Portra 160? Out of the 4 Cobalt profiles the standard one looked closest to me, but I still had to make some white balance, contrast as well as lights/shadows adjustments to come close to the film scan, the blue parts are still lacking the strong green hue though:
Where does this leave us? First and foremost I think there are too many variables involved that are making it impossible to create “one-click-profiles” that give you results indistinguishable from pictures taken with the actual film under any kind of circumstances.
I am pretty sure all the suppliers of such profiles have a scan of a color negative where their profile gives a near perfect match, but as soon as you change the developer, scanner or lighting situation it will most likely not be the case anymore.

For me personally, it worked best to edit the pictures like I usually do and then choosing one of the Cobalt Standard profiles at the end of the editing process to change the color palette.
Leica Monochrom CCD pack
I have never used a Monochrom CCD Leica, so I cannot show you any direct comparisons to pictures taken with one here.
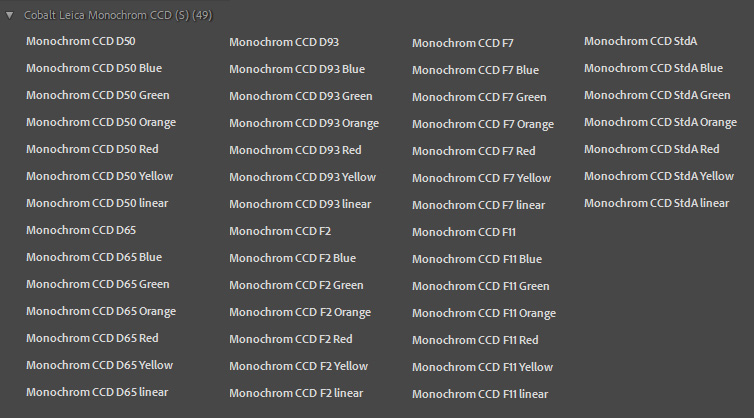
The Monochrom CCD package contains a plethora of profiles (49 to be exact), even ones taking into account color filters.
Now personally, I see such profiles only as a starting point of the editing process, so I surely wouldn’t have needed 49 – often only slightly – different ones.
I know how to alter the brightness of different colors in post and I never shot black and white film using color filters myself, so a “green” or “blue” filter doesn’t mean anything to me.
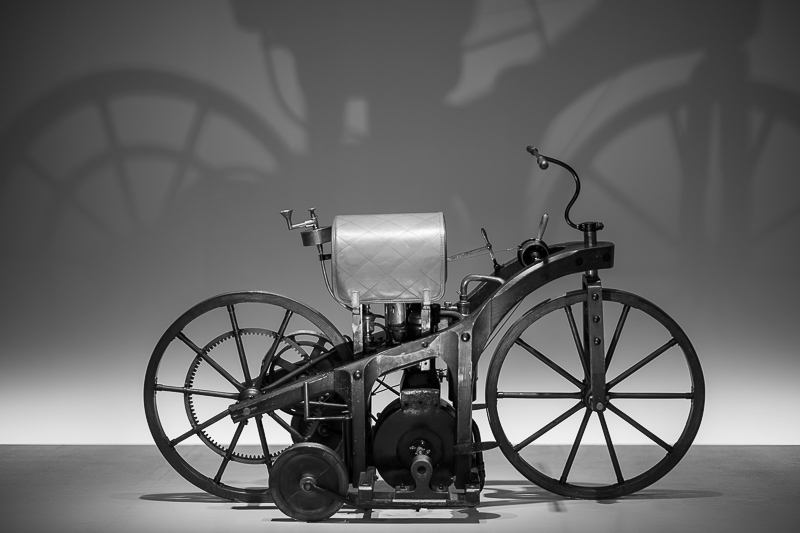
But for you the situation might be different and when you look at the scene and think “I definitely need an orange filter here!” the availabilty of a host of profiles might be exactly what you are looking for.
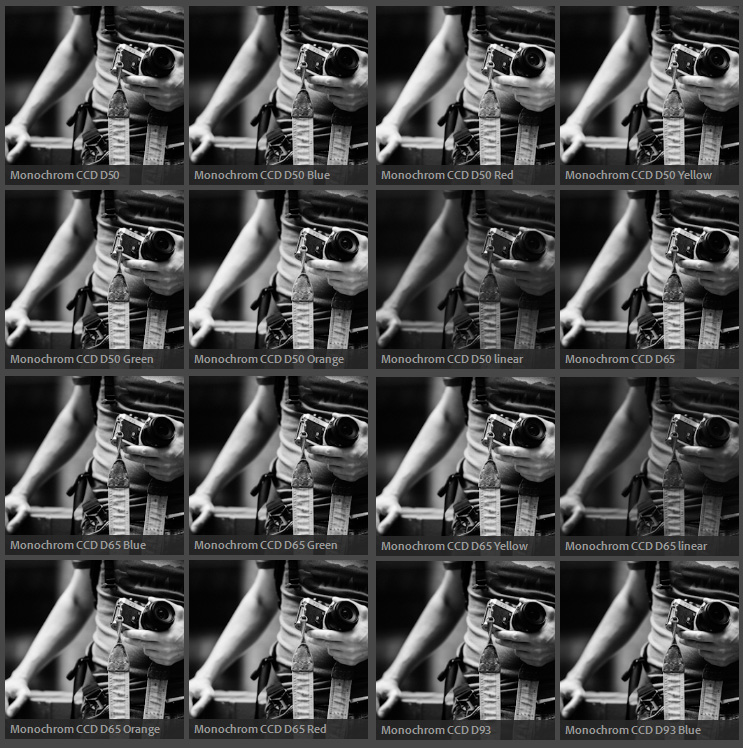
With so many different profiles I guess the likelihood that there will be one for a given picture that you like is high, but scrolling through that many can also be a rather tedious process.

Leica M Digital pack
Already in the past I have said I don’t think the color science of Leica cameras is any better than that of Nikon, Sony or Canon cameras. There are still differences and even though they hardly matter to me, they may be very important to you, and this is what this Leica M Digital emulation pack is for.
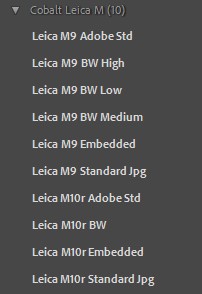
This pack enables you to give your pictures the Leica M9 and Leica M10r color signature regardless of what camera they have been taken with – as long as you also bought the Cobalt Basic Profile for the camera you are using.

I shot with Nikon DSLRs in the past, I currently use Sony and Leica mirrorless cameras. Not even once did I have the feeling that the colors of one are significantly better or worse than those of another. If I am not happy with the skin tones I adjust the white balance and/or the orange hue/saturation/luminance. If I am not happy with what the sky looks like, I do the same with the blue hue/saturation/luminance sliders.
But this is just me and I know plenty of people are looking for that “Canon”, “Fuji” or “Leica” look and are using a different brand camera. If you are one of those, the Cobalt Image digital emulation packs might be exactly what you are looking for.

Conclusion
When editing my pictures I usually know what look I want for a given picture – and how to get there – and very often I use a preset I like as starting point. To be honest: I don’t really care about subtle color differences. Most of my pictures are being viewed on all kinds of screens having different calibration, brightness, gamma, tonal range and so on. The differences between these various viewing devices are often significantly bigger than those between different profiles, so one could argue I am not really the target audience for the Basic Profiles.
If you are a product or fashion photographer your view on this may be vastly different though.
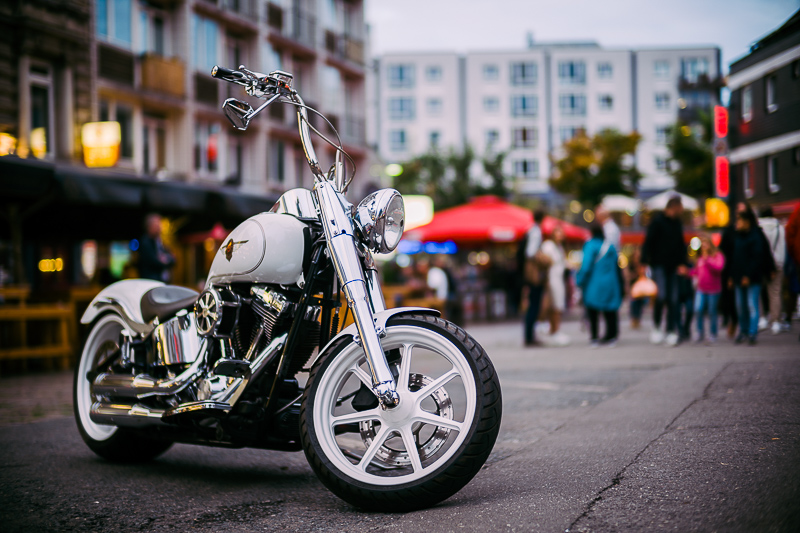
Nevertheless, where the difference isn’t subtle is with bright artificial light sources in the frame, especially red ones. These days, whenever I have a picture like that, I first check if those highlights have more/better color information and are closer to what the scene looked like to me, when using the Cobalt profiles.
Due to the short supply of film these days, the only films where I could compare actual analogue pictures to the profiles included in the Kodak film emulation pack are Gold 200 and Portra 160 (yet). The profiles are not a bad starting point to get a look close to those films, but there is definitely some additional post processing work to be done after applying them – at least when comparing those files to the scans I receive from my films.
With the digital emulation packs the situation is similar and at the end of the day – and this might not be what you want to hear – I think you have to try for yourself, which profiles and presets work best for your workflow. And also if you are chasing after an exact replication of something, or just a look you like.
Further reading
- All lens reviews
- Lens aberrations explained
- Analogue Adventures Landing Page
- Manual Photographers Series
Support Us
Did you find this article useful or just liked reading it? Treat us to a coffee!
![]()
![]()
![]() via Paypal
via Paypal
This site contains affiliate links. If you make a purchase using any of the links marked as affiliate links, I may receive a small commission at no additional cost to you. This helps support the creation of future content.
Latest posts by BastianK (see all)
- Review: Omnar 50mm 2.0 Bertele FLB - January 27, 2026
- Review: DJ-Optical 50mm 1.0 M - January 24, 2026
- Analogue Adventures – Part 48: Hexar RF - January 21, 2026











Thanks for this.
Would have been great to test if the second purpose of the basic profiles is worth anything.
Providing a common starting point across different camera is very valuable and I think it’s a big selling point of those profiles.
Generally it works.
I bought a few packs from Cobalt (basic pack for A7III and A9 for LR and for C1, and a few emulations for LR and C1 as well). I’m not that convinced by their standard profiles. It seems that despite their claims, my own personal profiles (just a colorchecker SG, 2 high quality lights, Lumariver) brings my 2 cameras closer in color rendering than their standard profiles… Maybe their profiles are better on some exotic colors, but I see some obvious differences on some basic color patches with their profiles that I don’t see with mine…
They have a ton of explanations on their website about profiles, how they create them, and for sure they know a lot more than me about this subject, but in the end, I don’t think that it’s terrific…
However I still play sometimes with their film emulations which can be funny, and I’m not qualified to comment their “accuracy”, which is, as you say, a very complex matter.
Nice, reminds me of VSCO but with more explicit film profiles. I really enjoyed using VSCO when I was first getting the photography
Would you mind to tell us, wich 28mm lens was used for this photos?
It will be released next year, as soon as that happened I will tell you 🙂
A new 28mm FE mount? Hallelujah!!
Yes 🙂
Thank you for the review Bastian. Very helpful and informative as ever.
I don’t think any profile or preset can match film exactly. The most salient point you make is that there’s very little difference between cobalt’s recipes and what Adobe can produce. I have the Leica pack and the Kodachrome pack. The Leica pack is a waste of time. The Kodachrome pack has been helpful and often comes close to the film. But man, the pricing is crazy.
The all look different. The Mastin Labs looks closest in some areas to your chosen film. Oh well.
As others above had said the Cobalt Basic Packs are not very good. I also purchased the Fuji pack and frankly I am disappointed and can not recommend. I will stick with DXO FilmPack and Mastin from now on.
It seems the Adobe Standard profile has a tendency to blow out red highlight. I use an a7R3 and found in a photo with red neon signs, using “camera standard” profile causes better retained highlight than Adobe standard profile, similar to the difference between Adobe standard and Cobalt standard shown in scene 1 and 2.